How many times do you sit down, know what you want to paint, what colors, size, and all of that, but you have no idea what to put in the background?
Is it just me?
Maybe it is, but I doubt it.
I can’t tell you how frequently I know exactly what I want to paint and wind up slapping some neutral color on the background first because I can’t think of anything else.
Finally, someone has come up with something to create fast, easy, and cute backgrounds.
And I don’t think she even realizes she has done it!
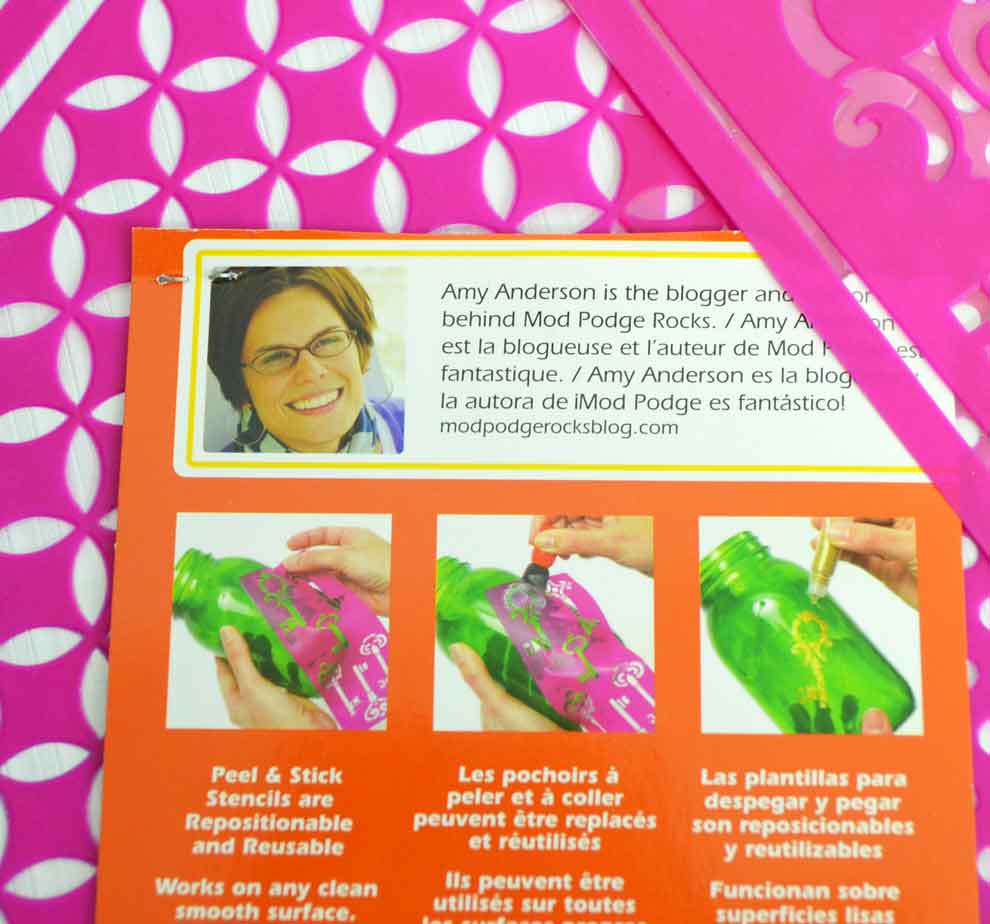
What I mean is, Amy of Mod Podge Rocks fame, has created a line of really cute, Peel & Stick stencils.
I don’t know this for certain, but from what I’ve read, I think Amy designed these stencils for Mod Podge and glitter, more than for watercolor paints.
And they certainly are cute with glitter –
Like this clear glass tray she made. Adorable, right?
Or this faux bois candle that Kim painted at Sand and Sisal using Mod Podge Peel & Stick stencils. So cute!
Since the stencils are self-adhesive, they work great on round objects, like candles or vases, and they handle glitter really well too because of that reason.
I have a number of ‘paintables’ just waiting to be glittered up using these stencils, believe me.
But first things first. I’ve been trying for a long time to come up with backgrounds. I’ve thought about using stencils for my larger paintings, because most stencil patterns are at least 5-6″ tall.
But that gets a little pricey, if you want different patterned backgrounds.
For smaller paintings, the ones I do all of the time, I almost bought some digital scrapbook paper for my paintings.
But I couldn’t sell those paintings without obtaining a license from the graphic designer.
Again – pricey.
So I was faced with either paying out more money than I wanted to spend or investing more time than I wanted to invest. Or having boring backgrounds.
Not anymore.
These stencils are perfect for paintings around 9 x 12″, the size I commonly use for watercolors. Lengthwise they measure just over 8″, leaving room for a nice border, if I want to paint one. They’re 3″ wide so I only need to repeat 4 times to fill the entire page.
Of course, if someone was Photoshop savvy, they’d know how to repeat the stencil digitally, without painting. Shoot, they’d know how to create the entire background without painting.
But I’m not a Photoshop artist. On a good day I might get my photos sized and brightened up a bit.
In case you’re like me – wanting some fun backgrounds to paint – here are a couple of paintings I just did using Mod Podge Peel & Stick stencils.
How To Stencil “Key to My Heart” Painting
I made this one in the shape of a heart. I don’t know why.
It just seemed like the thing to do when I saw the stencil full of little keys.
Don’t even ask.
Materials Needed
- manila file folder
- scissors
- Mod Podge Peel & Stick stencil – Polka Dots & Keys
- Watercolor paper, 9 x 12″ (I used 90 lb.)
- Martha Stewart Craft Paint – Surf
- FolkArt Craft Paint – Pink Melon
- FolkArt Floating Medium
- Foam Pouncers – medium & small
- Paper towels
- pencil
- Fine tip Sharpie Marker – Teal
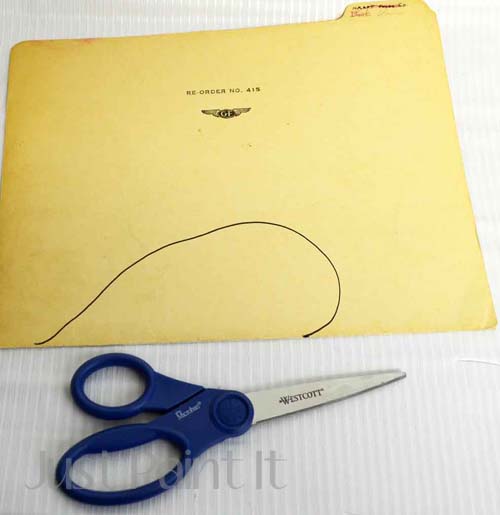
With the file folded, draw half of a heart, approximately 7-1/2″ tall.
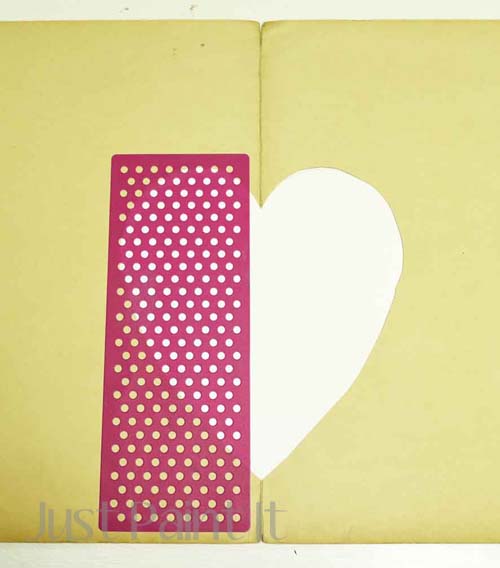
Cut out the heart and save the template.
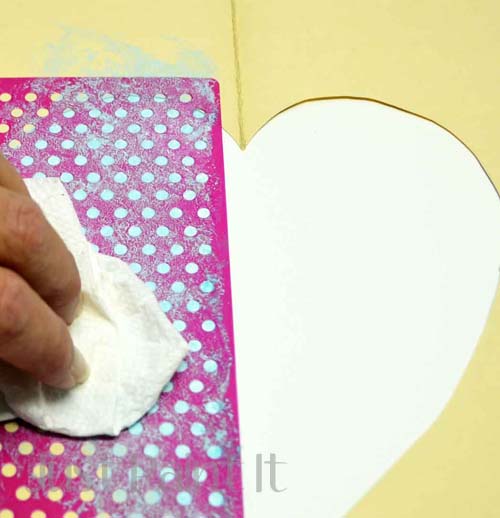
Line the template up on the center of the watercolor paper, then place the stencil on top of both the template and the watercolor paper.
Press evenly on the entire stencil.
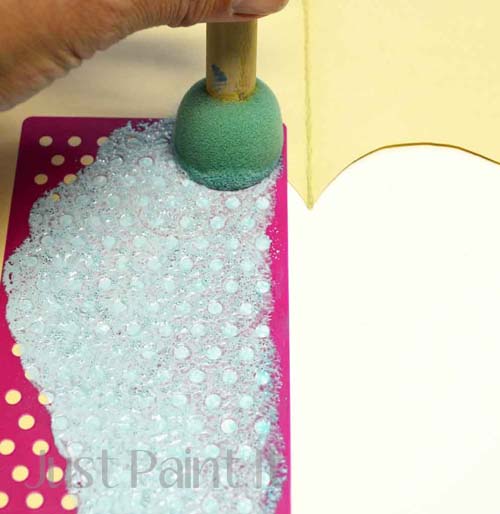
Load the medium foam pouncer with floating medium, pounce to work it into the foam, then pick up some of the paint.
You want about a 50:50 mixture or more medium than paint, so you’ll achieve a watercolor effect.
Pounce over the entire stencil + paper area, being careful to avoid going over the stencil’s edge.
While the paint is still wet, gently mop off the stencil and excess paint with a dry paper towel.
Remove the stencil and place it either back on the plastic backing or a sheet of wax paper, clean with a damp paper towel.
Reposition the stencil over the template and watercolor paper, lining up the stencil over the last rows of painted dots.
Pounce entire stencil with paint/medium mixture, blot with paper towel and clean stencil.
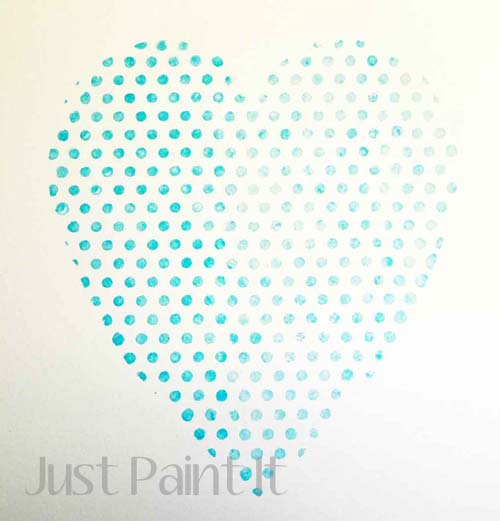
Repeat this sequence until entire heart is painted.
Your heart full of polka dots will mimic watercolors with some muted dots and some more opaque, due to the floating medium and blotting with paper towels.
If you want a more consistent look, just omit the medium and stencil with paint only. In that case, there would be no need to blot any paint.
This will give you a nice background too. I just wanted to try for a watercolor effect on my painting.
Allow the stenciled dots to dry fully before moving on to the next step.
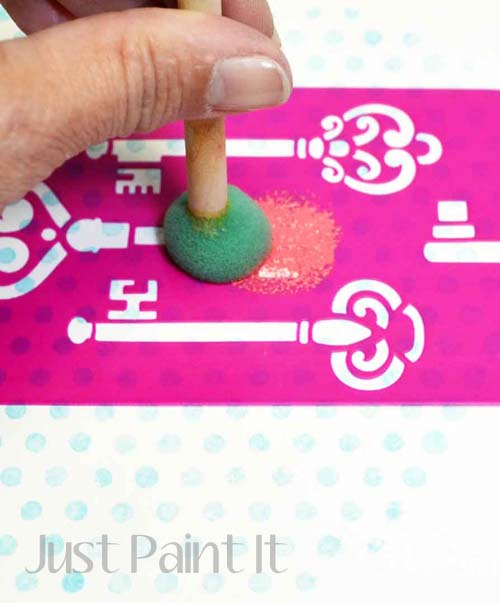
Choose a design from the Key Stencil and line it up in the approximate center of the heart.
Press evenly on the stencil.
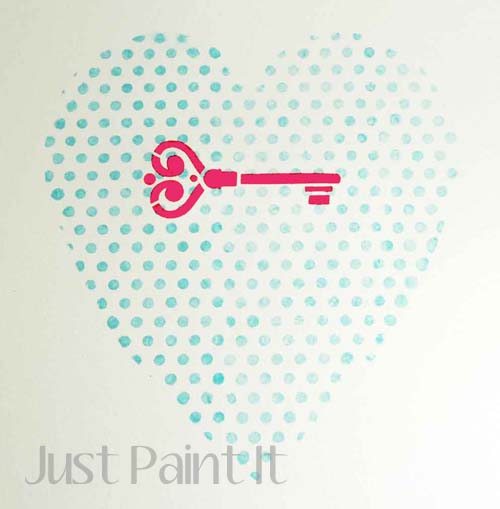
With the small pouncer, stencil Pink Melon over the entire key, being careful not to overpaint on unwanted areas.
Allow to dry fully.
If the dots in the heart aren’t lined up perfectly around the edges, don’t worry.
That’s why we have the next step!
With a pencil, write your choice of words around the heart.
Once everything lines up, go over the pencil markings with the Sharpie.
(Yes, there are computer applications that will wrap text around shapes. I don’t happen to know how to use them though.)
Plus, if you want an “original” rather than a print, a marker is the way to go.
Don’t worry about your penmanship, or lack thereof. Once you have all of the letters drawn in, it creates an overall “look”.
I was pretty happy with my first attempt at a patterned watercolor background so I had to try another one.
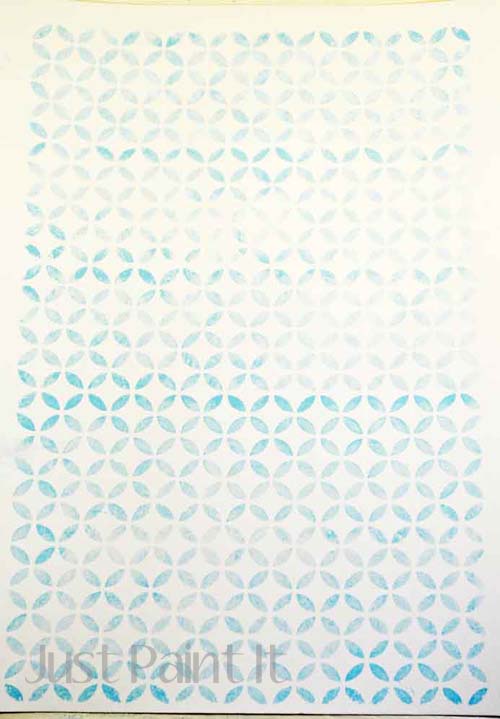
Stencil a Watercolor Background
Again, start with a 9 x 12″ piece of watercolor paper, line up the stencil on the bottom and press evenly.
Load the foam pouncer with floating medium and then pick up the paint and pounce over the entire stencil.
Blot excess with a paper towel before lifting the stencil off of the paper.
Clean the stencil, let paint dry fully.
Line the stencil up on the last painted row and continue stenciling until the page is full.
It took 4 times to get this full background.
See how it has more of a watercolor look because of the floating medium?
If you want it even paler, add more floating medium to your paint mixture and/or use a lighter colored paint.
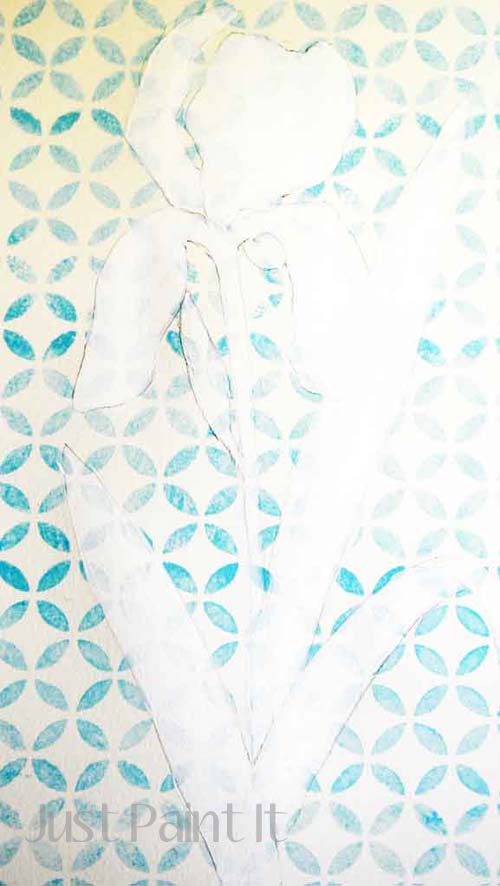
Transfer or draw your design after the background has dried then fill in with white paint.
You need to white it out so the background doesn’t show thru on the final painting.
Now, the paint won’t flow like it would on unpainted watercolor paper, but you can still get a nice transparent appearance.
The iris petals were painted with a teensie amount of Purple (by Ceramcoat) mixed with floating medium.
The leaves and stems are a combination of Italian Sage and Clover, by FolkArt.
Isn’t this a sweet little ‘watercolor’ with a fun patterned background?
I’m so happy that Amy designed these stencils . . . not only for her own success . . . but also for us decorative painters who can use them to create beautiful backgrounds!
The stencils are available at Michael’s Stores, however, my local store didn’t have them the last time I was there. Check yours to see but you can always order online too.
So do you paint patterned backgrounds? How do you create them? Any tips you’d like to share with the rest of us?
Colleen












Leave a Reply