Yep. I painted another Halloween wine goblet project.
Blame it on the Dollar Tree.
You see, I actually use most things I buy there. But not wine goblets. Not that I’m a teetotaler, I’m not. Although it is rare that I drink.
Bottom line, none of that matters when I go to the dollar store. Not now, after umpteen years of shopping there.
Remember when they first opened? Oh wow. It was like Christmas every time we’d go there. As time passed though, we learned that certain items weren’t worth the dollar they cost.
You know what I mean, don’t you.
But the rest of the store? Yeehaw. I have a routine too. I start in these seasonal section, move down the toy aisle . . . you never know what the grandkid might ‘need’ . . . move back thru office supplies . . . and up and down each row until I hit the second to the last one – wine glasses.
There they sit, all lined up and shiny . . . and only a buck.
And you just never know when you’ll need a pair . . . or two . . . of wine glasses. Maybe you’ll want to paint a spider web or bats on a couple.
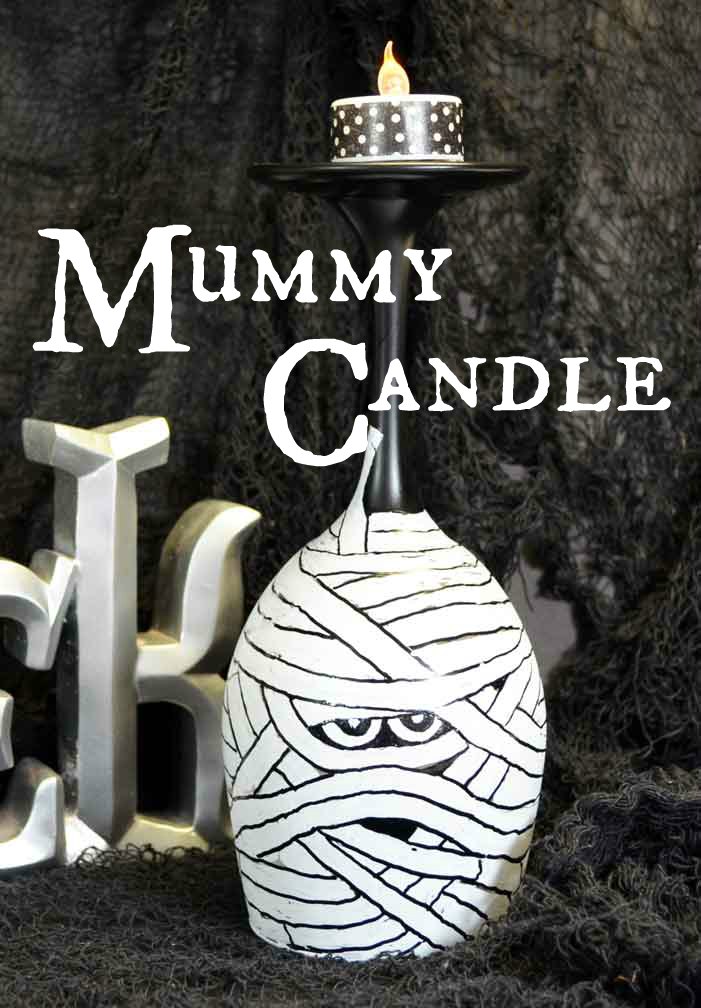
Or how about painting a mummy, turning the goblet over, and setting a tealight on top?
I had never painted a mummy but they’re super easy. All you need to do is take a white paint pen, draw a bunch of stripes on the bowl of the goblet, then take a black paint pen and outline each strip of ‘gauze’.
Done! C’ya next time!
Oh, you know me better than that. You know dang good ‘n well I have a ton of photos, even if the project is super simple. And there’s a surprise at the bottom of the post too. So yeah, you’ll want to scroll through all the pics to see your surprise.
Plus, by looking at my photos you’ll see that this project is not perfect. Far from it. No pristine lines. No razor straight outlining. Nope. It’s all uneven and kooky looking, which I happen to think makes the mummy look pretty darn cute.
Because I don’t do gross. Even for Halloween.
How To Paint a Mummy Candle
Supply List
- wine goblet
- rubbing alcohol
- black or chalkboard spray paint
- white chisel tip paint pen
- black chisel tip paint pen
- tea light – regular or battery operated
- washi tape
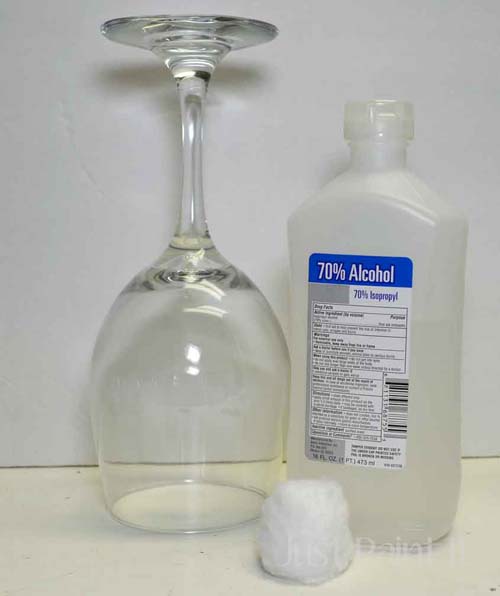 Step 1 – Clean the goblet with rubbing alcohol to remove any oil from your fingers.
 Step 2 – Wrap a plastic baggie around the goblet bowl, tape it at the base, then spray the stem with black or chalkboard spray paint.
(I use chalkboard paint just because I like the matte finish.)
Let that paint dry thoroughly and then remove the plastic baggie and, once again, wipe the bowl with rubbing alcohol.
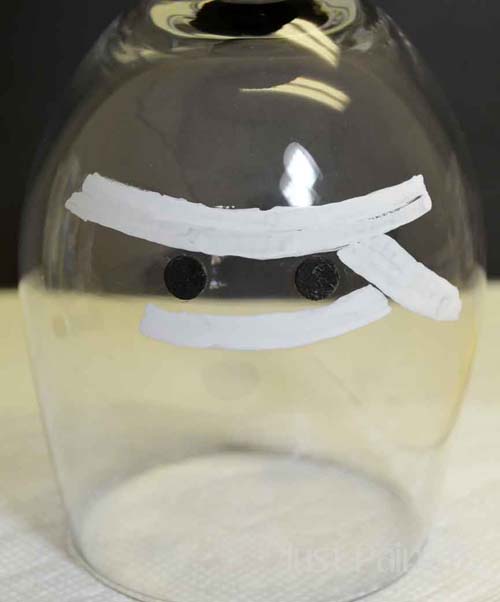
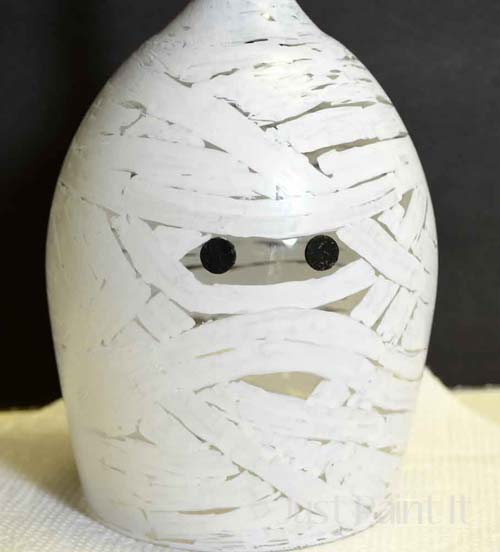
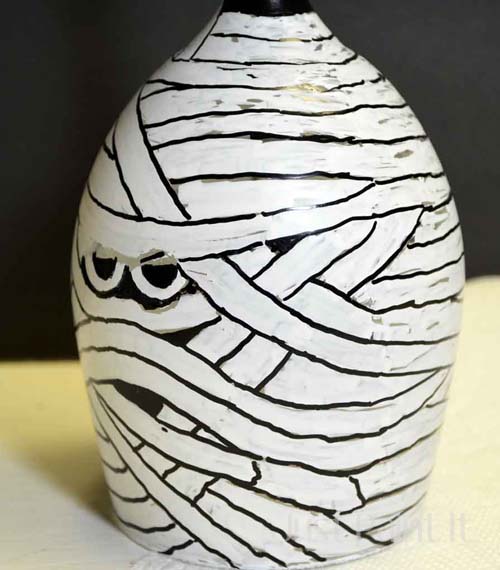
 Step 3 – Mark where you want your mummy’s eyes. I used a dollar store sticker, but you could simply mark them with a marker.
 Here’s a little mummy pattern, but really you can paint it anyway you’d like, as long as the eye’s poke out somewhere.
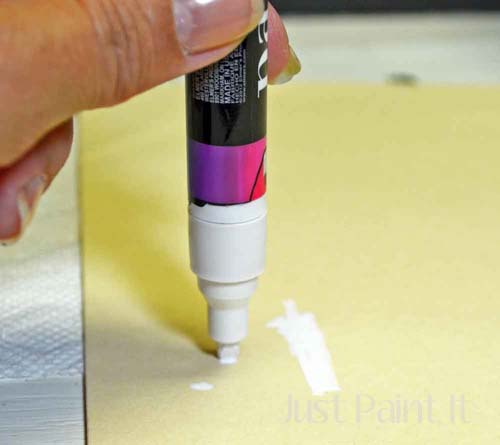 Step 4 – Prep your paint pen by shaking it repeatedly, then pressing the tip down on a piece of scratch paper. I used a manila folder because the paint can bleed thru paper.
You’ll want to repeat this periodically throughout the project – shaking the pen and pressing the tip down to encourage the flow of paint.
 Step 5 – Start drawing lines. I started right above where I had the eyes marked. I used a chisel tip paint pen but I made each stripe twice the width of the tip so it looked bulkier.
Step 6 – Continue painting lines around the eyes, following the pattern, then continue the lines all around the goblet.
I’m showing you these photos just so you get an idea how I proceeded. Not that it’s the ‘right’ or ‘best’ way. It’s just the way I did it. I haven’t used paint pens too much and painting on curved glass can be a little challenging until you get the hang of it.
Which begs the question, why not just use a paint brush? Well, because all of the glass paints I’ve used require numerous coats to get an opaque coverage. Paint pens are opaque with one pass.
What about spray paint? Couldn’t you just spray the bowl with white spray paint? Yes, you could. And I would, if I was painting a pumpkin or ghost. But for a mummy, I wanted uneven coats to resemble gauze, and the paint pens were perfect for that effect.
 I left a little space for a mouth. Totally optional.
 Once you’ve surrounded the eyes and mouth, just continue painting stripes . . .
 . . . all the way around the glass.
 Step 7 – While white paint is drying, wrap the tealight with washi tape, if desired. (Either regular tealight or battery will work.)
Another note about paint pens – let one coat dry completely before painting back over it or you might lift the first coat. You’ll notice there are lots of gaps in my white paint, mainly because I thought I’d go back and fill in after it dried. But I liked the look with the spaces and decided to leave them as-is.
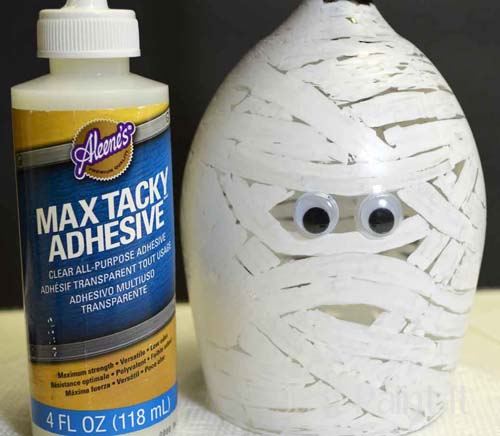 Originally, I thought I’d give my mummy googly eyes, then I changed my mind. If you’d like googly eyes instead of painted one, this glue works for glass but takes a while to set up.
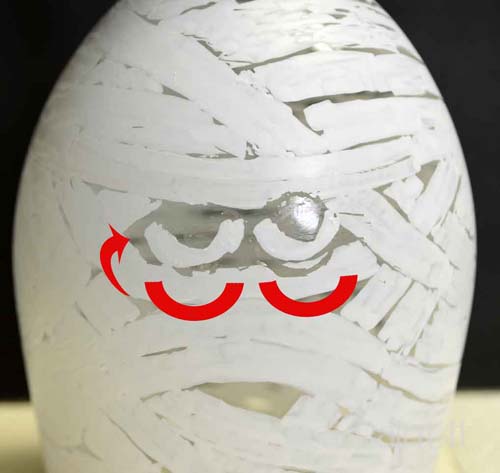 Instead I decided to paint the eyes. If you’ve never painted eyes, now’s a great time to give them a shot – especially since we don’t want “pretty” eyes.
There are only 3 steps. Start with white semi circles, as shown.
 Next, surround the semi circles with the black paint pen.
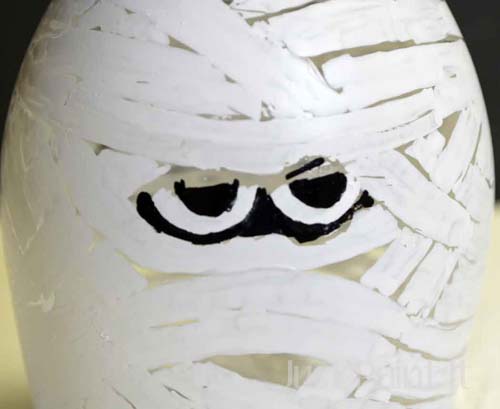
 Then add a white dot in the middle of the black semi circle. Fill in any gaps with white paint.
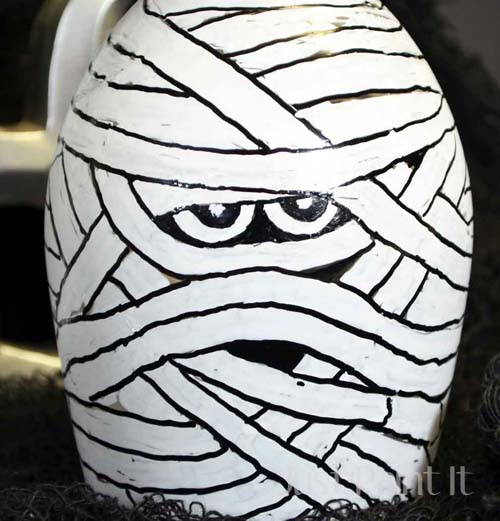 Finally, outline all of your strips with a fine tip black paint pen. A permanent marker might work, I don’t know. If you try it, let me know how it worked, ok?
 Go all the way around with the black paint pen. You can see a the gaps that I mentioned in this photo. (I fixed the eyes but not the strips.) Also, each strip is not completely opaque with white paint. I liked the effect that gives but it’s up to you however you want yours to look.
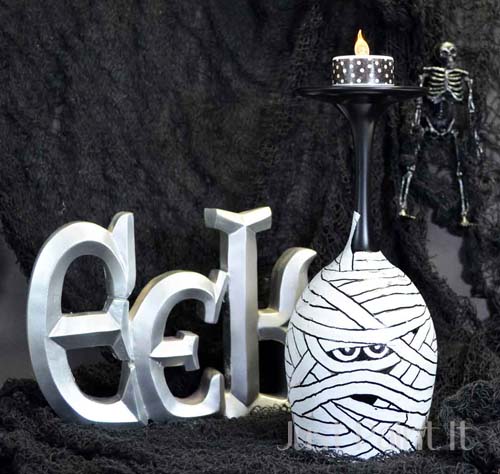 There you have it – another dollar store wine goblet project.
I’ve painted this mummy candle, the spiderweb goblet, a batty goblet, and a jack-o-lantern tealight goblet last year. I still have a couple more ideas though.
Got any extra wine goblets you’re not using?
Now . . . for your soupprize . . .
 Today me and my blog buddies linked up to share Twelve Spooktacular Halloween Projects!
(And you thought you were just getting another wine goblet project. Ha!)
I can’t wait to see what everyone else did. I hope you’ll check them out too!
- Frosted Skull Mirror by Dollar Store Crafts
- Jack-O-Lantern Candy Tub by Mrs. Greene
- Glam Crowned Pumpkin by The V Spot
- No Sew Halloween Apron by Condo Blues
- DIY Skeleton Hair Clip by Morena’s Corner
- Reclaimed Wood Pumpkins by Saved By Love Creations
- Easy Pirate Costume by Mom Endeavors
- Mummy Wine Glass Candle Holder by Just Paint It!
- Window Halloween Treat Bags by The Country Chic Cottage
- Halloween Spider Wreath by 30 Minute Crafts
- Sven from Frozen Costume by Mad in Crafts
- Halloween Candles with Paper Napkins by CraftasticTV
Have a great week!
Colleen
Thank You, Mummy! Too Cute!!
That is so cute! Not being a fan of googly eyes, your decision to paint the eyes made your mummy perfect!
Thanks, Colleen, for another spookalicious tutorial!
This is soooo cool!!
I made this last night and it was so easy with your directions might not be exactly like yours but I’m satisfied with the looks. Thanks for posting it I was going to go with the googly eyes also but the painted ones is so much better.
Hi Sharon, I’m so excited you made one. And I’m really happy the directions were clear. I’d love to see a photo of yours, if you don’t mind sharing. My email is muralmaker1@gmail.com.
Wow!!! This is so cool…………..