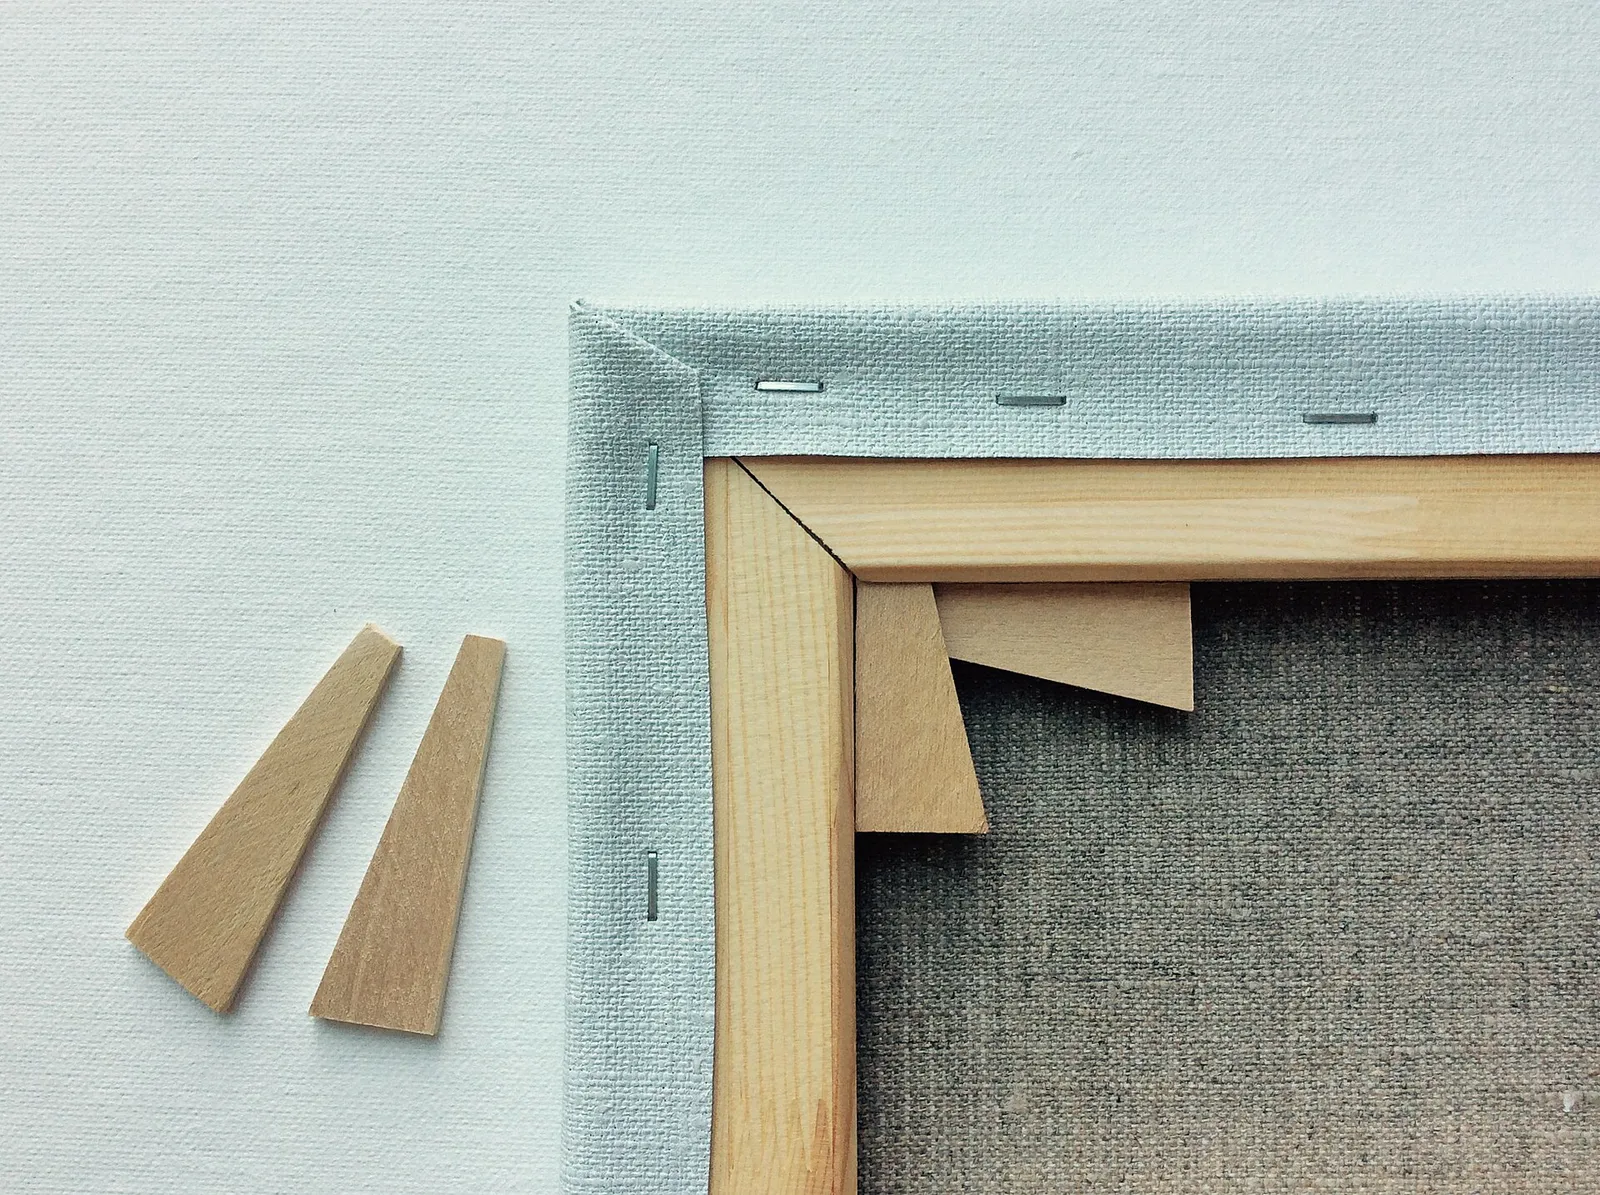
Knowing how to prime a canvas takes about ten minutes of work and saves your paint, your brushes, and your finished painting. Primer, usually acrylic gesso, seals the raw fabric and gives the paint a slightly toothy surface to grip. Learn the basics and the process is quick. Two or three thin coats, with light sanding between, is the standard approach for a raw cotton or linen canvas.
Why You Should Prime a Canvas at All
Raw canvas is thirsty. Without a ground, the fibers soak up paint, so colors look dull and you use far more of it. If you ask how to prime a canvas for the best color, the answer starts here. Priming also separates the paint from the fabric, which protects the canvas over time. The traditional ground is gesso, and the Wikipedia article on gesso explains how the term covers both the old chalk-and-glue mixtures and the modern acrylic versions.
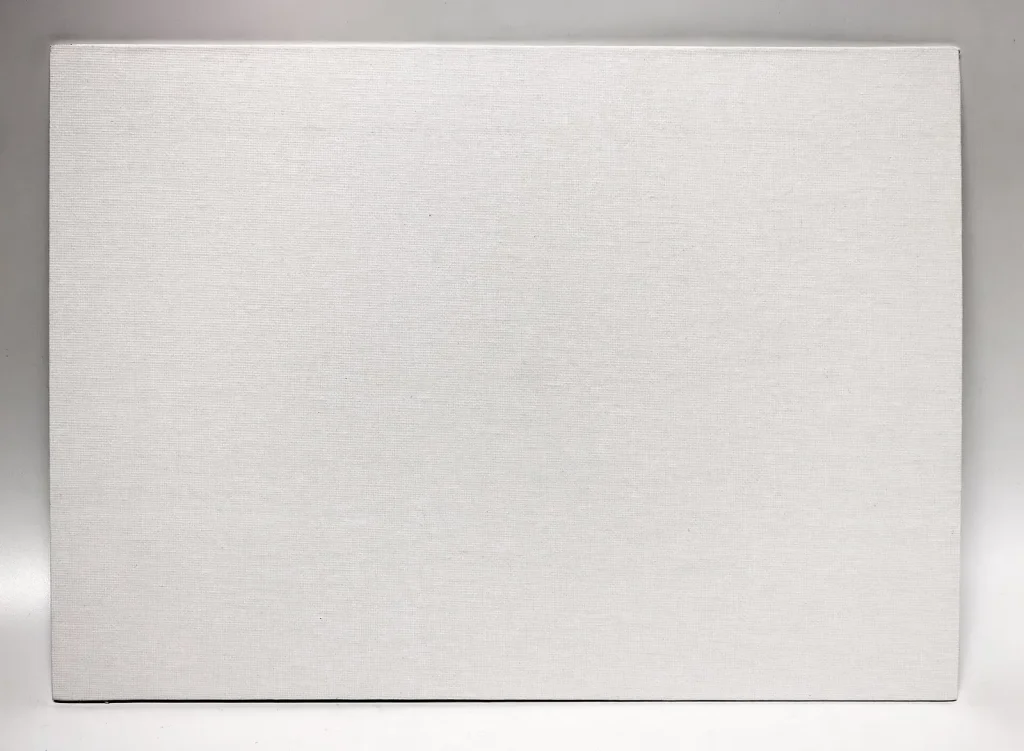
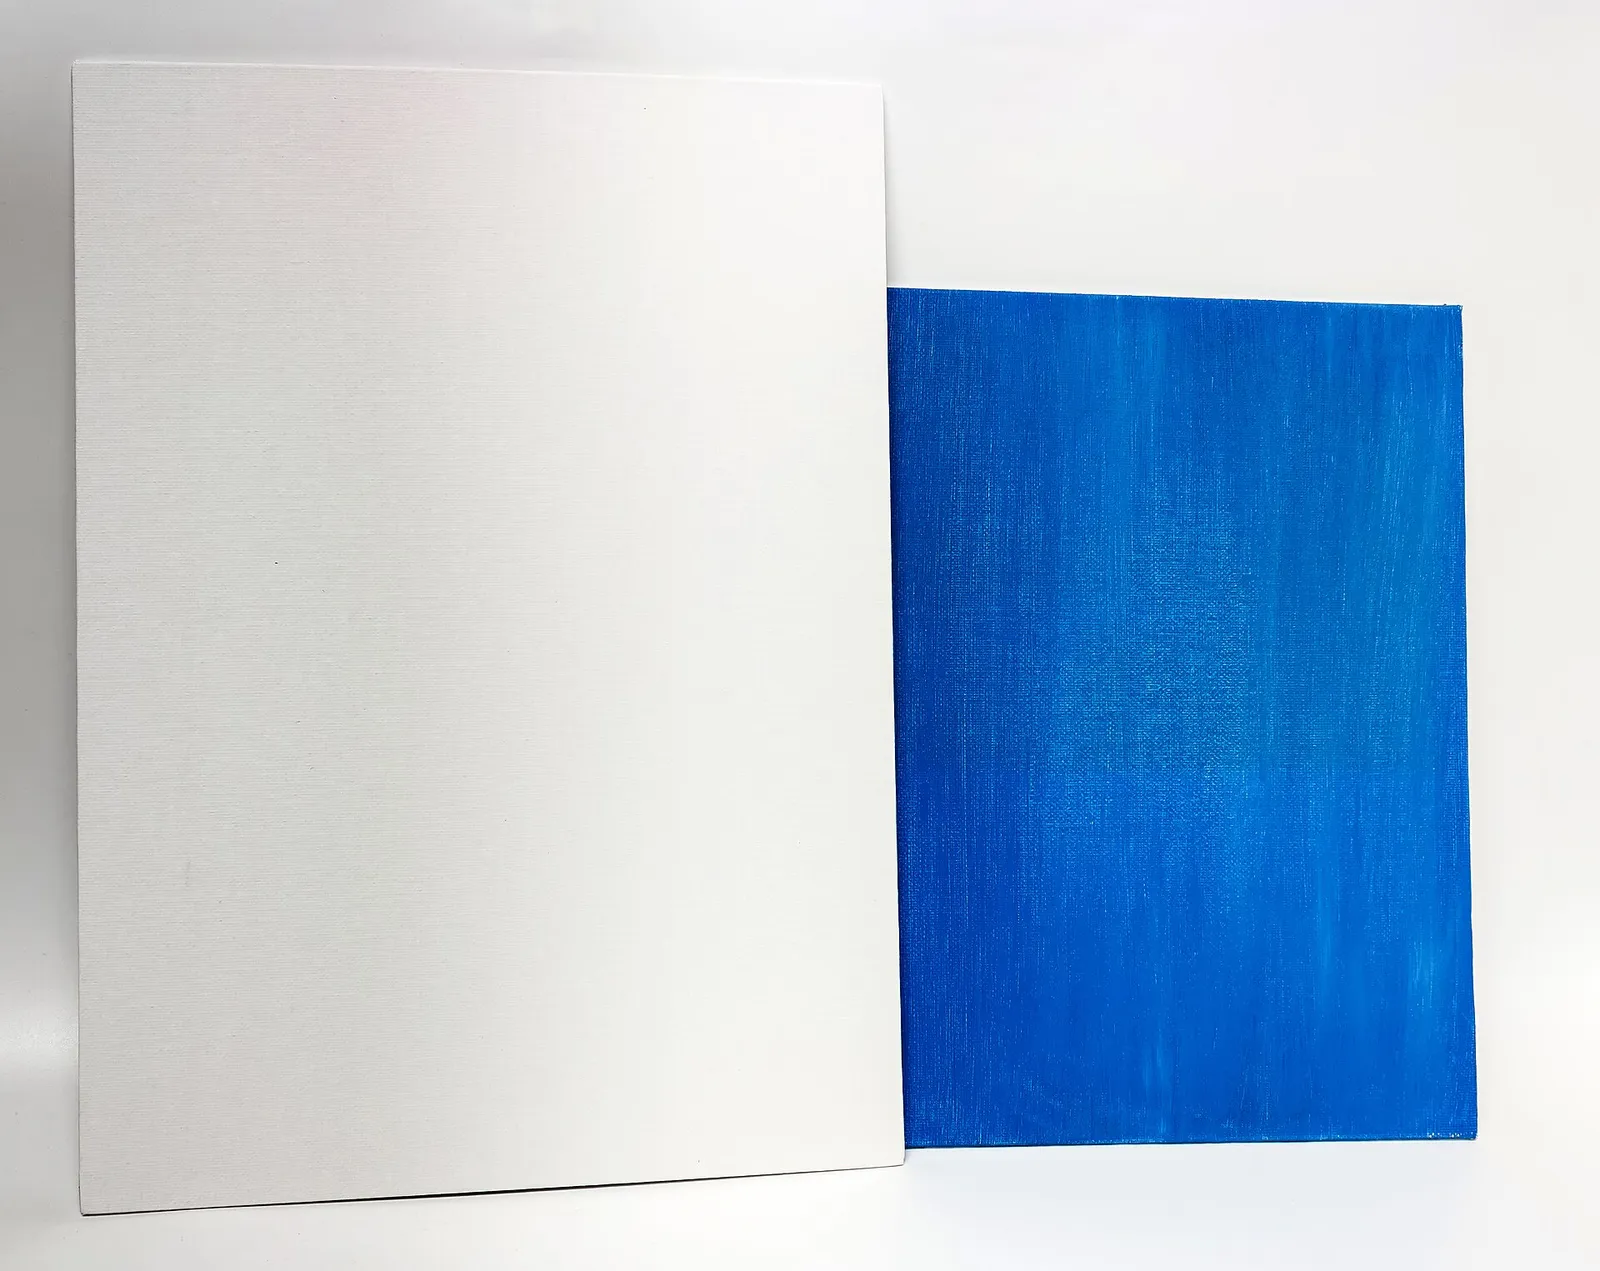
Many store-bought canvases and canvas boards come pre-primed with a white layer. You can see one in the photo below. If you are starting from raw cotton, linen, or a canvas you stretched yourself, you will want to add your own coats.
Materials You Need
| Item | Notes |
|---|---|
| Acrylic gesso | White is standard; black or tinted gesso gives a colored ground |
| Wide flat brush | A 2-inch synthetic or a cheap foam brush works |
| Fine sandpaper | A fine grit, such as 220, for smoothing between coats |
| Water and a jar | For thinning slightly if the gesso is thick |
| Drop cloth | Gesso splatters and dries into a plastic-like film |
If you need a better brush, our guide to choosing a paintbrush covers bristle types. For protecting your table, see drop cloths and room protection.
How to Prime a Canvas Step by Step
The method below works for stretched canvas and for loose canvas taped to a board.
- Wipe the surface with a dry cloth to remove dust and loose threads.
- Stir the gesso gently. Shaking makes bubbles that leave pinholes.
- If it feels thick, mix in a small splash of water, no more than the product label allows.
- Brush on a thin, even coat in one direction. Cover the edges too if they will show.
- Let the coat dry fully. Check the label for drying time, which is often under an hour but varies.
- Sand lightly if you want a smoother surface, then wipe away the dust.
- Apply the second coat in the opposite direction, for example crosswise, so the strokes level out.
- Repeat for a third coat if you want an even more uniform surface.
Thin Coats Beat Thick Ones
One heavy layer tends to crack and hide the canvas weave unevenly. Several thin coats give a stronger, smoother ground. If you want to learn how to prime a canvas with more texture, brush each layer in a different direction and skip the sanding.
Choosing the Right Surface Texture
How you finish the ground changes how the paint behaves. A smooth, sanded surface suits detailed work and thin glazes. A more textured surface, left unsanded, suits loose, bold brushwork. Neither is wrong. Try both on a small canvas to see what you like, and if you are just beginning, our guide to acrylic painting for beginners has more on picking your first supplies.
Tinted Grounds
A colored ground can save time. Mixing a bit of acrylic paint into your gesso, or painting a thin wash of color over the dried white, removes the stark white that can make judging colors difficult. Mid-tones such as a soft gray or warm tan are popular choices.
Common Mistakes to Avoid
Do not skip drying time between coats, since wet layers can drag and peel. Avoid using house wall primer or latex wall paint as a substitute for gesso on art canvases, because they are not formulated for flexibility or for artwork. Do not store the gessoed canvas flat and wet where dust can land on it. Lastly, clean your brush right away; dried gesso will ruin it.
Caring for Your Primed Canvas
Once the final coat is dry, give the surface a quick check. Run your hand over it and look at it from the side in raking light to spot streaks, bubbles, or bare patches. Fix any thin areas with a touch more gesso, let it dry, and you are ready to paint. Store primed canvases upright or leaning against a wall, away from damp, rather than stacked face to face, since slightly tacky gesso can stick. Knowing how to prime a canvas properly also means leaving enough drying time for the gesso to cure fully before you add paint, ideally overnight if you are not in a rush.
Safety note: Gesso is generally low-odor, but work in a ventilated area and read the label. Wear sandpaper dust protection such as a simple dust mask when sanding. If you are priming an old wooden panel or reusing a painted object from a home built before 1978, be aware it may carry lead paint; do not sand it, and use EPA-recommended lead-safe practices or a test kit.
Frequently Asked Questions
How many coats of gesso do I need?
Two to three thin coats is the usual range for raw canvas. A pre-primed canvas often needs none.
Can I paint on canvas without priming?
You can, but the paint will soak in and the fibers may eventually be affected. Priming gives better color and a longer-lasting painting.
Can I use white paint instead of gesso?
Some artists do, but gesso is made for the job. Wall paint is not designed for flexible canvas.
How long should gesso dry before painting?
Check the label. Many dry to the touch within an hour, though waiting longer is safer.
Do I need to sand between coats?
Only if you want a smoother surface. For a textured look, skip it.