Acrylic pour painting is a technique where you mix paint with a pouring medium and let it flow across a canvas, creating swirls and cells without much brushwork. It is messy, a little unpredictable, and very beginner-friendly. You tilt, you watch, and the paint does most of the work.
What Acrylic Pour Painting Actually Is
In a pour, you thin acrylic paint with a medium until it flows like warm honey or melted ice cream, then pour it onto a surface and tilt the canvas to guide it. You can read about the basic paint type in the Wikipedia article on acrylic paint. Results vary widely, which is part of the fun. No two pieces come out the same.
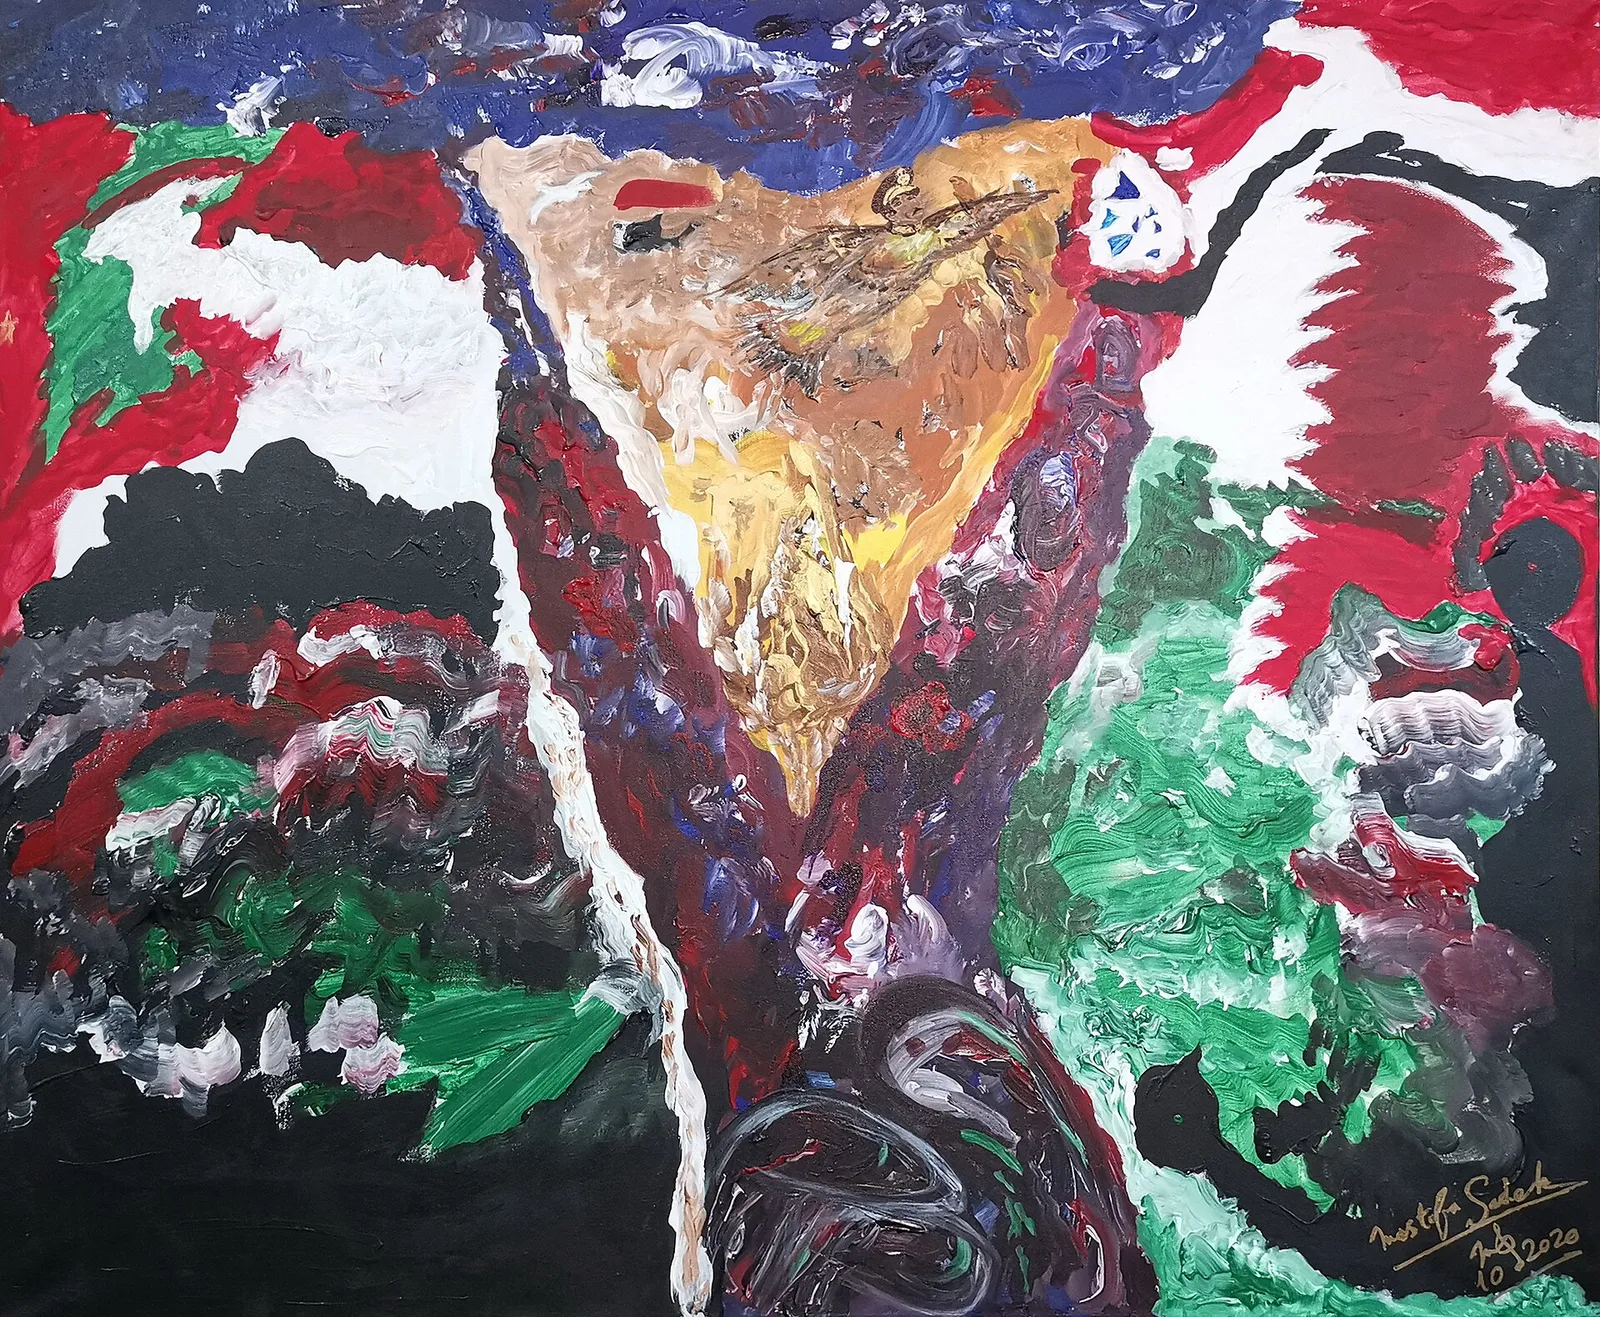
Supplies for Acrylic Pour Painting
| Item | Purpose |
|---|---|
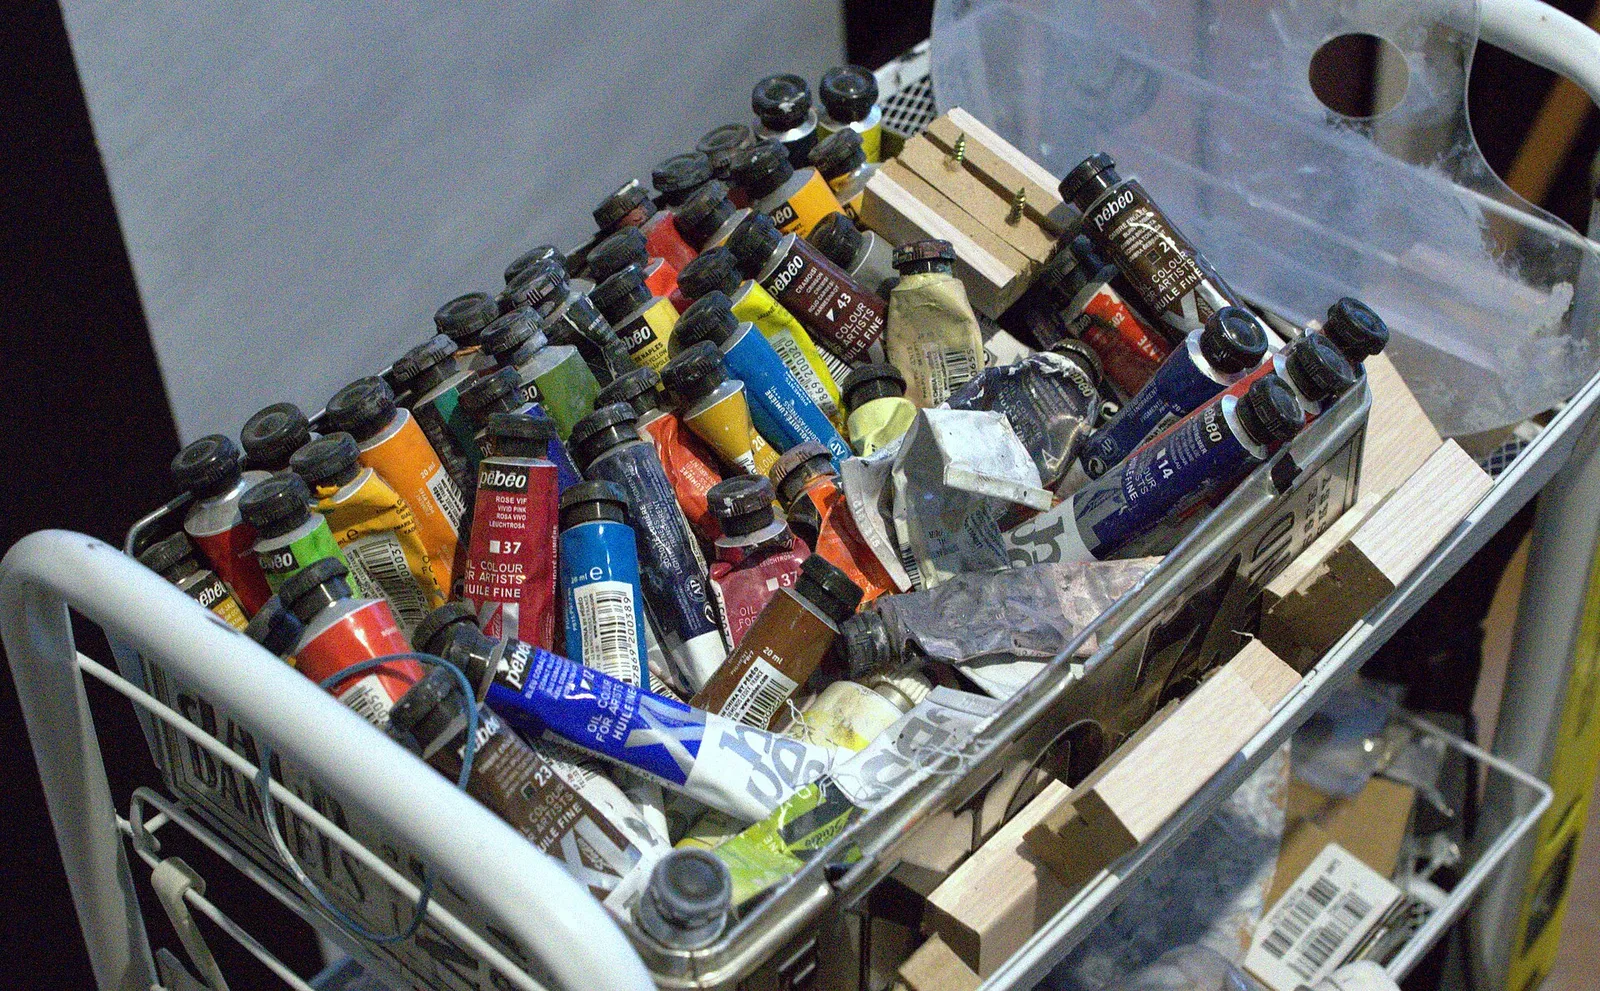
| Fluid or regular acrylic paint | Three to five colors plus white |
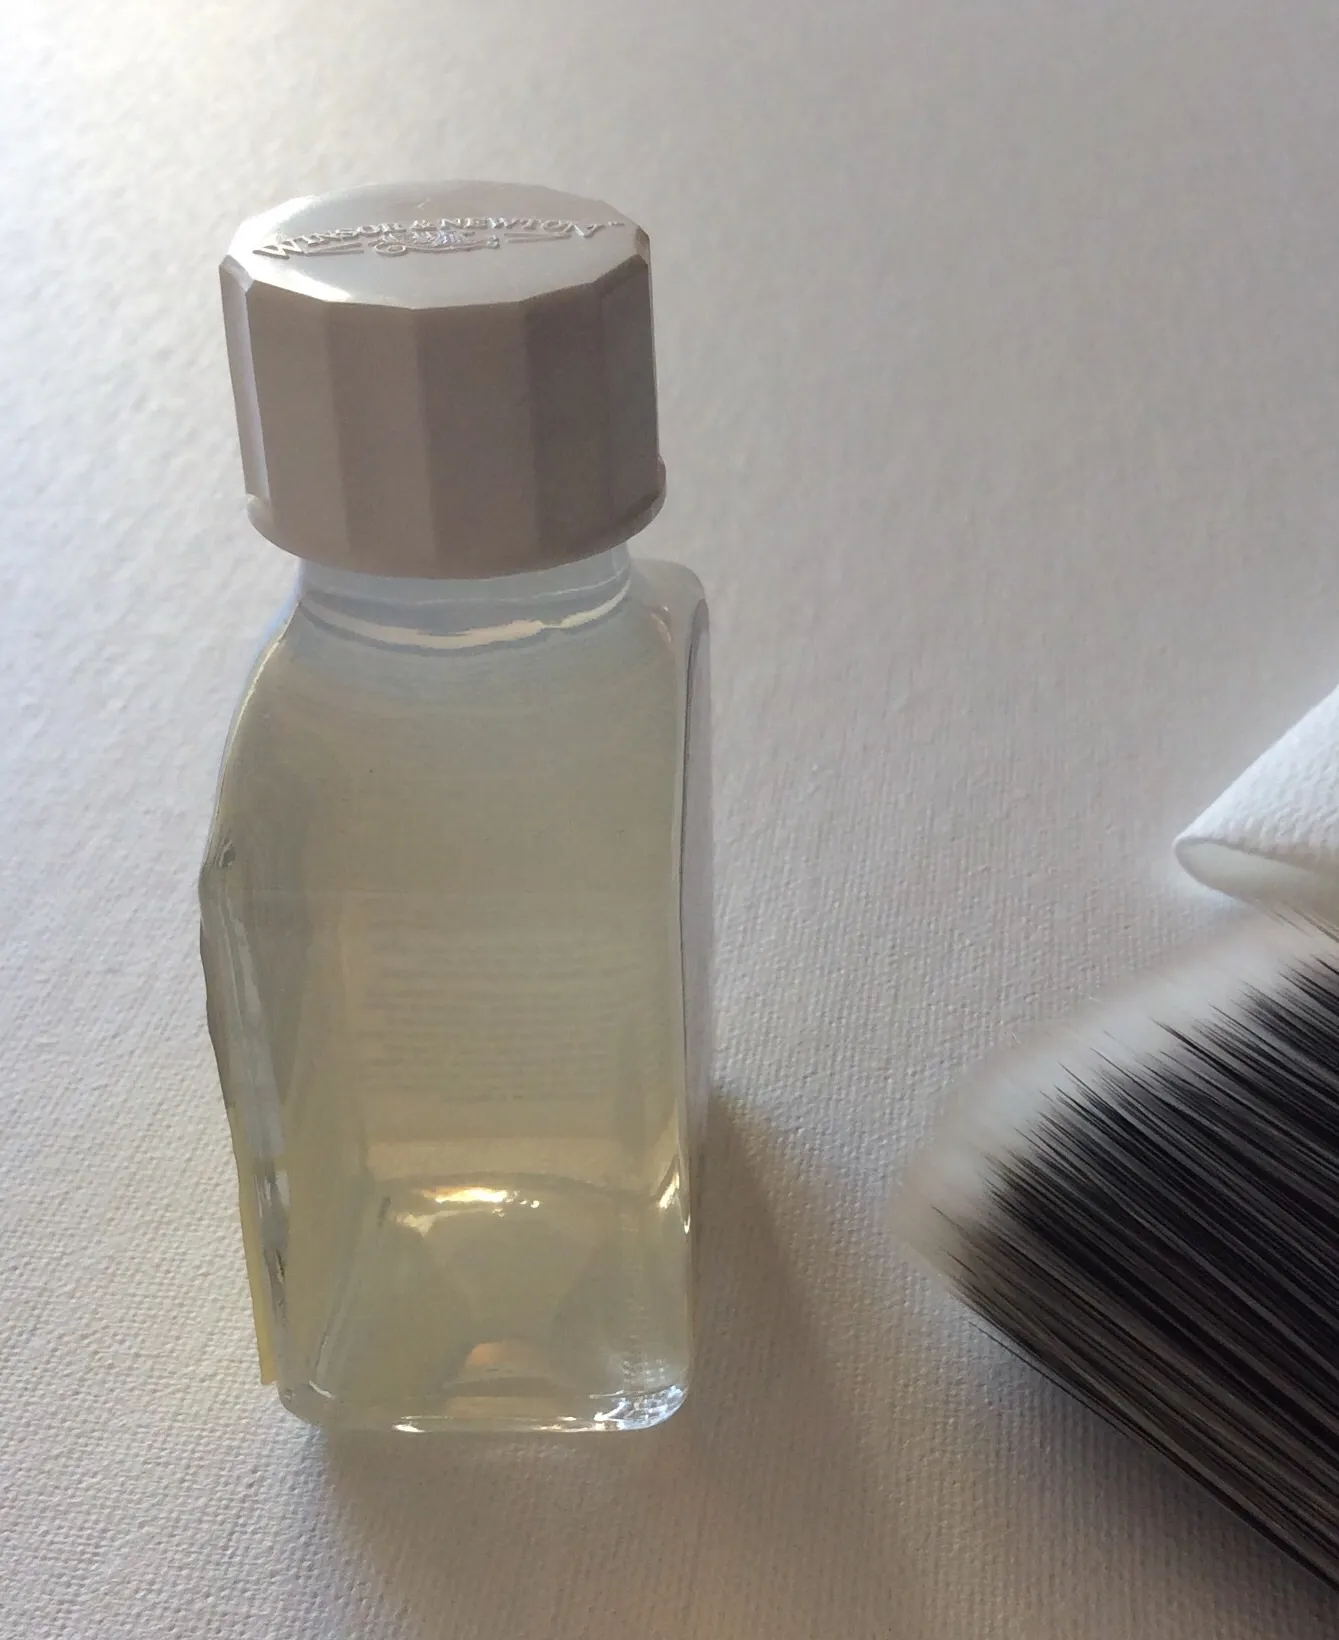
| Pouring medium | Thins paint while keeping it flowing and bonded |
| Cups and stir sticks | One cup per color; disposable is easiest |
| Canvas | Primed canvas, smaller sizes are easiest to start |
| Cups or blocks to elevate | Lets excess paint drip off the edges |
| Tray and plastic sheeting | To catch drips |
| Gloves and apron | Paint gets everywhere |
Follow the mixing ratio on your pouring medium’s label, since brands differ. Many artists add a few drops of silicone oil to create cells, though it is optional. If you need a refresher on paint basics, see acrylic painting for beginners.
How to Do an Acrylic Pour Step by Step
- Cover your work area with plastic, then set your canvas on four cups or blocks so the edges are free.
- Mix each color with pouring medium in its own cup. Stir slowly to avoid bubbles. Aim for a runny, even consistency.
- Test the flow by lifting your stir stick. The paint should drip in a steady, thin stream.
- Pick your method, such as a dirty pour, where you combine the colors in one cup and pour at once, or a flip cup, where you invert the cup onto the canvas.
- Tilt the canvas in different directions so the paint covers the whole surface, including the edges.
- Pop any bubbles gently with a toothpick or a quick pass of a torch if you have experience and take safety precautions.
- Leave the canvas flat, in a dust-free spot, to dry. Check the labels for drying times; thick pours often need a day or more.
Try a Simple Dirty Pour First
For your first acrylic pour painting, use three colors and white. Pour them into one cup in layers, flip the cup onto the middle of the canvas, lift, and let the paint spread. Then tilt. It is hard to get a truly bad result.
Troubleshooting Common Problems
Cracking
Cracks form when the paint dries too quickly or is poured too thick. Use enough medium and dry in a stable, draft-free spot.
Muddy Colors
Too much tilting and stirring mixes everything into brown. Fewer colors and less movement help. Our post on how to mix acrylic colors covers which pairings go muddy.
Dust and Bubbles
Dry the piece under an upside-down box or tub, propped so it does not touch the paint. This keeps lint and pet hair away.
Finishing and Protecting Your Pour
When the paint has fully cured, which can take days for thick pours, you can seal it with a varnish to deepen the colors and protect the surface. Clear acrylic varnish is a common choice. If you want to go down that road, our guide on how to varnish an acrylic painting walks through it. An acrylic pour painting is also easy to display: add hanging hardware to the back and your art is ready.
Choosing Colors for Pouring
Colors behave differently in a pour, because pigments vary in weight and opacity. Dense pigments such as titanium white tend to sink and spread, and lighter ones rise to the top. Start with a harmonious set, for example blues and greens with white, or warm oranges and reds with cream, rather than the whole rainbow. Too many hues in a small area will blend into brown. A dark color placed in the center of a pour often anchors the design, while white around it lets the other colors glow. Keep notes about your ratios so you can repeat what works, since part of improving at acrylic pour painting is simple record keeping.
Size Matters
A small canvas, say eight inches square, uses little paint and teaches you the flow quickly. Larger pours need more medium and more paint, and mistakes cost more, so save them for later.
Safety note: Work in a ventilated area, wear gloves, and be careful with silicone oil and any torch, which carry their own safety instructions. Do not wash large amounts of paint down household drains. If you pour on an old wood panel or furniture from a home built before 1978, it may carry lead paint; do not sand it and look up EPA-recommended lead-safe practices or a test kit.
Frequently Asked Questions
Do I need a special medium for acrylic pour painting?
Yes, a pouring medium helps the paint flow without losing adhesion. Water alone weakens the paint film.
How long does a pour take to dry?
Surface dryness can take a day, but thick pours may need several days to cure. Check the product label.
Why are my cells not forming?
Cells depend on paint density, medium ratio, and often silicone oil. Experiment with small amounts.
Can I pour on something other than canvas?
Yes. Wood panels, tiles, and coasters all work if primed and sealed.
Is it messy?
Very. Protect your table, floor, and clothes before you begin.