To varnish an acrylic painting, wait until the paint has fully cured, brush or spray on thin, even coats of a varnish made for acrylics, and let each dry before the next. Varnish gives your work a uniform sheen, guards against dust and scuffs, and can deepen dull-looking colors. It is also removable when you choose the right type, so future cleaning is possible.
Why Varnish an Acrylic Painting at All
Acrylic dries to a tough film, but the surface can look uneven. Some colors dry glossy and others matte, which is called uneven sheen. A clear varnish evens this out. It also provides a sacrificial layer: if dirt or scratches appear, a conservator or you can remove the varnish and reapply instead of touching the paint beneath. General background on protective coatings is on the Wikipedia varnish page.
Not every painting needs it. Paintings that will be framed under glass often skip it, but canvases hung open to a room benefit from it.
Choosing the Right Varnish
| Type | Best for | Notes |
|---|---|---|
| Gloss | Vibrant, deep colors | Shows glare under direct light |
| Satin | All-round use | A middle ground, popular with beginners |
| Matte | Flat, modern look | Can look cloudy if applied too thick |
| Isolation coat | Between paint and varnish | Makes the final varnish removable |
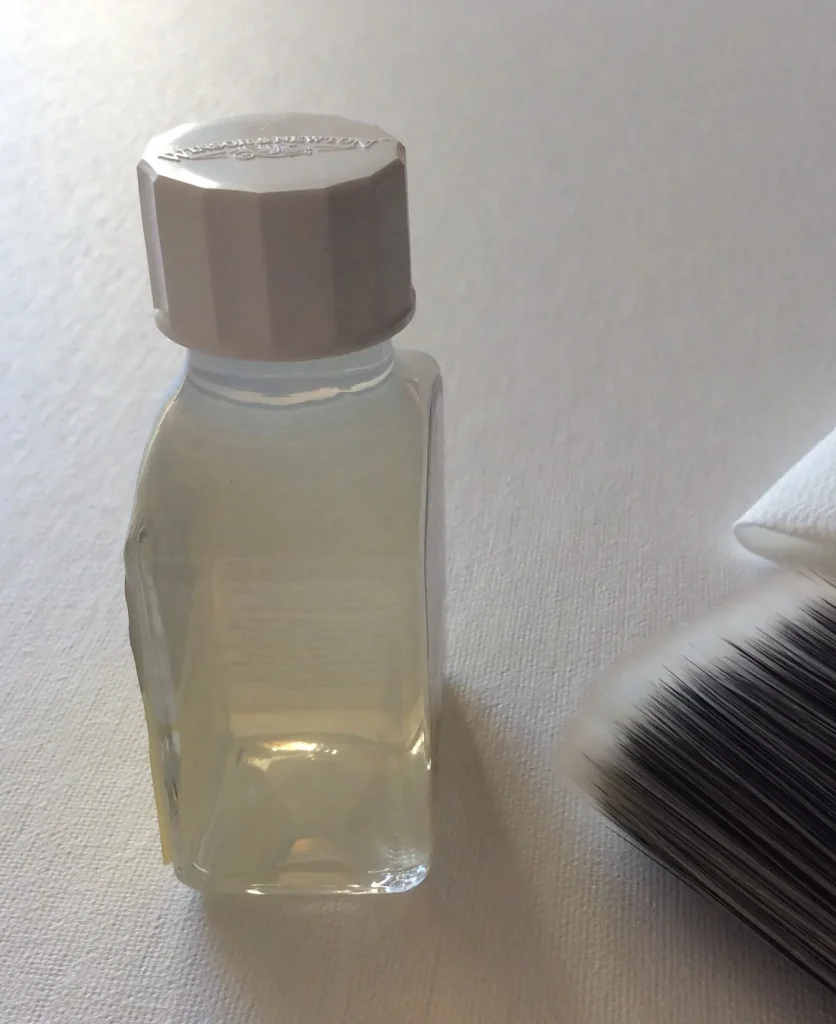
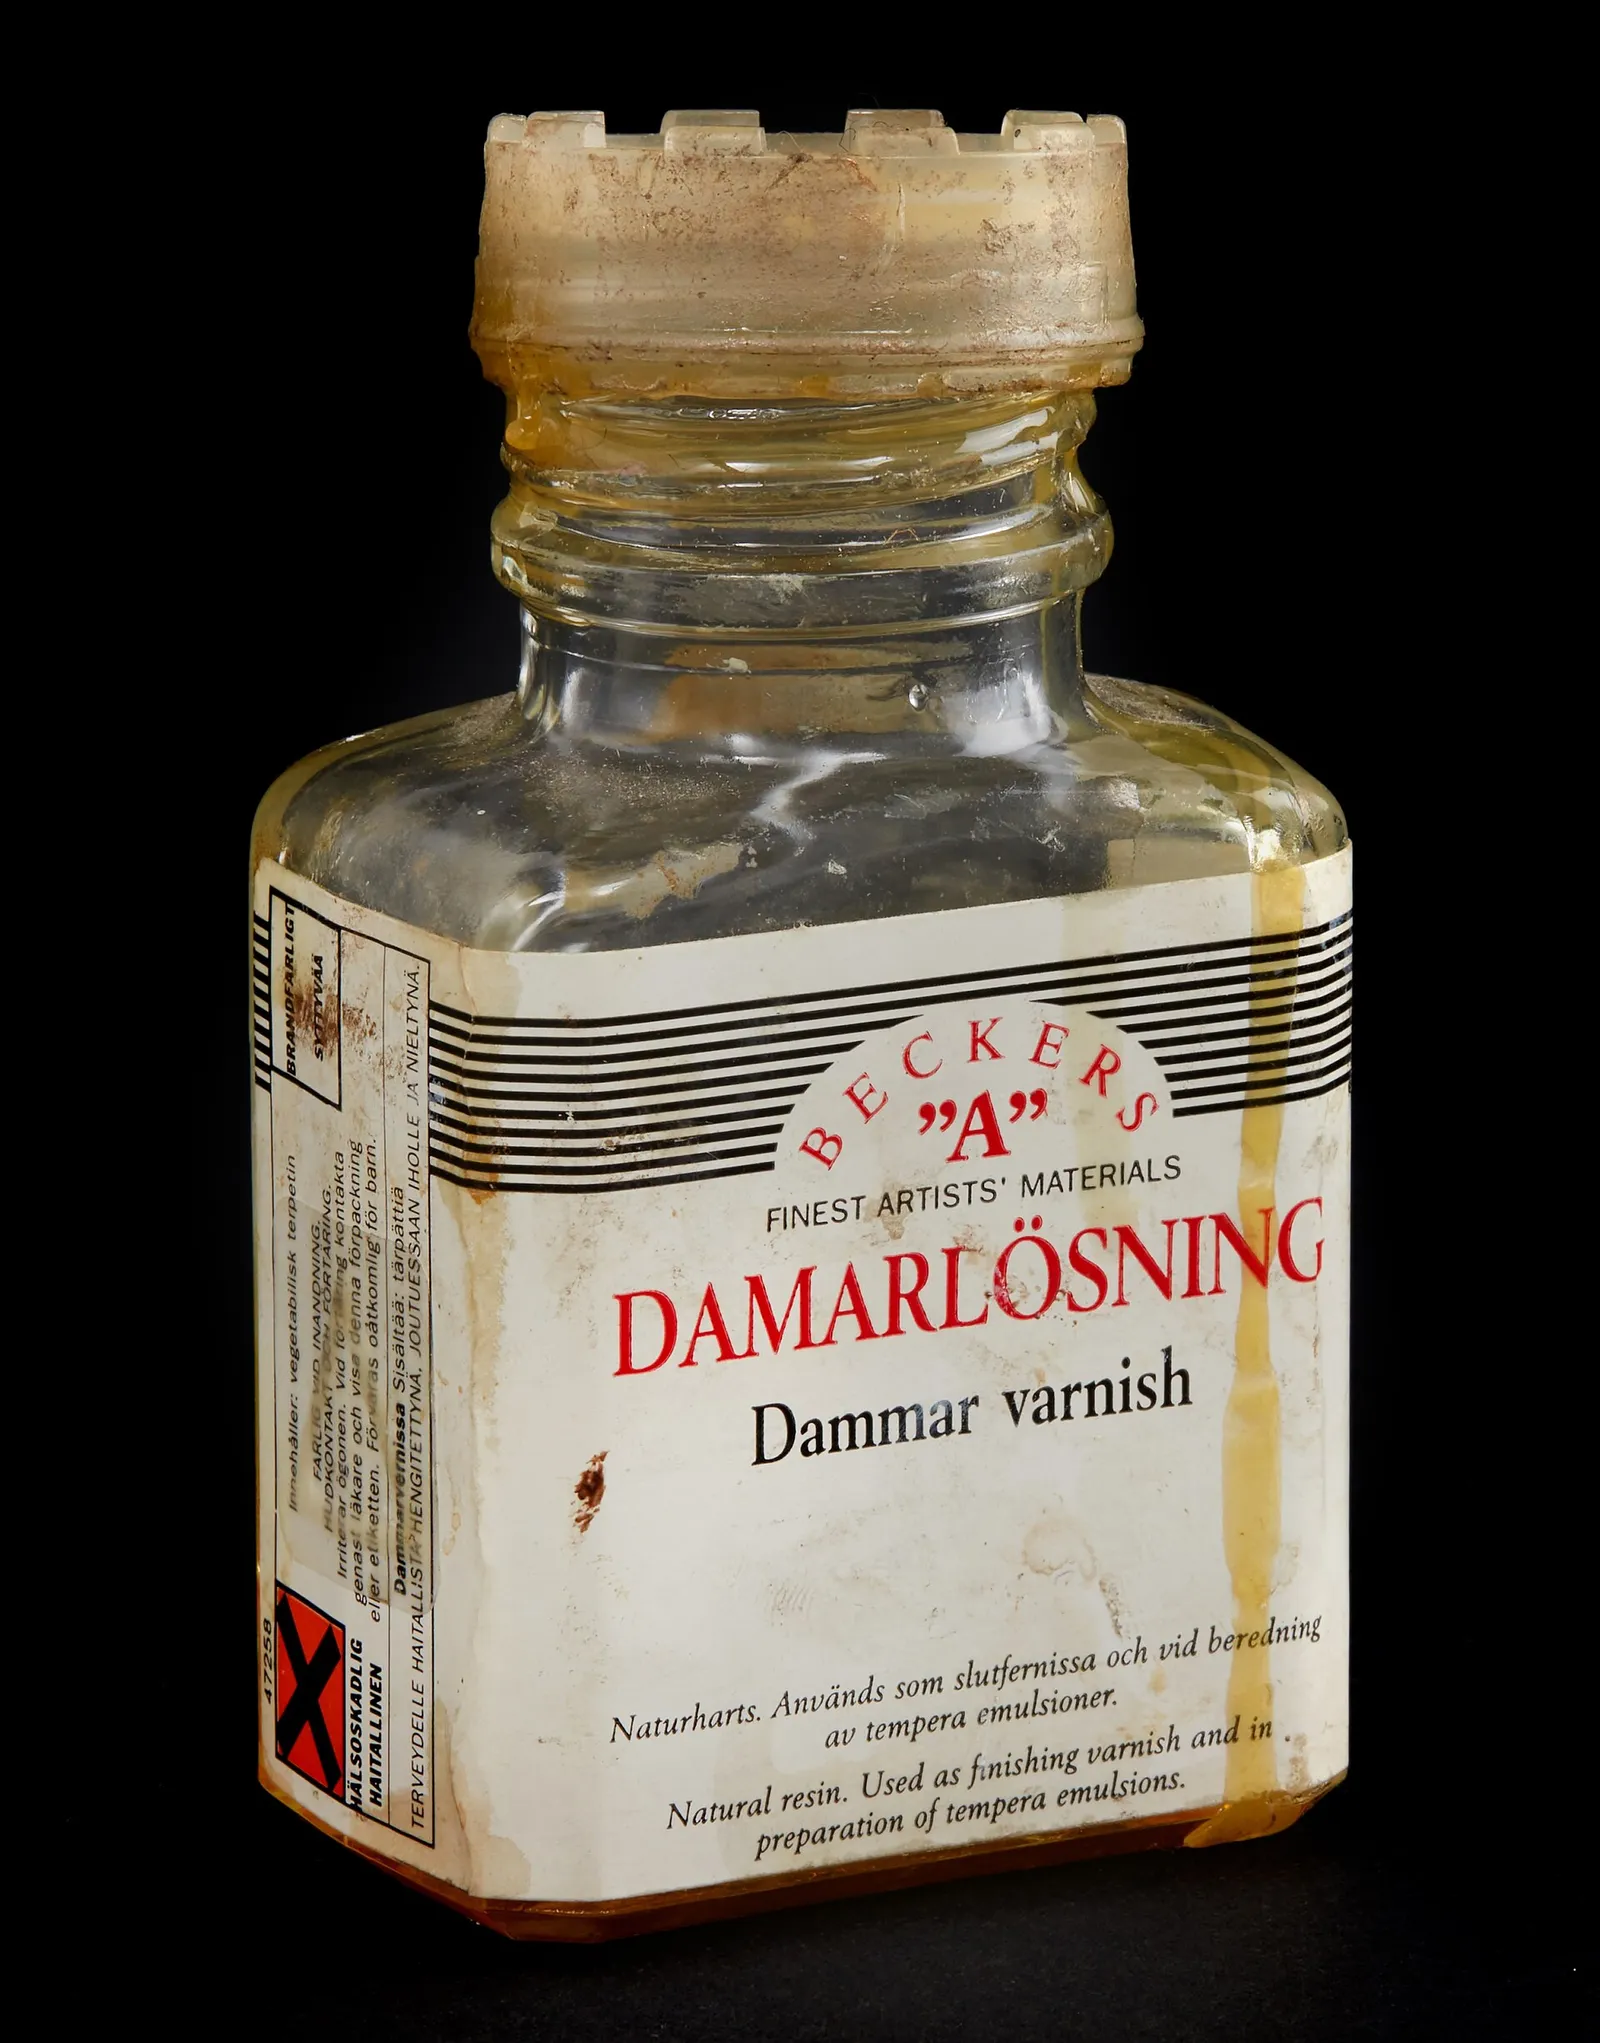
Look for products labeled for acrylic paintings, either water-based or solvent-based, and follow the instructions on the bottle. The bottle in the photo below is labeled as removable varnish for acrylics. Avoid household wood varnishes, since they can yellow and are hard to remove.
How to Varnish an Acrylic Painting Step by Step
- Make sure the painting is fully dry. Acrylic can feel dry to the touch much sooner than it is cured, so many artists wait a few days to a couple of weeks; check your paint and varnish labels.
- Dust the surface gently with a soft, clean brush or lint-free cloth.
- Lay the painting flat on a level surface in a clean, dust-free room.
- If your product calls for it, apply an isolation coat first and let it dry.
- Stir the varnish gently. Do not shake it, which makes bubbles.
- Pour a little into a clean container and use a wide, soft, flat brush. Brush in one direction with long, light strokes, working the whole surface.
- Let it dry according to the label, then brush a second coat at right angles to the first.
- Cover the painting loosely with an upside-down box while it dries to protect against dust and insects.
Thin Coats Win
Two thin coats look better than one thick coat. Heavy varnish can run, cloud, or trap bubbles. Keep your brush strokes minimal and resist going back over areas that have begun to dry.
Brush On or Spray On
Brushing is cheap and works well for most home painters. Aerosol varnish is quick, gives a smooth finish, and avoids brush marks, but it needs more ventilation and careful technique. Hold the can at the distance on the label and use light, sweeping passes. If you pick a spray, practice on a scrap panel first. Whichever route you take, learning how to varnish an acrylic painting is mostly about patience, clean tools, and a dust-free space. To wash your brush afterward, see our post on how to clean paint brushes.
Common Problems and Fixes
Cloudy or Milky Varnish
This usually comes from applying varnish over a damp surface, or in humid weather. Wait for a dry day and make sure the painting is fully cured.
Brush Marks and Streaks
Use a softer, wider brush and fewer strokes. Thin the varnish only if the label allows.
Dust Specks
Prevent them by working in a clean room and covering the wet painting. Fix dried specks by lightly sanding with very fine paper per the manufacturer’s advice, then recoating.
If you made your painting after learning the basics, see acrylic painting for beginners for supply ideas, and our easy canvas painting ideas for projects worth protecting.
Caring for the Painting Afterward
Once you varnish an acrylic painting and it has cured, treat it gently. Dust it occasionally with a soft, dry brush or microfiber cloth, and avoid hanging it above a radiator, in direct sun, or in a steamy bathroom. Do not use household cleaners on the surface. If the varnish gets dirty over the years, a conservator or the product’s removal instructions will tell you how to take it off and reapply a fresh layer, which is the whole point of using a removable varnish. Label the back of the canvas with the date and the type of varnish you used, so anyone who cares for it later knows what was applied.
Safety note: Ventilation matters, especially with solvent-based or aerosol varnishes. Work outdoors or near open windows, avoid flames and sparks, and read the label for protective gear. If you are restoring a painted surface from a home built before 1978, it may contain lead paint; do not sand it and consider EPA-recommended lead-safe practices or a test kit.
Frequently Asked Questions
How long should I wait before I varnish?
Wait until the paint has cured, which is often a few days at least and longer for thick layers. Check the product labels.
Do I have to varnish acrylic paintings?
No, but varnish protects the surface and evens out the sheen, especially for unframed canvases.
Can I use clear spray from a hardware store?
Choose a product made for artwork, because general sprays may yellow or be hard to remove.
Gloss, satin, or matte?
Satin is a safe pick. Gloss intensifies color, and matte gives a flat, modern look.
Can I remove varnish later?
Removable varnishes can be taken off with the method specified by the manufacturer. Check before you buy.