File this post under “The Lazy Gal’s Guide to Decorating”. It’s another book I’m working on. I mean, besides “101 Ways to Paint Leaves & Vines”.
I’m assuming if the title “No-Sew” peaked your interest that you’re not a seamstress. If you are, or even if you sew a little bit, I highly recommend you come back another time. Thanks for visiting, but this tutorial post is definitely not for you. Unless you need a chuckle or have a unfulfilled desire to feel superior. In that case, carry on.
Truth be told, I used to be a ‘seamstress’. I intentionally put quotes around ‘seamstress’ because it’s a lot different than ‘sewer’. I know this because I used to sew. A lot. Like wedding dresses. Men suits. An entire line of dancewear.
Seriously. I did.
So what happened to reduce me from a ‘seamstress’ to a ‘not-gonna-sew-and-you-cant-make-me” kinda gal who used to have an entire room devoted just to sewing with different machines and sergers and cutting tables?
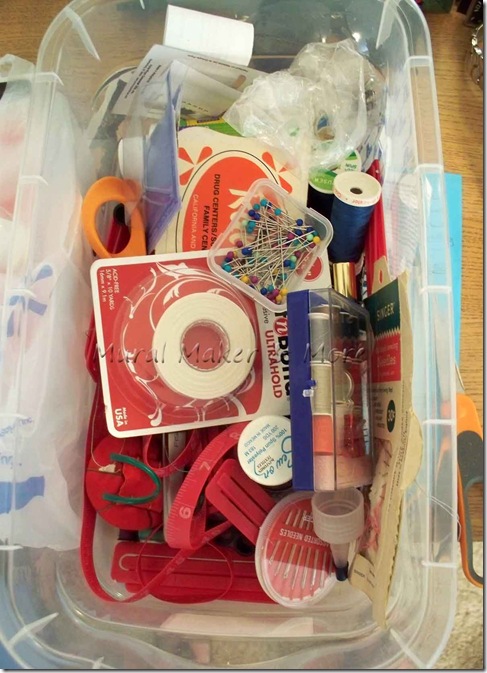
And now I have this . . .
The sum total of my sewing supplies.
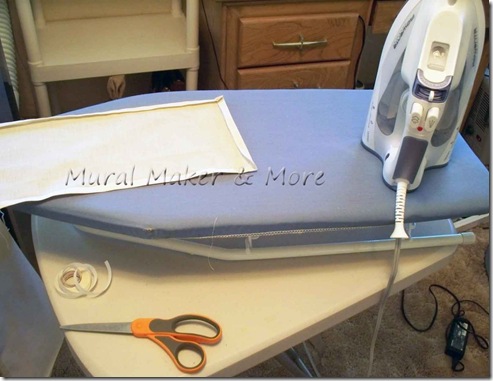
Except for my ironing board.
I blame my reduction in sewing status on my kids. It’s only one in a very long list. I mean, growing up (when I sewed every spare minute) I used to dream of having my own kids and how I’d make such cute outfits for them and decorate their rooms and . . .
and then reality hit. All at once. Three stepsons. Wham!
Sewing was the least of my worries in those days. But I digress. As usual. Suffice it to say nowadays I rarely thread a needle.
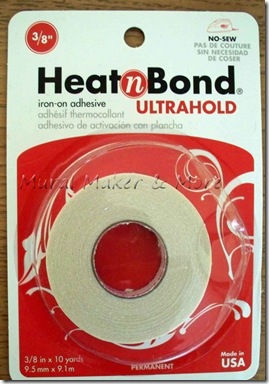
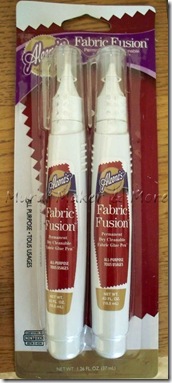
So when it came time to make a burlap table runner, I dug thru my ‘sewing’ box and dug out these fabric adhesives.
Neither of which work really well on burlap, I’ll admit. What would’ve worked is Fabri-Tac. That stuff works on everything. But I was out and wasn’t gonna run to the store.
Like I said, “Lazy Gal”.
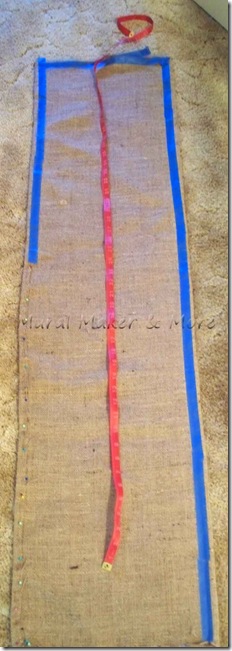
Moving on . . . first I cut a strip of burlap and ironed a hem on all edges. Then I glued the hem and taped it down.
Let me just say here there is burlap and then there is burlap. This was burlap – of the not-so-great quality. Tons of nubbies and cool textures. But not a great surface for adhesives. Except Fabri-Tac. Which I ran out of.
Moving on . . .
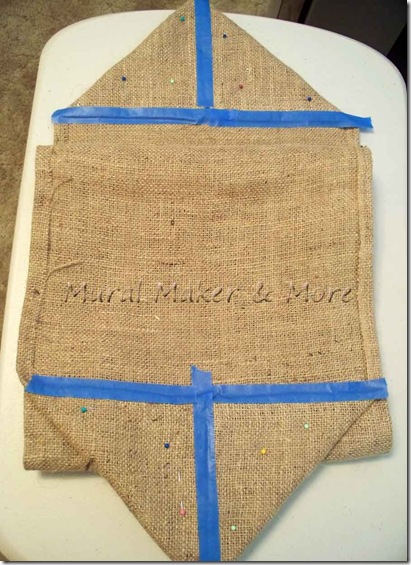
Then I folded each edge in to make a point. Glued it and taped it. With painter’s tape. Any tape will work though.
I don’t recommend pinning right where you glue because, um, you’ll never get those pins out after the glue dries because the glue will hold pins in burlap just great but it won’t hold just burlap-to-burlap so great.
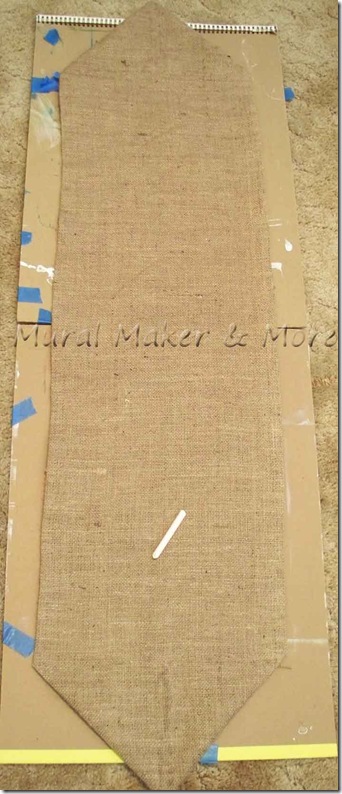
This glue takes a couple hours to dry but it will dry clear. So that wet mark that you see on the point underneath the chalk eventually dried.
I figured you’d want to know.
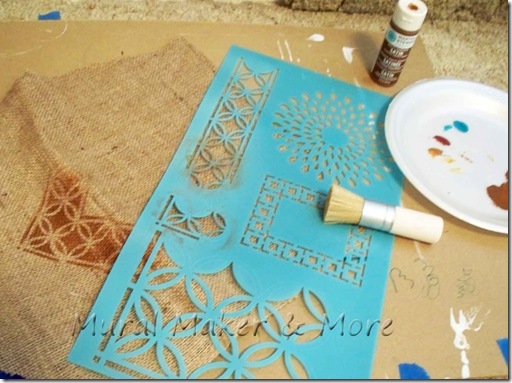
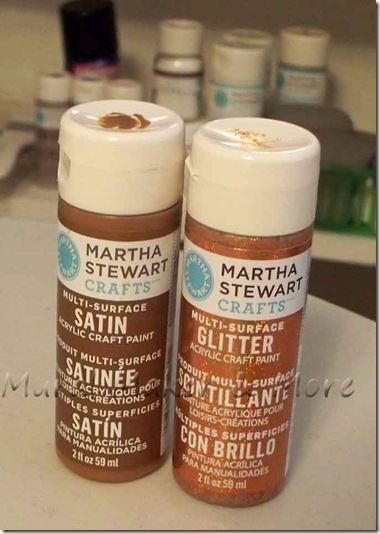
While the glue was drying I broke out some stencils, brushes & paints from my new Martha Stewart Crafts line by Plaid to practice stenciling on burlap.
You see, I had a Master Plan. I always have a Master Plan when I’m creating.
I may be lazy but that doesn’t stop my mind from running in overdrive.
Anyhoo, I wanted a stencil with a relatively small border for my Master Plan. So far, things were not going too well. The glue wasn’t holding. I had decided to stencil and my last attempt at stenciling back in 1995 made me swear off ever doing it again.
But it was part of the Plan so I forged ahead.
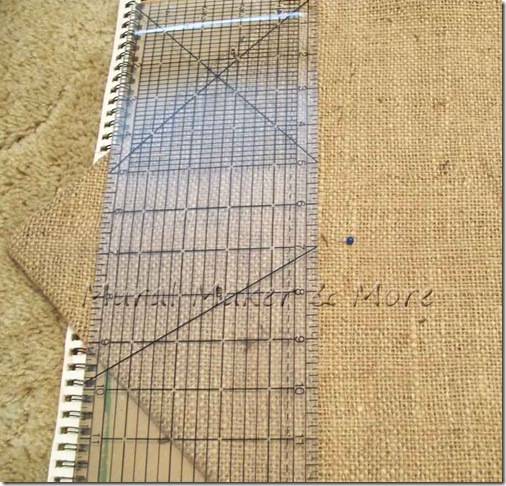
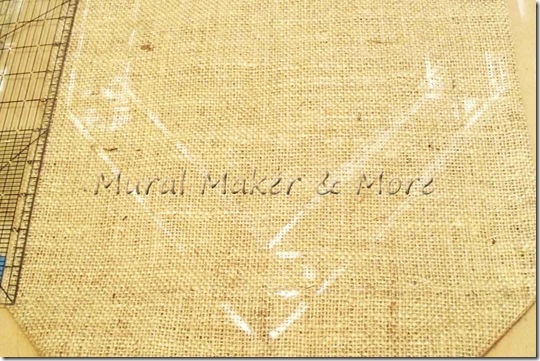
I measured a center point where the point of the stencil would go.
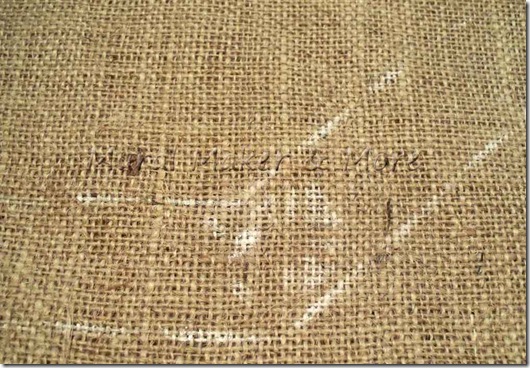
Then I marked it with chalk. I used to have all kinds of colors of fabric chalk but that was BSK (before-step-kids).
I then marked the corner angle from the slant to the horizontal border.
Now . . . at this point I should’ve know there was trouble brewing. I mean, I’m not dumb. I’m not new to the whole crafty, DIY thing. I shoulda known.
But I didn’t. I didn’t even bother to murmur a prayer to the DIY/stencil gods.
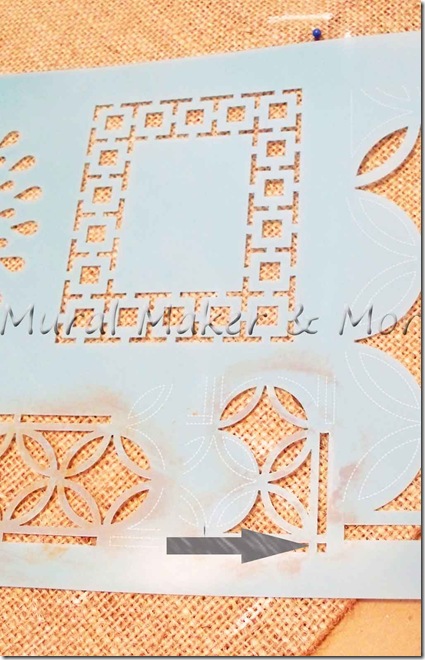
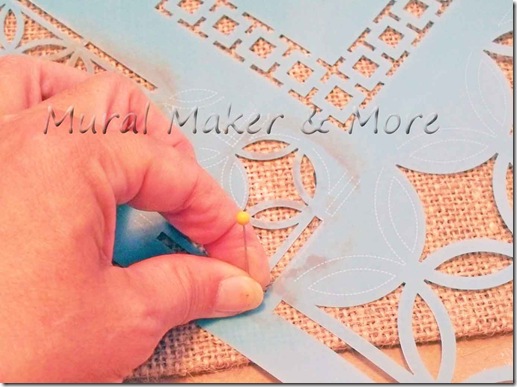
I just picked a point in the corner stencil –
stuck a straight pin in and rotated it about 45 degrees. About 45.
Hey! This doesn’t look too bad, does it? This actually might work, I’m thinkin’.
You just keep thinking, Butch. That’s what you’re good at.
And we all know how Butch and Sundance wound up.
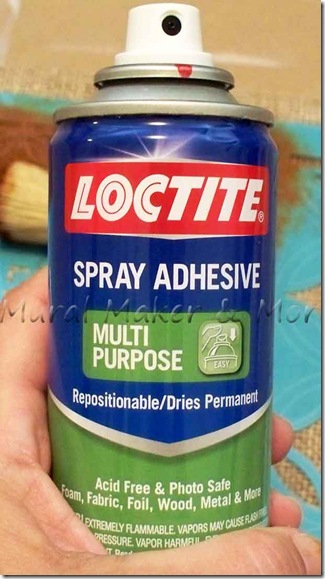
The one thing I’ve heard/read about stenciling is you MUST use a spray adhesive to keep the stencil down.
Mmkay.
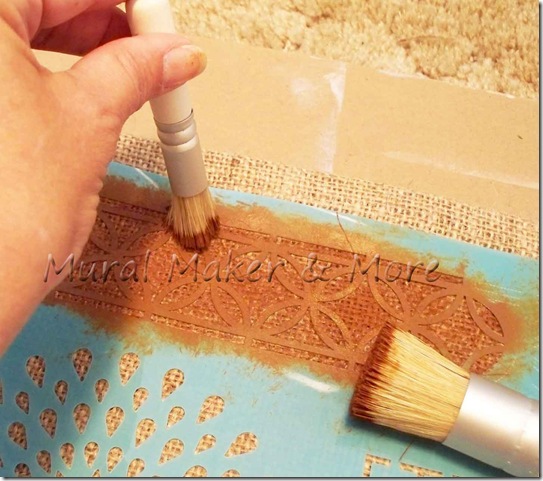
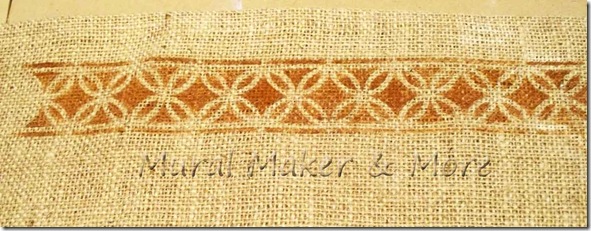
Since I was having just a bit too much fun with the larger brush, I used the baby brush for the little edge lines.
Pounce, pounce, pounce.
Then I pulled up the stencil and exhaled. This just might work. I might have finally pleased the DIY/stencil gods enough so that I’ll complete a project that won’t wind up in a box somewhere.
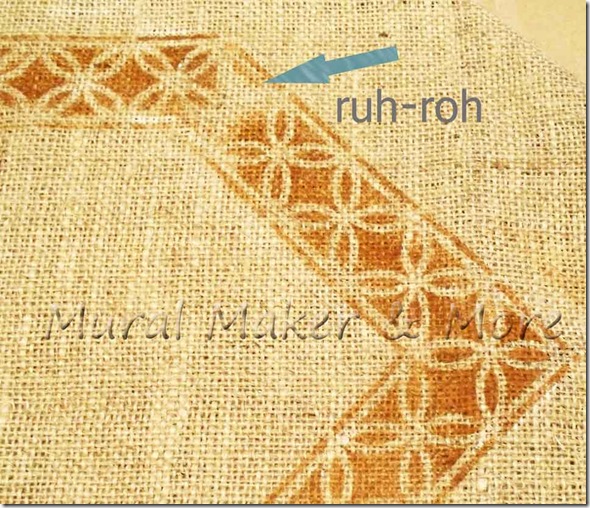
Spoke too soon.
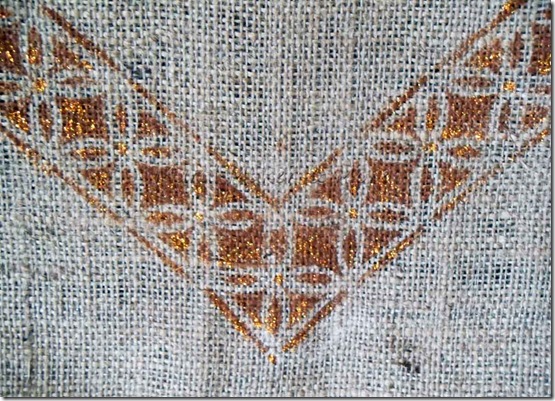
I knew it! I just knew it! Who’s big idea was it to stencil on a slant, anyway? Who’s big idea was it to stencil?
Oh yeah. That would be me.
Houston, I think we have a problem.
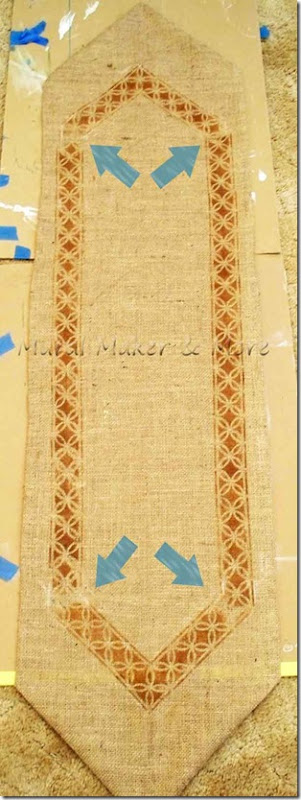
Except that while I might not please the DIY/stencil gods, the DIY/paint gods usually smile kindly upon me. So I just added some Chestnut Brown blobs in the corners.
I have to tell ya, I love this paint. More on that later, I promise. Much, much, more. I was distracted by this orange glitter.
Should I or shouldn’t I? I mean, it can’t get a lot worse, can it?
Glitter? On burlap?
Heck, why not?
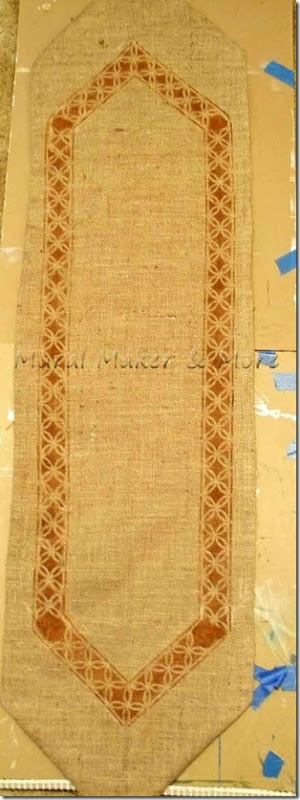
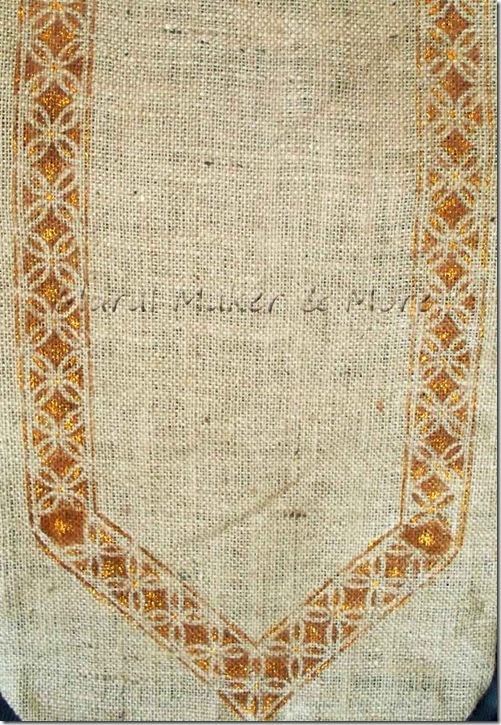
Now the big Chestnut Brown blobs in each corner have a beautiful little glitter blog on top of them. And glitter all over the border too.
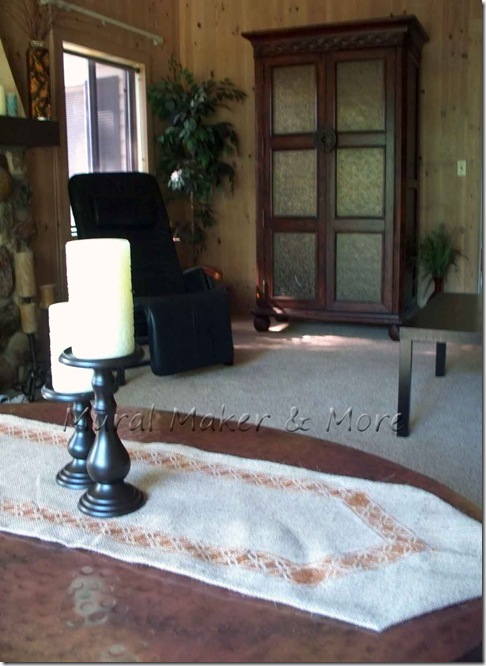
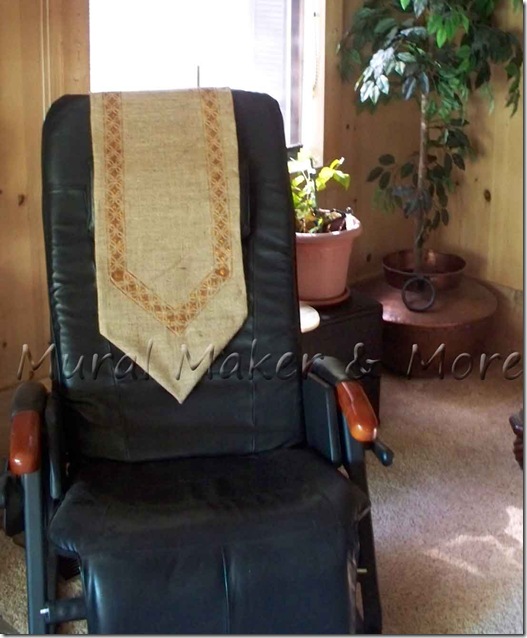
And no, I didn’t make this runner for the table. I made it for this fugly black chair that sticks out like a sore thumb in the room. But it’s great for my back because it’s an inversion chair so it stays. Only now it has an-almost-finished no-sew stenciled burlap runner on it. With glitter paint.
Yes, I said almost-finished. The Plan, remember?
The Plan that seemed like a good idea at the time. But wasn’t.
So, more on that tomorrow.
For today I’ll just look at my glittered burlap runner. That I stenciled. I actually stenciled! That came oh-so-close to being perfect.


I love all your burlap projects! I jumped on the burlap bandwagon too & can’t sew at all so I made no sew curtains, placemats, etc. I love the leaf mantel scarf and will try that!