I just bet you’ve been waiting for me to show how to paint some cowboy projects, haven’t you? No? You mean, because we’re a week away from Easter & Spring is finally starting to appear that you don’t want to paint a western rope or antique poster?
Well, in that case, just file this away for when you’re planning a cowboy-themed birthday party, or decorating a cowboy themed bedroom.
Or maybe just look at the pics and follow along. That’s okay too. My intention for painting these and the bandana print was to make some cute denim wall hangings for my new shop. Since I share pretty much everything I paint, here you go!
How To Paint Antique Poster
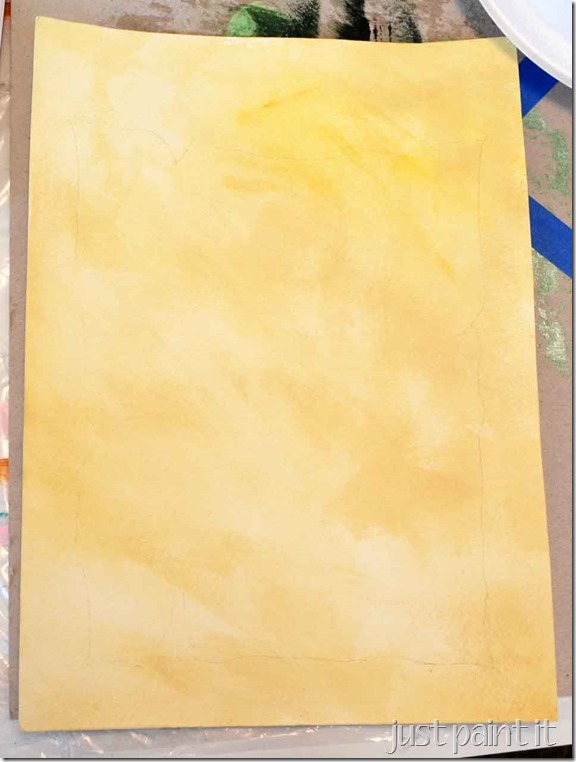
Sketch an outline of your “poster”. Dampen a sheet of watercolor paper with water and paint with watered down Raw Sienna.
Now, at first glance, Raw Sienna looks really dark. And it is. But by diluting it with water or floating medium and then painting it onto damp watercolor paper, you’ll get a nice parchment effect.
Think of a paint chip with the dark shades at the bottom and light at the top – when you dilute a medium to dark color, you can get the lighter shades at the top of the paint chip.
Why not just use a lighter color in the first place, you might ask. You can. But diluting a darker color adds more richness & dimension, imo.
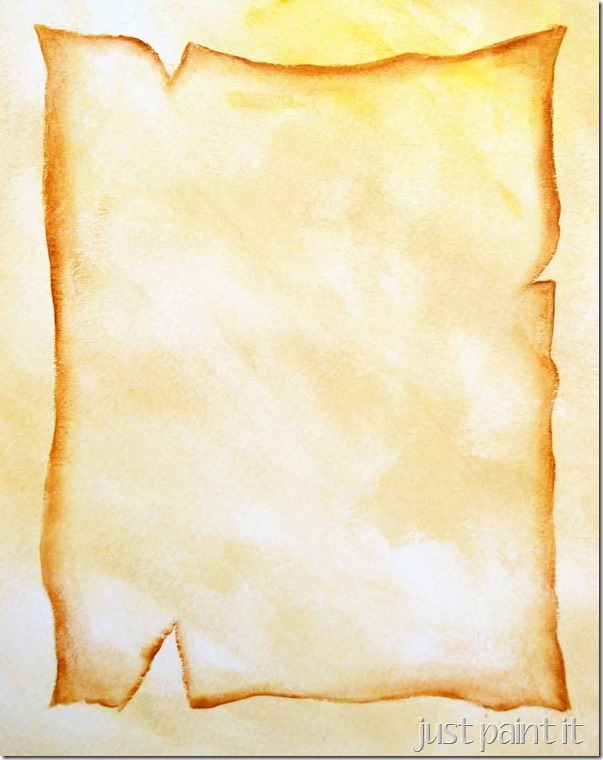
Now outline the edges of the poster with the same Raw Sienna, only full strength this time. I used a sideload – paint on the corner of a flat brush – and purposely painted it thicker & thinner in random areas.
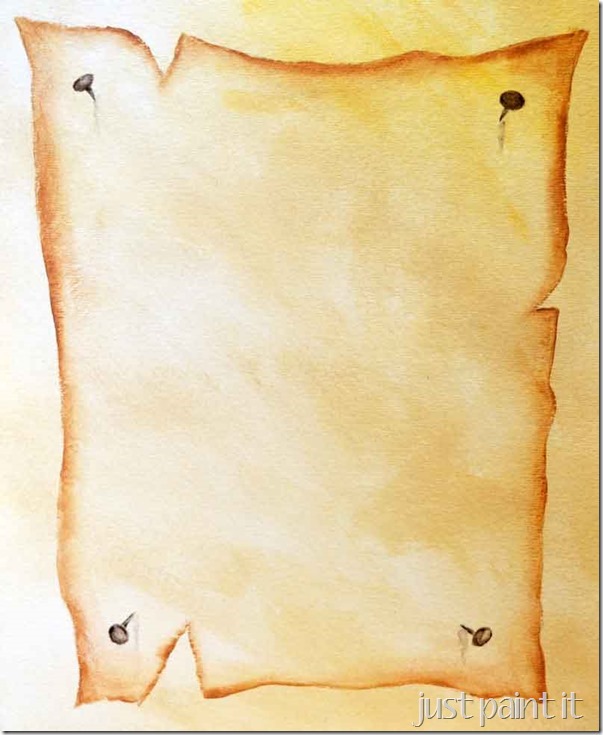
For the tacks (nails?) I used a darker brown, thinned it, and added another layer for the outline. The faint water stains are the same dark brown.
It’s kinda fun to play with just one color and see all of the shades you can get by simply diluting it and then add additional layers. Try it sometime.
How To Paint a Simple Rope
I’ll be honest with you – this took me a few attempts. More than a few, to be honest.
I wanted something quick ‘n easy. I don’t happen to have a rope stencil and, even if I did, there’d be blank spaces for the stencil ‘bridges’. My first tries were just with paint but I quickly realized that was gonna take me a lot longer than I wanted to spend.
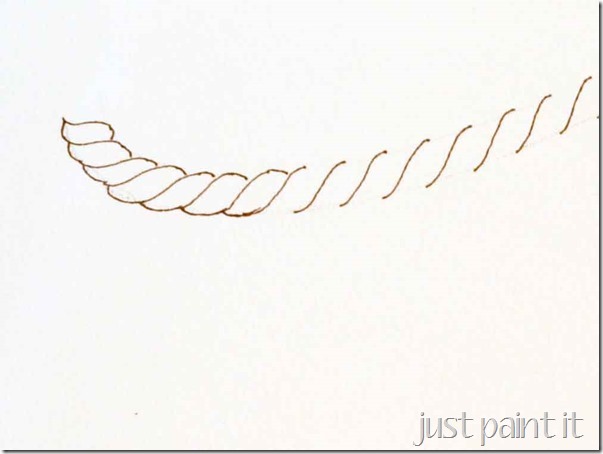
Then I grabbed a brown Sharpie.
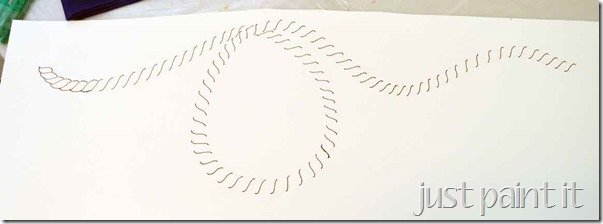
On the left side you can see the finished rope pattern. Pencil sketch the length of the rope and then draw the “S’s” with your marker.
For curves you have to adjust the “S’s” a bit here and there.
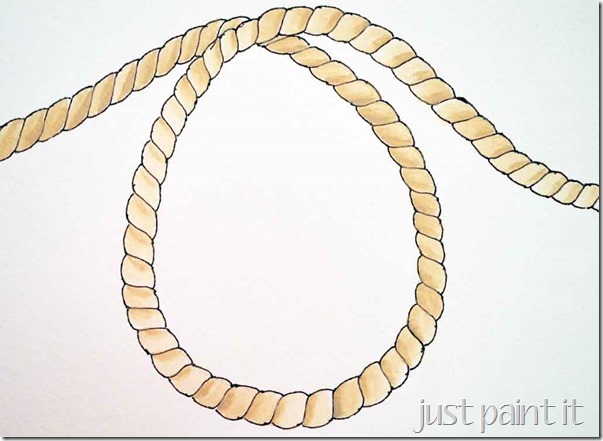
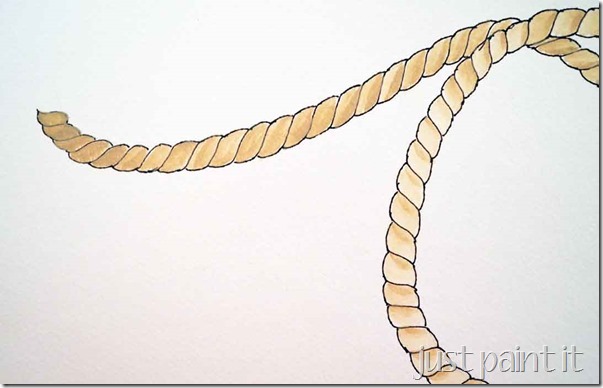
Then paint it in. I used Bamboo by Ceramcoat.
Notice on the left how dark it is compared to the circle. Yeah, it took me a minute to figure it out. Using the same Bamboo, I diluted it and filled in a few spaces, then add the full strength color to just one side, making it look like it was shaded.
Does that make any sense at all? I feel a video coming on. No, seriously, if you try this yourself – diluting, full strength – you’ll get the idea right away.
Wagon Wheel & Cowboy Hat
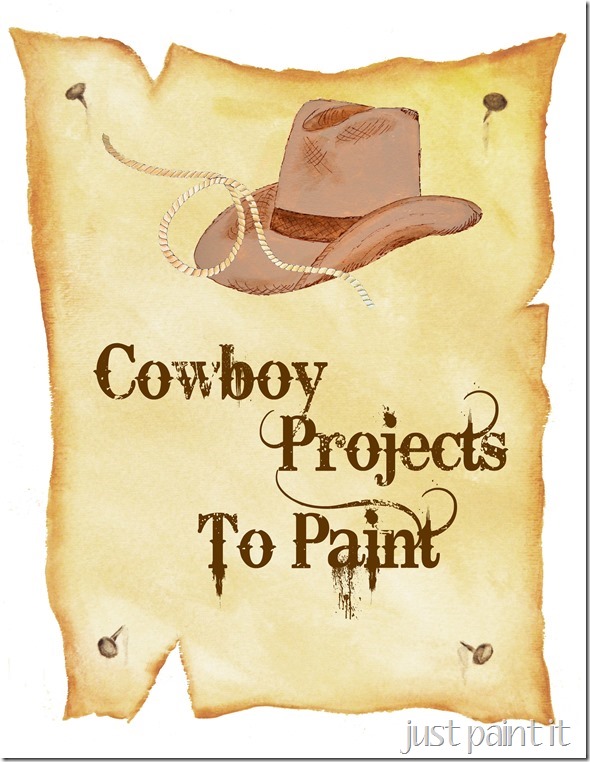
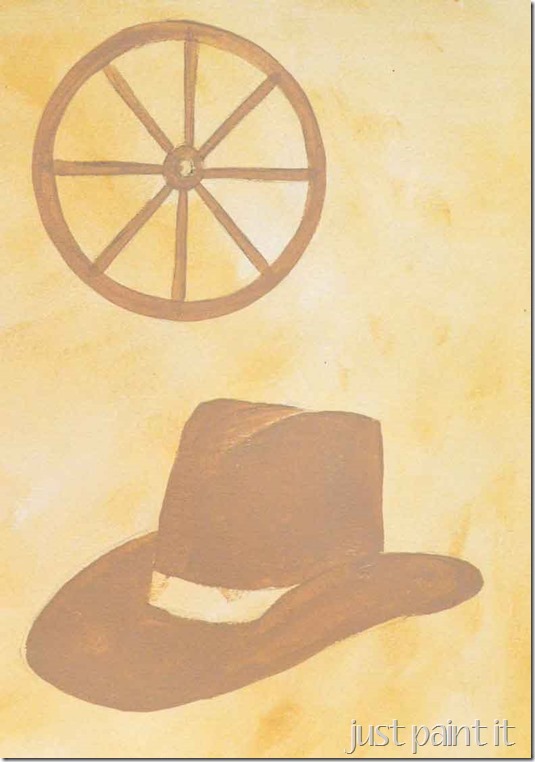
Using the same Bamboo I basecoated the hat & wagon wheel.
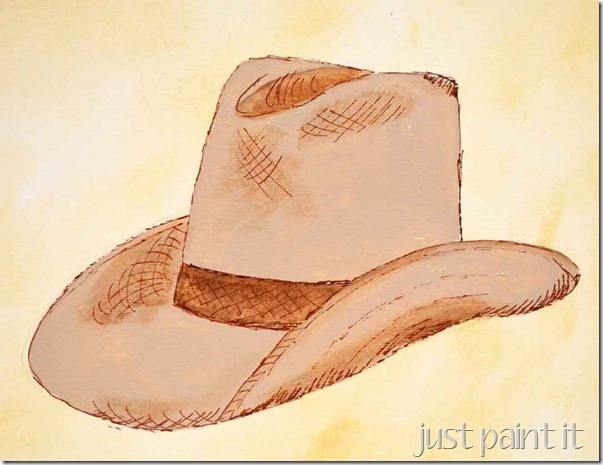
Then I diluted a medium brown for the hat band and then diluted it even more – almost a dry brush – for the other shading. And then, why not, I grabbed the brown Sharpie.
I want to play around with markers some more. I like how they take a painting into an “illustration”.
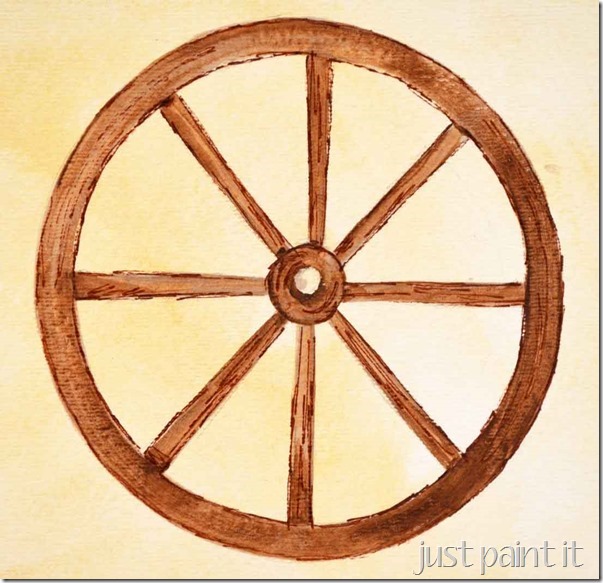
Same for the wagon wheel – diluted the medium brown and then detailed a bit with a Sharpie.
So now what? Well, I’m going to paint on the denim valance, of course. But I’m also going to make these into party printables. That’s assuming me ‘n Photoshop can get along for a bit.
Ok. I’m heading back to Spring painting classes & projects.
That is, until something else in my ‘stash’ catches my eye.
Tell me I’m not the only one with creative ADD, mkay?
Colleen




Leave a Reply