It’s been a number of years since I’ve had my own Christmas tree, what with my husband & I losing our home in 2010 and my mother not really wanting one.
I think this year I’ve made up for lost time.
It’s possible, just maybe, that I’ve gone a bit overboard.
Who? Me?
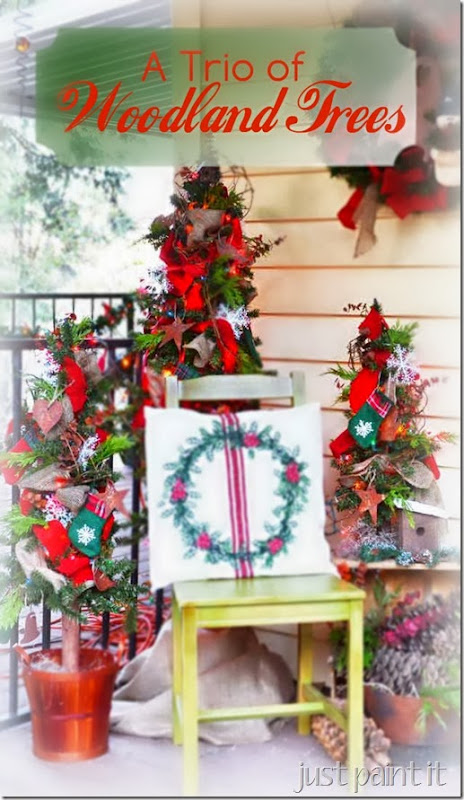
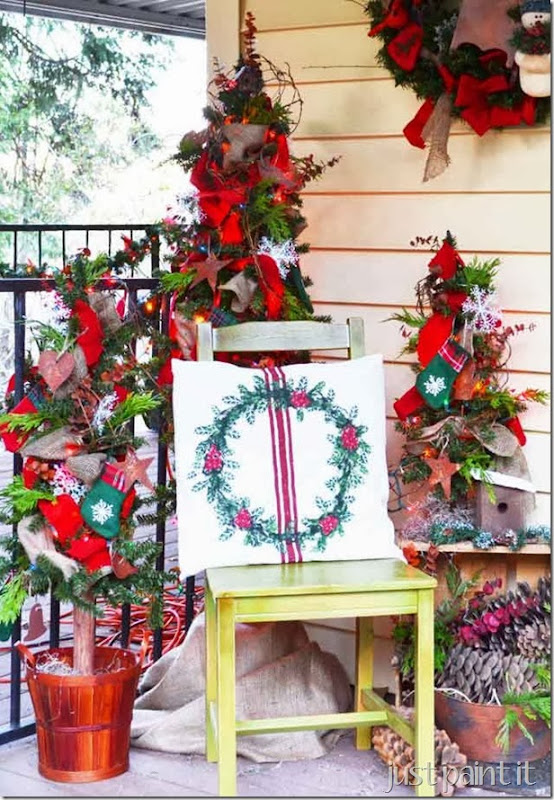
These three alpine trees sit on my front porch. I’m still getting everything ready for the 12 Days of Christmas Tour this Monday but these little guys tickle me and I wanted to share them with you.
(I also have a big announcement at the bottom of this post!)
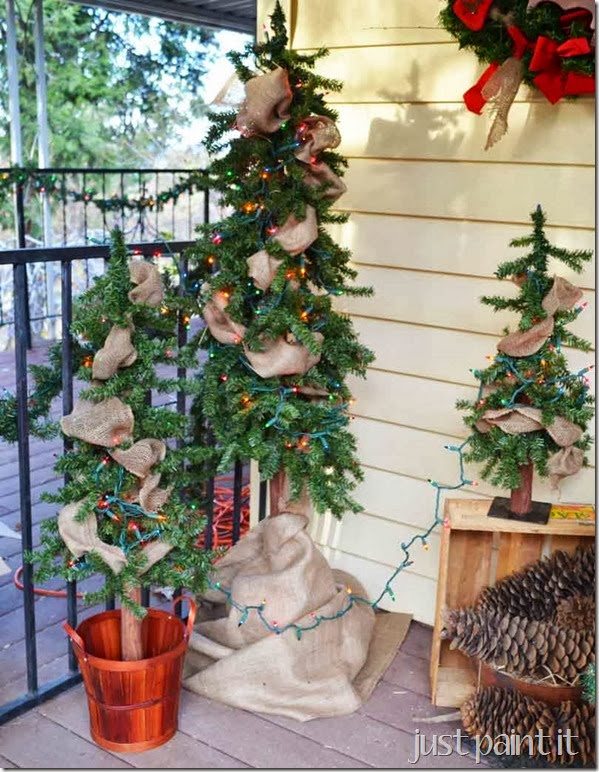
I got this set from Walmart.com, although I know craft stores sell them individually too. The tallest is 4’ and the small one is a little over 2’.
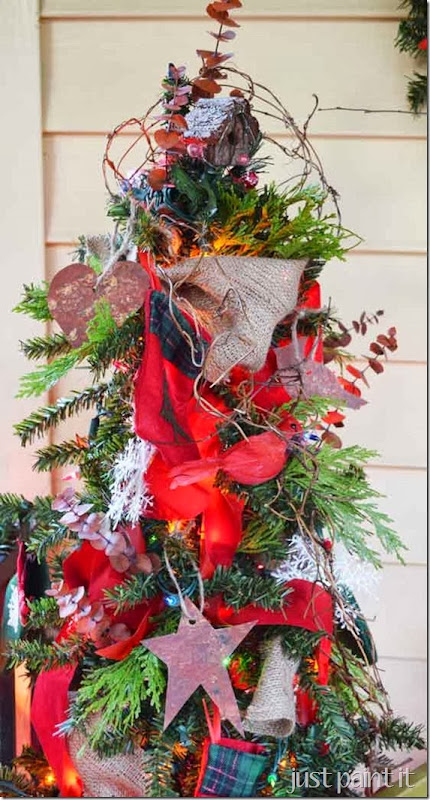
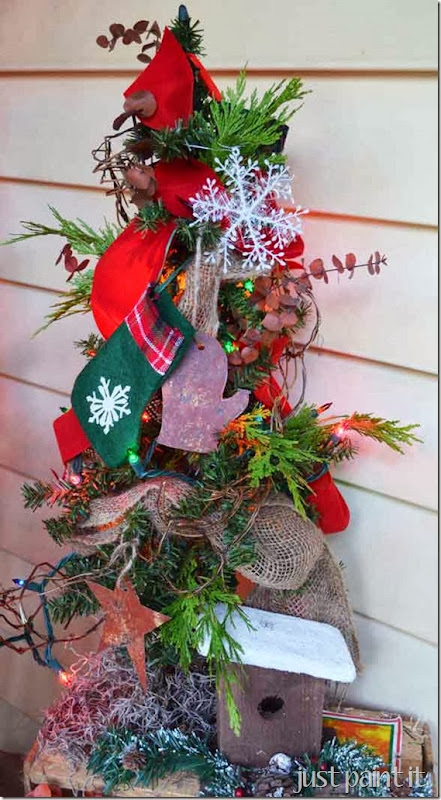
I wanted an outdoorsy, woodland feel, yet warm and inviting. Burlap was a natural choice with its natural color and nubby, open weave.
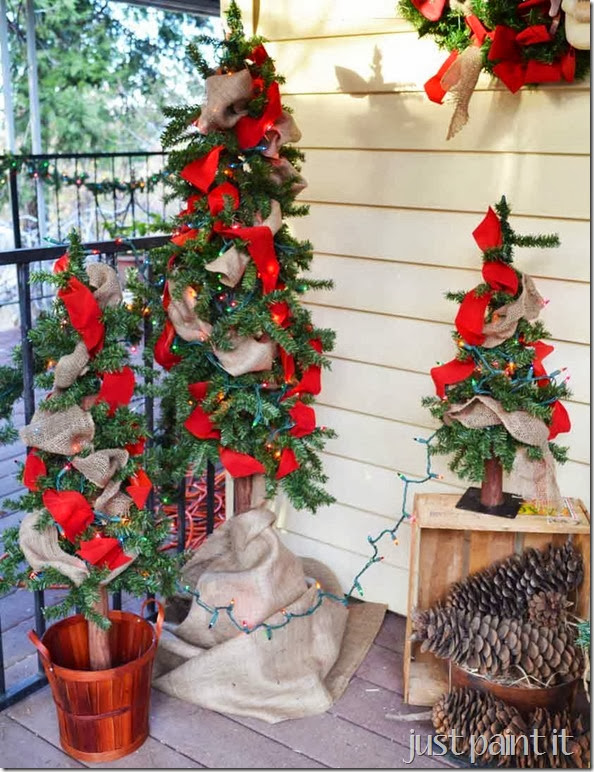
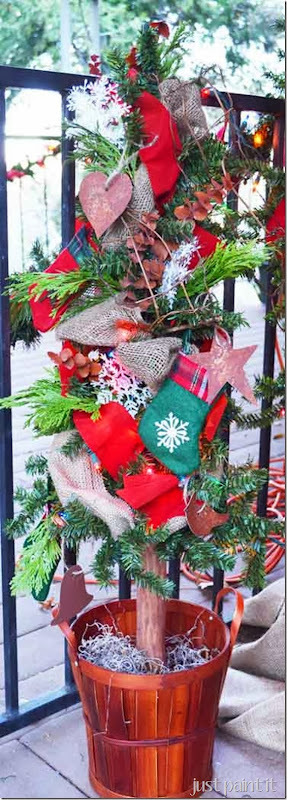
I used landscaping burlap to wrap the base of the tall tree, which is elevated on a clay pot, and draped burlap ribbon in each tree.
Weather-proof red ribbon worked to brighten the corner that only receives afternoon sun.
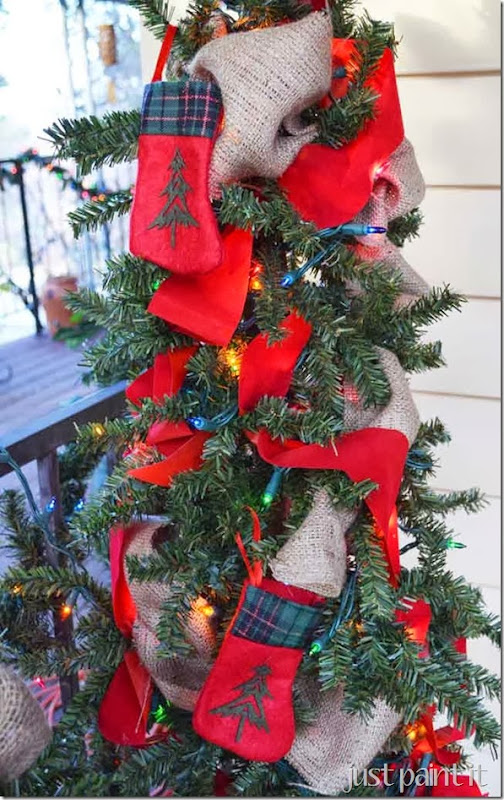
I picked up these tiny felt stocking ornaments at a discount store and love the tartan plaid border.
Sometimes procrastination works in your favor.
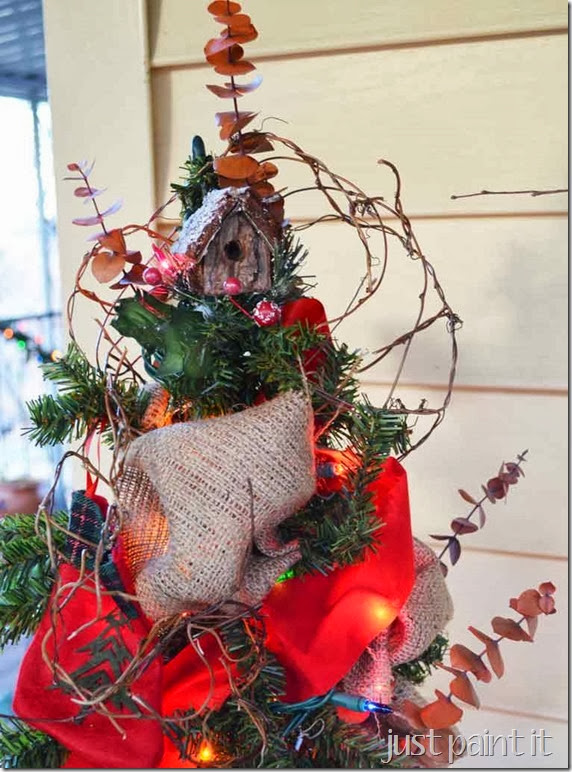
I hadn’t put my Fall decorations in the garage yet. The eucalpytus and wired grapevine ‘ribbon’ added some organic touches that I wouldn’t necessarily have thought of for Christmas trees.
I try to keep an open mind when decorating trees, adding unexpected items, but find it’s more difficult with my own decorations then when I did display trees for the craft store.
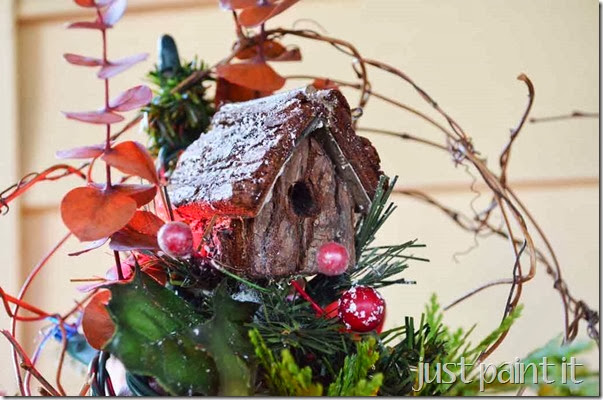
A tiny bark birdhouse made the perfect tree topper for the tallest tree.
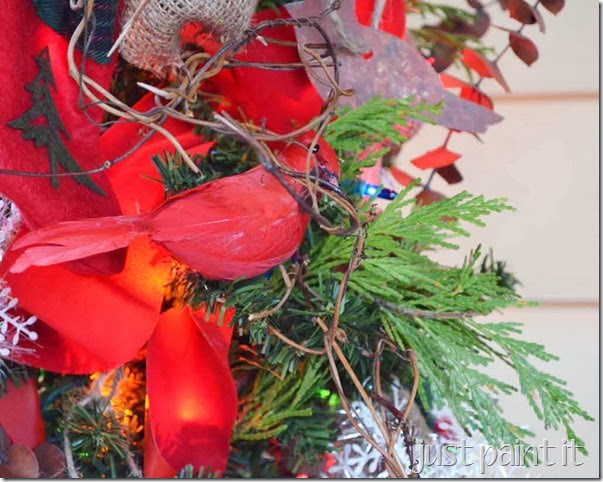
A few red cardinals found their perch on some cedar branches I snipped from our yard.
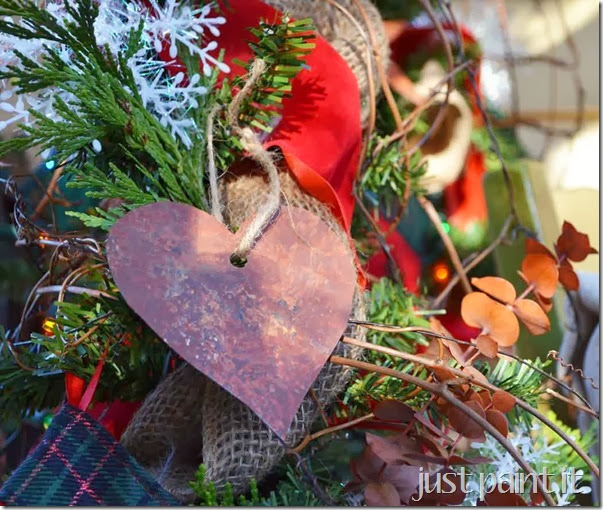
Can you spot the faux rust ornaments I made from cereal boxes? I’ll share a detailed tutorial on those later.
The littlest tree . . .
And the middle tree . . .
I’ll show you the entire porch Monday for the Tour but here are some of my decorating ‘notes’.
The key to good design is to hold visual interest. Another goal is to repeat elements within a vignette. However, there’s a fine balance between mish-mash and drawing the viewer in to look closer, and a lot of that is simply personal taste.
With that in mind, here’s why I chose certain elements:
- the Fall eucalyptus ties back to the faux rust ornaments
- the jute twine holding the faux rust ornies ties back to the burlap
- the snowflakes were added because the dropcloth of the Holly Leaf Pillow was too strong in it’s near white color and pulled the eye. The snowflakes helped to distribute the white throughout the vignette.
That’s just a few, without going into an entire course in design theory.
But hey, remember I said I had a big announcement?
All next week we’ll be talking DIY Christmas Decorating here on the blog. Specifically, how to get a designer look without the designer price. Monday will kick it off with a complete Tour of my holiday decorations, then each day afterwards I’ll have all kinds tips & tricks.
I’ve been working really hard on this series and I’m so excited that it’s finally here! I hope you’ll drop by. While not every theme or style might be your taste, I bet you’ll find a tip or two that you can use to create your own signature look.
Until then, Happy Decorating!
Colleen




I love the trees and am looking forward to your series!
Love the rustic look the grapevine and burlap give! Can’t wait to see more!
Great, This is really amazing page, here, I really enjoyed reading your thoughts, I will definitely share this article to my friends out there.
voyance par mail gratuite