How To Stencil Burlap Art
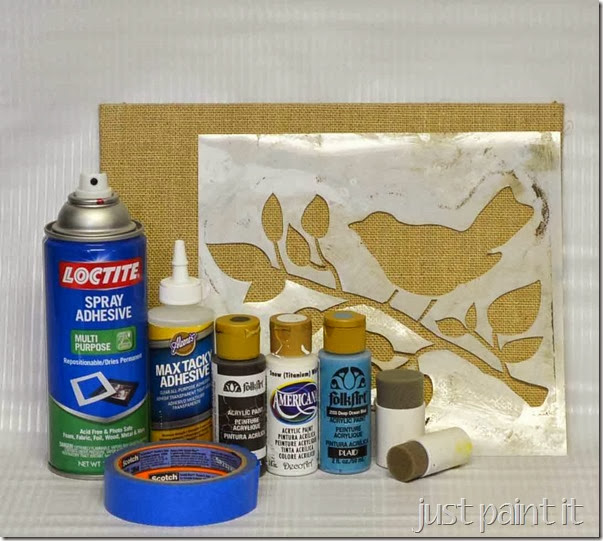
Materials (all available at Michael’s)
- burlap canvas (this came in a set of three)
- stencils
- stencil spray adhesive
- paint (I used White, Raw Umber and Deep Ocean Blue)
- foam pouncers
- painter’s tape
- wax paper (not shown)
- optional: ribbon, gem crystals and Max Tacky Adhesive
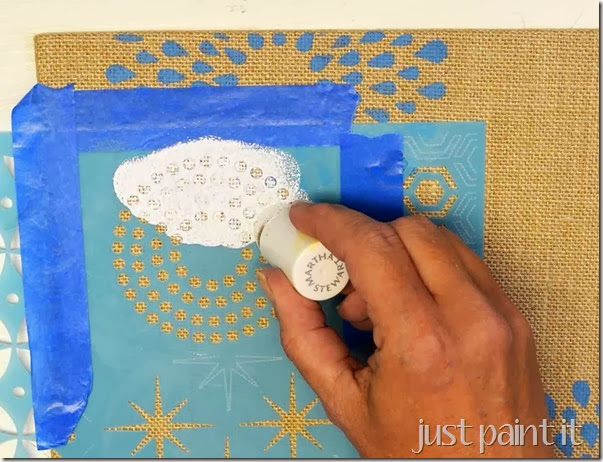
Since we’re stenciling burlap with a nubby weave, I recommend spraying stencil adhesive on the back of your stencils to prevent paint bleed-thru.
Trust me on this. ![]()
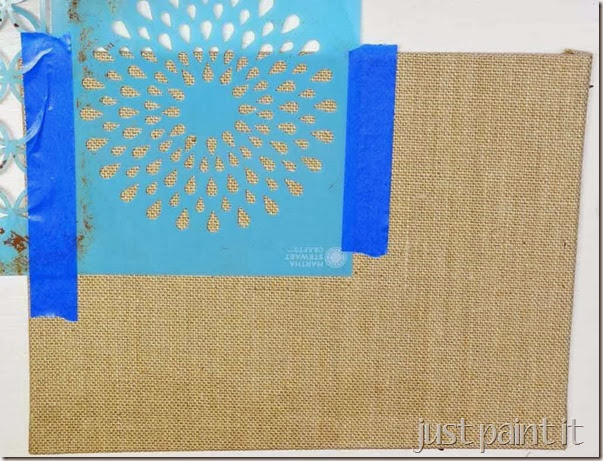
Another trust-me-on-this is to add strips of painter’s tape along the edges of the stencil so you don’t pounce paint where you don’t want it.
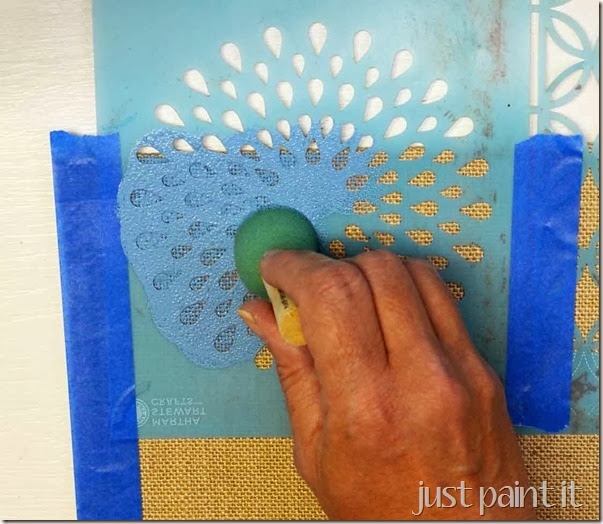
You could also use a bristle stencil brush. I tried that too. It takes a little longer . . . er, a lot longer . . . but bleed-thru risk is minimized. In the end I loaded a foam pouncer and made sure I pounced up-and-down without much pressure.
And one more trust-me-on-this . . . you do realize that this means I tried it another way and had issues, right?
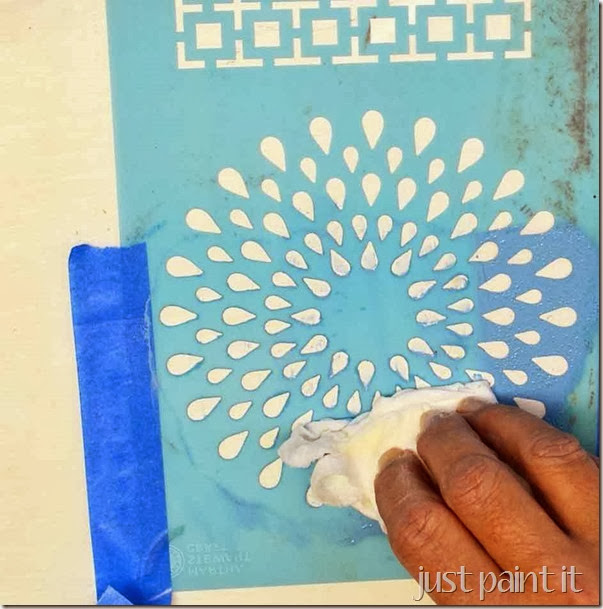
After each paint/stencil application, set the stencil on wax paper and wipe all the paint off with a damp paper towel, turn it over and wipe the backside.
I’ve nevered stenciled a large surface, like a wall, so I don’t know how stencilists do it, if they wipe each time or not. For me, this was the only way to ensure no extra paint splotches.
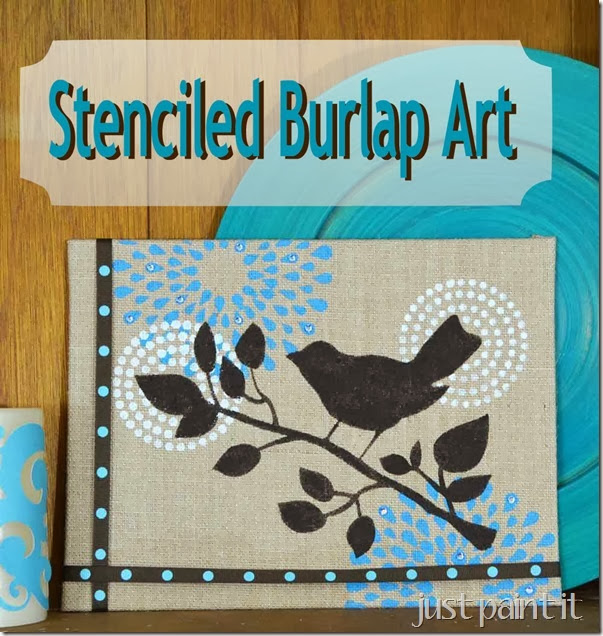
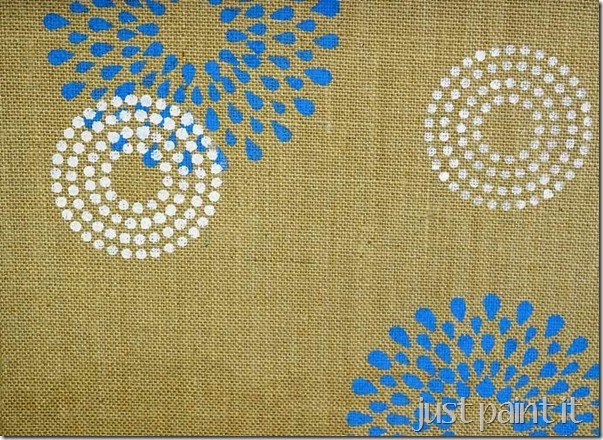
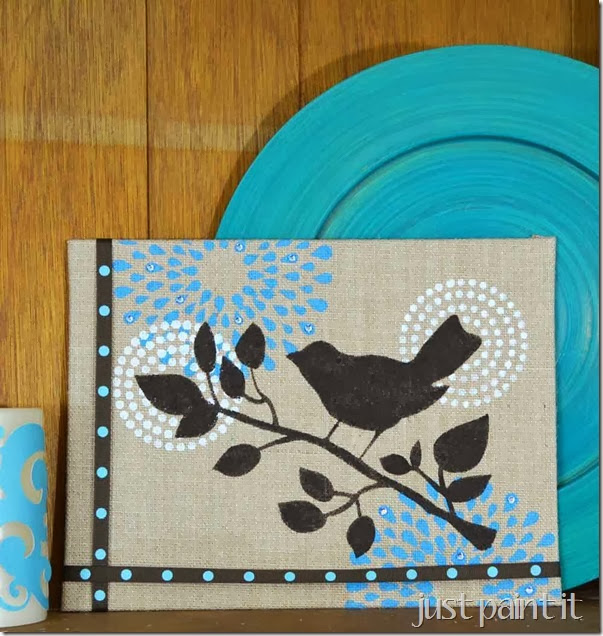
After the blue chrysanthemums I stenciled white circles of dots.
The circle on the left was stenciled with a foam pouncer, the one on the right with a bristle stencil brush. It’s lighter, but less bleed-thru. You’d just need 2-3 coats with the bristle brush.
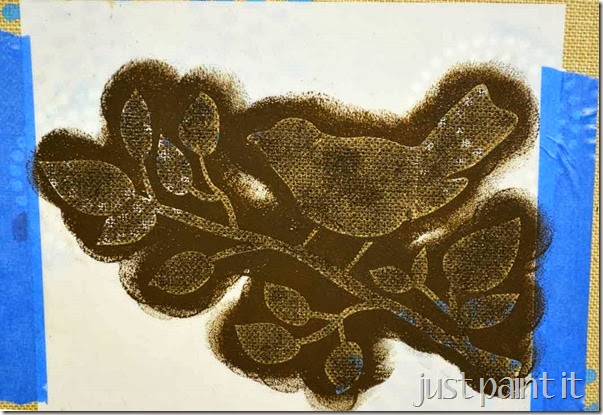
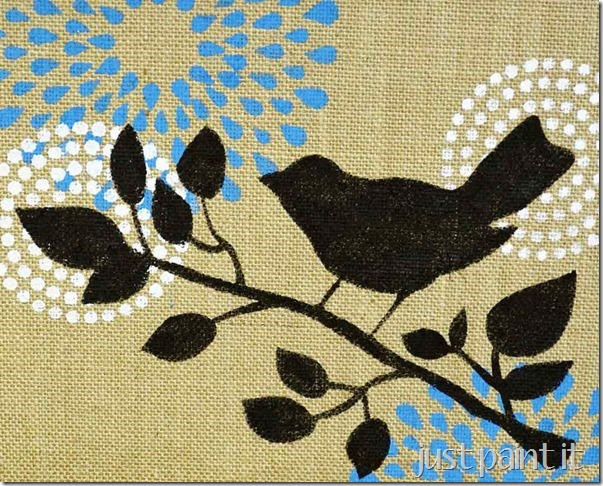
After the blue and white dried fully, I stenciled Raw Umber for the bird and branch. I didn’t get full coverage on the first go, as you can see the white and blue poking thru.
Since the bird and leaves were much larger with less detail, I just removed the stencil and went over the it again with a regular brush, making it more opaque.
You could leave it like this and have a cute little burlap canvas. But since this is for Hometalk and Michael’s I wanted to dress it up a bit more.
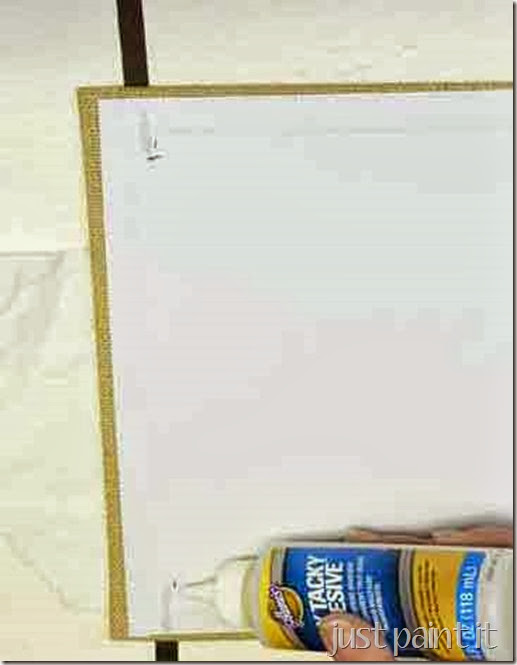
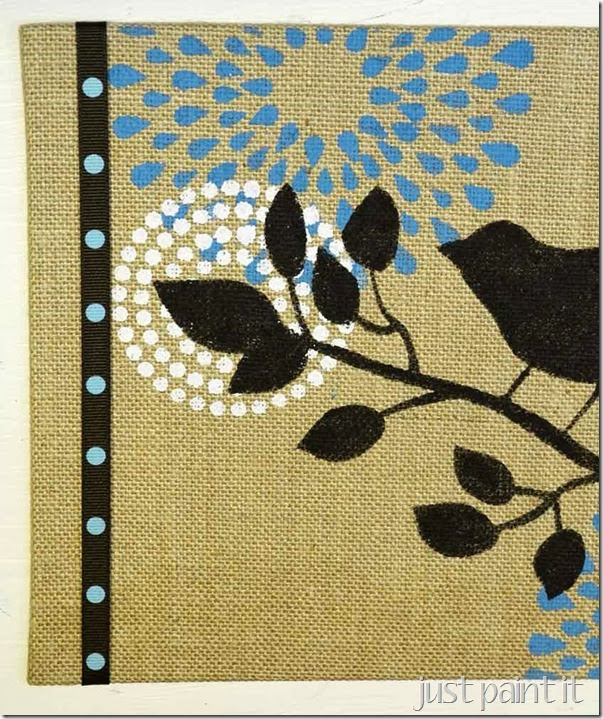
After the Raw Umber was fully dry I turned the canvas over, measured where I wanted my ribbon border and added a smidgen of glue.
Cute, huh? I ran another piece of ribbon across the bottom border too.
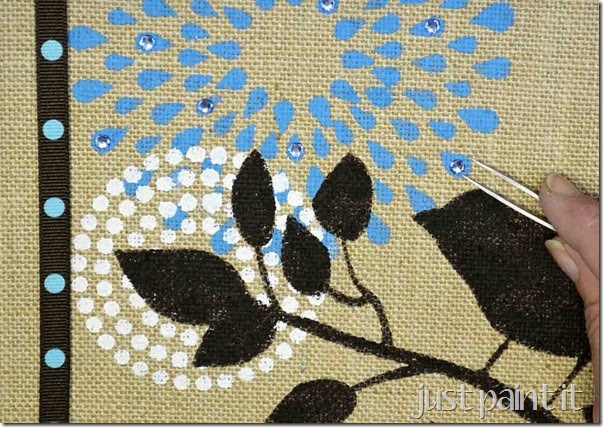
For a little bling, I glued a few gem crystals on some of the mum petals with the Max Tacky.
I love my little burlap!
Colleen


Love this! It is SO cute and looks easy, gonna have to try! Great job!