Every year I tell myself I’m going to do one Christmas project each month so that by the time December comes, I’ll be ahead of the game by eleven projects or so. Every year I fail and right after Halloween the craziness starts and before I know it, the holidays are over and I find myself saying, once again, ‘next year will be different’.
Here we are again but these ornaments are so easy to make, you’ll be able to use them both for your own decorations as well as little hostess or teacher gifts.
So let’s get started!
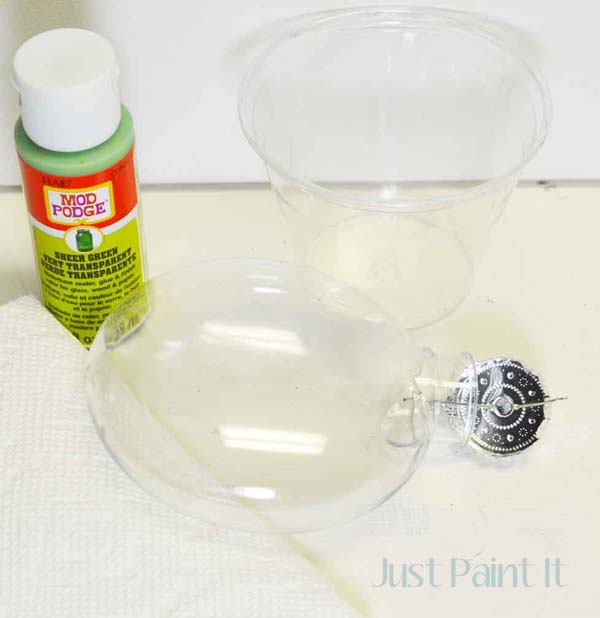
You’ll need some clear ornaments. These are plastic but glass will work too.
I like plastic for when ‘little hands’ are helping.
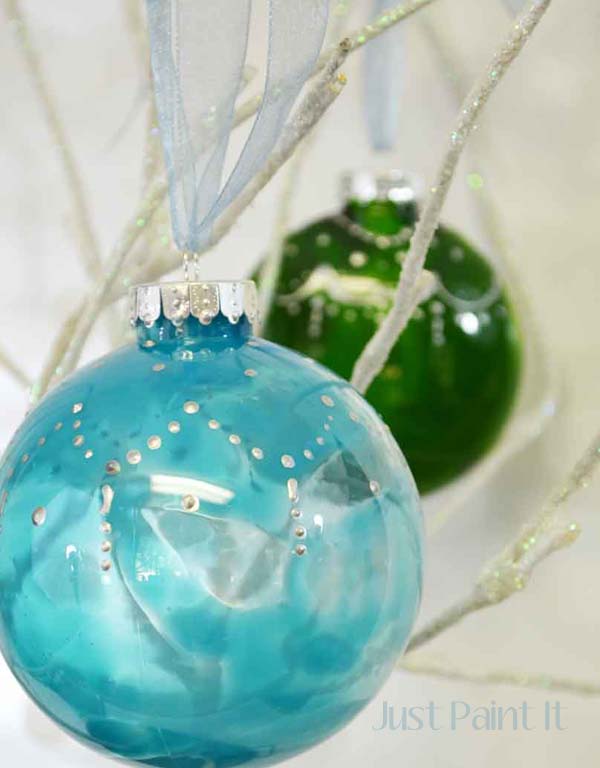
You’ll also need something to ‘tint’ the inside of the ornaments. I used Mod Podge Sheer Colors in aqua and green. It comes in a variety of colors.
You can also tint plain Mod Podge with food coloring and make your own colors.
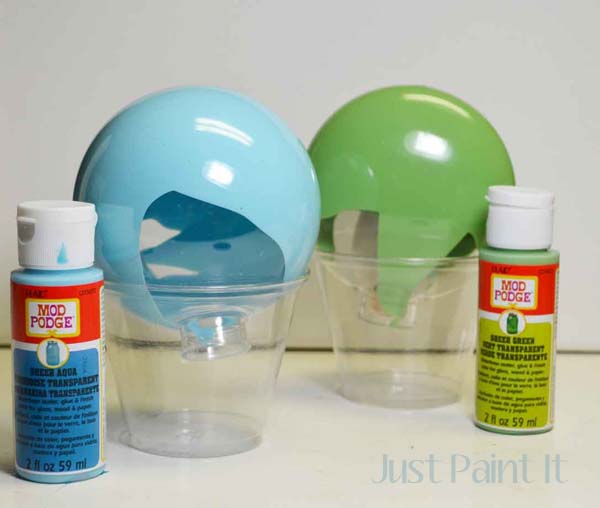
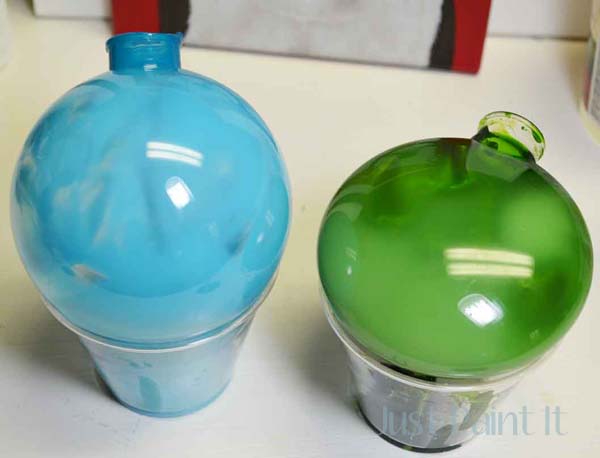
You just pour the Sheer Color in, swirl it around a bit and turn the ornament upside on a plastic cup or something similar for the excess to drain into.
Now, I won’t lie to you, it takes a long time for this stuff to dry. I even thought I’d done something wrong but no, it just takes a while. I finally took a hair dryer, blew on both the inside and the outside of the ornament. Be careful though. Plastic can soften and glass can get hot!
A friend of mine suggested placing them into a bowl of rice overnight. Apparently the rice will absorb the moisture.
Now I wish I’d paid attention in Science class.
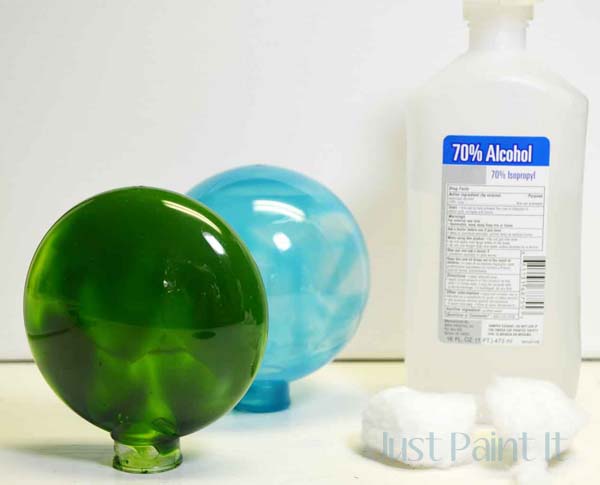
Once the color has dried, take a cotton ball moistened with rubbing alcohol and clean the outside to remove any oil from handling them.
If there are any drips around the ornament’s opening, a utility knife will easily remove them. Then put the ornament hanger will fit easily.
You’ll want some place to set the ornaments while you’re painting them. A few split peas or beans in a bowl or the box they came in works great.
Of course, if you use rice to dry the inside then you’re all set.
To decorate the outside of the ornaments, I used Martha Stewart’s Multi-Surface Craft paint in Silver. Since it’s multi-surface, it’ll work fine on glass or plastic. But the other reason I love it is because they make these fine tip tops that screw right on to the paint bottle. Instant puffy paint or paint writer!
I used silver to match the ornament hanger but gold would be lovely too.
Like with anything, you’ll want to practice a bit – even though all we’re doing is basically dots. You still want to get a feel for the flow of the paint thru the tip.
It only requires minimal pressure on the bottle to get the paint to flow. If you have to squeeze it, get a straight pin or needle and remove the clog. Otherwise you’ll wind up with a spurt of paint when and where you don’t want it. Trust me on that.
There’s no right or wrong way to do this. I just start making dots, then I decide if I want to connect them with a line or not.
This is where having a place to set the round ornaments comes in really handy. Although I prefer holding them in my hand while I’m dotting them.
The silver will dry pretty quickly – nothing like the Sheer Colors. The paint will ‘cure’ after 28 days.
That’s all there is too it!
Now you have two less presents to buy. Unless you keep them for yourself.
I won’t tell. I promise.
Colleen




These are great and I have everything to make them! I did manage to stash the clear ornaments somewhere…..the hunt has commenced!
Thanks, Colleen, for another fun project!
Colleen, Love the Moroccan feel of your ornaments…they look like they came straight from Pier One, only prettier and handmade
Thanks Laura! For some reason I’m not getting email notification for blog comments. sigh. Always something with this tech-junk.
Glad I caught yours because I always love when you say hi.
These are so lovely Colleen. I love the translucent effect that Modpodge paint has. These sorta remind me of the very old ornaments that were my grandmothers, which I love! Great tutorial.