A few weeks ago the wonderful Royal Design Studio Stencils asked some bloggers if they’d like to create a holiday project with a stencil from their Christmas Collection. Although I’m not doing much decorating this year, I couldn’t resist the opportunity for a new stencil.
I was particularly thrilled to see the Barcelona Tile Modern Masters Christmas Stencil design in the collection. I’ve had my eye on that stencil for months.
Originally I was torn between stenciling a wall hanging and a table runner. I could just see the ’tiles’ linked next to each other and maybe a Christmas greeting or word or two across the top. I dug thru my fabric stash and found some beautiful copper colored silky fabric. I decorate the main level of the house in copper, bronze and a little red, so I was all set.
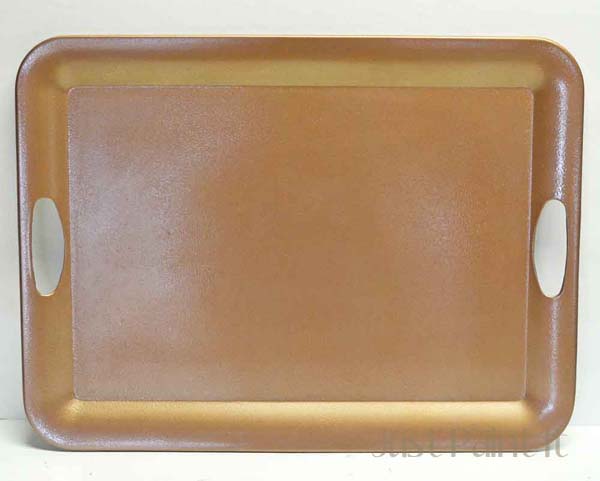
I’ve been running up and down the stairs more than ever since my mother passed. At first I had a basket that I’d drop stuff in to take downstairs, or bring back up. But a lot of the time I’m bringing artwork or other fragile items so I switched from the basket to this big tray I’ve had for a while.
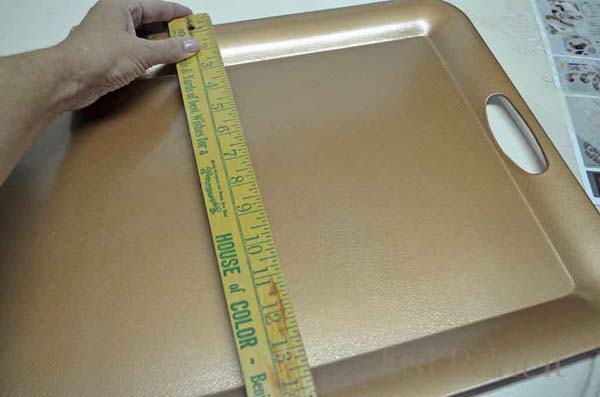
It’s big – 20″ wide – and is really sturdy.
I sprayed it a year ago with hammered copper, but never went any further.
It’s been so handy to transport things up and downstairs, I thought I should really spruce it up a bit.
I laid the stencil on the tray squarely at first, then I turned it on an angle and knew that was the look I wanted.
I really want to learn more about stenciling. I follow Royal Design on Facebook as well as their blog, Paint and Pattern and I’m always in awe of what they do with stencils. Absolutely stunning home decor.
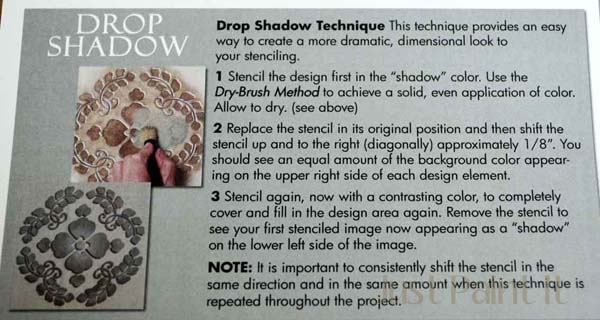
Royal Designs includes instructions with each stencil along with some tips and different techniques. I’d never tried a drop shadow but I love a dimensional look so I took a deep breath and gave it a try.
I chose a dark brown for the shadow and the beautiful Antique Bronze Matte Metallic by Modern Masters I used on an outdoor fountain last summer.
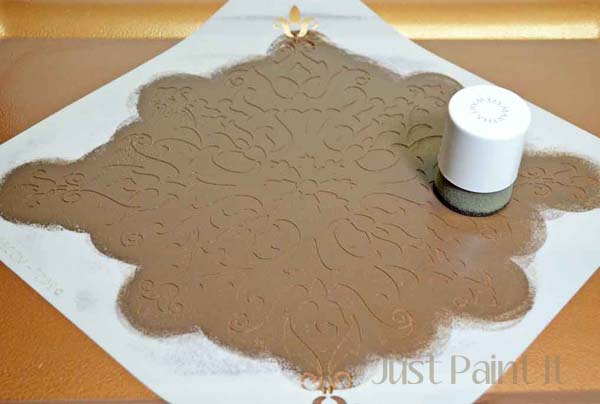
To paint a drop shadow the first stencil is about 1/8 inch below and to one side of the main color. So first I found the center of the tray where the Antique Bronze stencil would go.
I marked the circle from the center of the stencil on the tray then laid the stencil to the left and a little lower for the drop shadow.
I did spray removable adhesive on the back of the stencil. I know they say it’s not necessary but with this much detail, I felt better having every part of the stencil pressed securely to the tray.
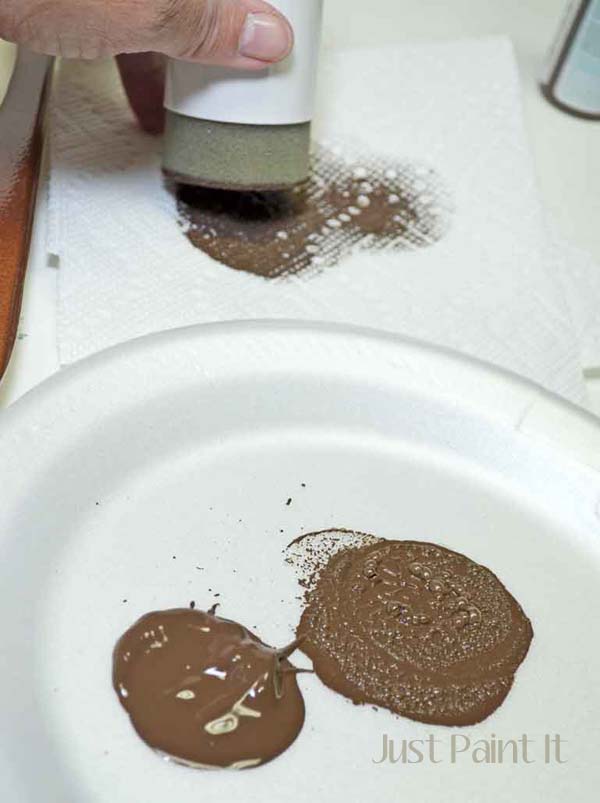
For the dark brown I used a foam spouncer, dipping it in the paint, off-loading a bit on the plate and then even more on some paper towel. Off-loading is crucial to prevent bleed-thru.
It’s better to exercise a little patience and apply two coats instead of doing one coat heavily. Plus, with the foam, if you have too much paint, you’ll get little air bubbles so be sure to off-load and just paint more coats so you have no bubbles of bleed-thru.
Not perfect, but not bad. When you lift that stencil up, you just never know what it’s gonna look like underneath.
At least I don’t. Which is why I want to practice stenciling more.
I used to paint designs like this freehand – first drawing the design, then photoshopping the pattern, then transferring the pattern and finally meticulously painting each little swirl.
With a stencil it took me minutes. Minutes!!
After I cleaned the stencil I carefully lined it up so it was centered on the tray.
Then I lifted it up and tried again. And again.
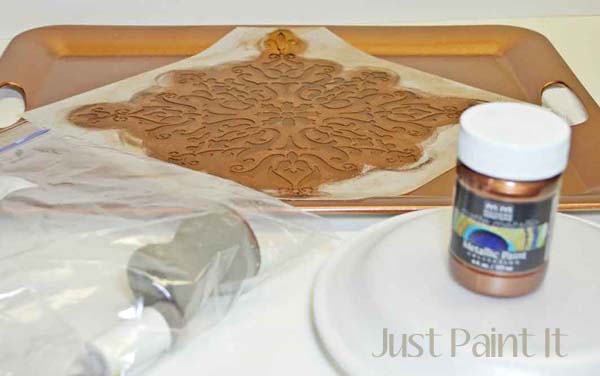
The Antique Bronze matte metallic took 2-3 coats too so I tossed the foam applicators in a zip-lock bag, covered up the paint, and left the stencil right there centered in place. ahem.
I use metallic paints a lot and had some concern about coverage but Modern Masters matte metallic isn’t your ordinary metallic paint. The coverage is really good and opaque. And it took less than a teaspoon for both coats.
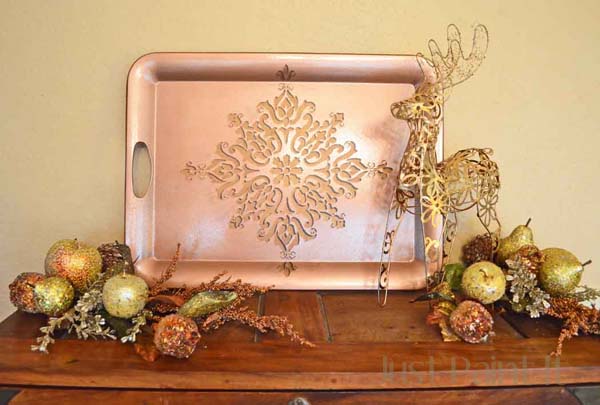
I absolutely love the drop shadow!
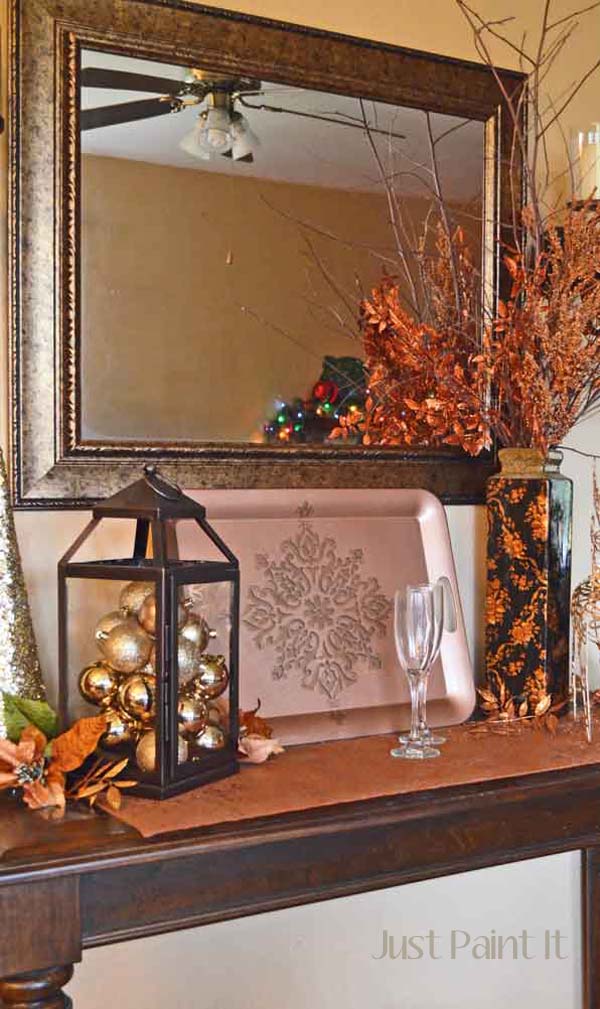
The color of the tray in this photo is really off because it’s a true copper color – not this pinky look. The bronze on top of the copper is nice and rich, exactly what I wanted.
I thought about adding some details to the tray border. Then I thought about hand lettering a holiday saying.
But I couldn’t do it.
Certain things still blindside me with emotion. Even simple words like “Peace” or “Noel”. It’s a blaring sign that Mom isn’t here this Christmas so I left the tray as is for the time being.
Figuring out where to display it is a little easier. I just set it on my brother’s table and added some copper and gold Christmas decorations. If guests stop by, I have a beautiful tray to serve with.
If it’s just me ‘n Sadie, I grab the tray when I’m headed downstairs.
So it’s a Holiday Serving Tray that I can use for everyday too. So maybe I won’t add any Christmas words to it.
I dunno.
What I do know is I’ll be doing a lot more stenciling. I’m just itching to try some highlighting along with the drop shadow too. Oh wow, how cool would that be?!
I want to thank Royal Design Studio Stencils for providing me with this stencil. They did not tell me what to paint or say. As always, all designs and opinions are my own.
Colleen










It’s beautiful, i’m so glad you did this demonstration. I would’ve never known about the drop shadowing I’ve been wanting to stencil an accent wall in my home with a stenciled pattern and wanted that look so thank you.
Drop shadowing makes all the difference in the world, Tempest! I need to practice some more though. I highly suggest marking not just the center but also the outer edges too so when you go to line up the stencil for the topcoat it’s perfectly square on top of the basecoat.
I’d love to see your wall when you get it done. If you think about it, take in-progress pics and I’ll share it on the blog. (Unless you have your own blog, of course). But I’d still like to see it.
Happy Holidays,
Colleen
Your drop shadow effect looks AMAZING! Great job! Thank you for reviewing our Barcelona Tile Stencil!
What a transformation! The drop shadow adds a ton of dimension. TFS, Colleen!
Thanks Kris! It was actually really easy as long as it was lined up both times. I need to play around with stencils a lot more. I used to detest them but only because I didn’t see them used artistically.
Kind of like sponge painting back in the 90’s, you know? haha
Hope you’re enjoying the season.
xo-
Colleen