 Aren’t birch trees glorious? Their bark is just phenomenal . . . so much that I honestly couldn’t tell you what birch leaves even look like right now. Which doesn’t matter to paint birch trees in Winter – the trunks alone are enough. And that’s why I chose them for my January calendar. If you missed it, go grab some free wallpaper for your phone or desktop computer. Or better yet, paint your own!
And yes, my friends, we’re using watercolors. WATERCOLORS. Correct me if I’m wrong but I believe this is my first tutorial using watercolors. But make no mistake, I am a total beginner with so much to learn. So please forgive any blatant errors as I’m learning the way I learned to paint murals – fake it til I make it.
I realize I’ve been using watercolors nearly exclusively for the past while – because I absolutely love them! – but I did a faux birch craft a while back with craft acrylics you might like.
I also realize that any painting tutorial is easier to understand with video and I’m working on it. I know. I know. I’ve said that a gazillion times before but I really am now! To paint these birch trees though you really don’t need a video, it’s that simple.
Paint Birch Trees with Watercolors
There are a lot of differences between acrylics and watercolors, especially when it comes to the color white. With watercolor, it’s easier to mask those parts out, like the birch tree trunks. Painter’s tape is perfect for this.
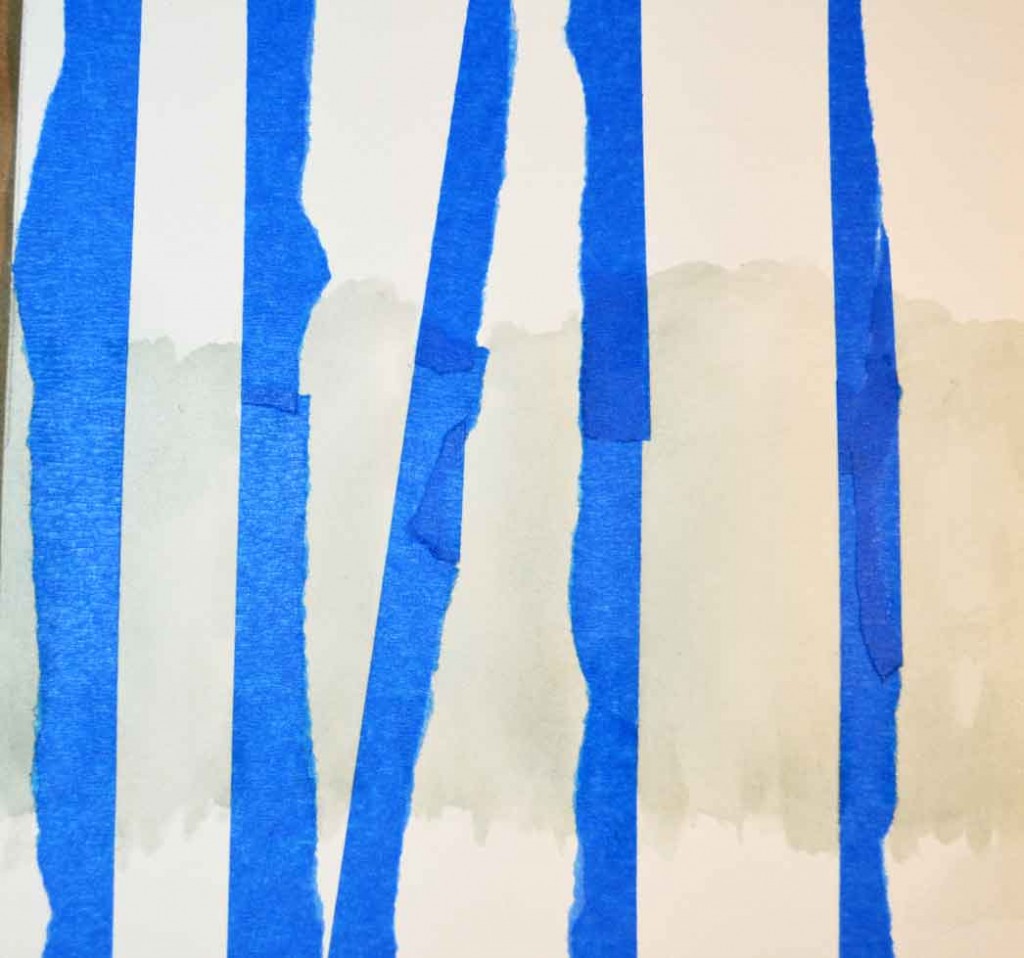
Step 1 – tape vertical lines for your trunks, tearing the tape with rough edges on one side for randomness.
 Step 2 – Apply a grey-brown wash a little south of center on your paper to represent background trees.
To paint this wash, add water to black, same to burnt umber, and maybe a little white as well. You want enough water to make the color very light. Keep in mind that watercolors dry lighter than when they are wet though.
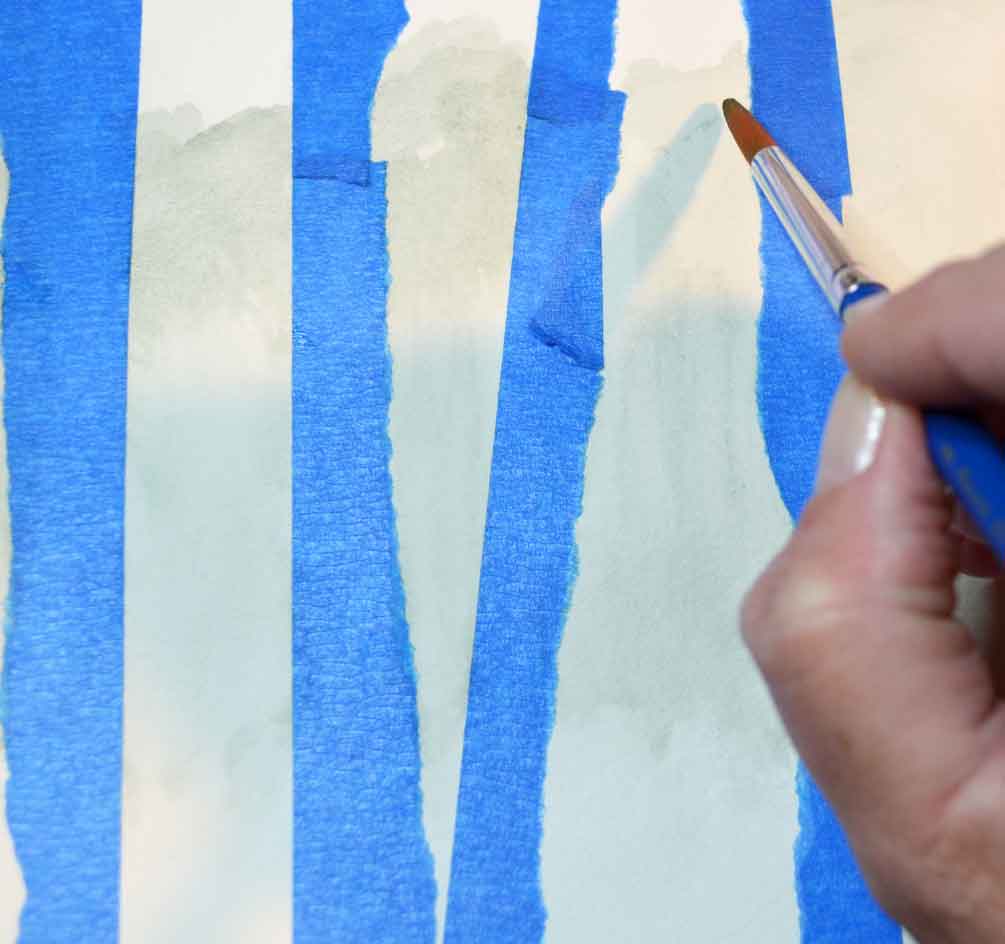
After the colors are mixed and wet, moisten the paper with your brush where you want your background trees, then load your round brush with the grey-brown color and paint the section. The upper edge will have curves and the bottom will be uneven with no distinct shapes.
Confused yet? Don’t be. It’s much easier than I make it out to be, ok?
 Using your brush as a loose guide, let the paint blend with the wet paper. Almost like painting the top of clouds, if you will.
 Notice the difference in the shades even though I didn’t paint more than one layer. It depends on how wet your brush is, how much color is on your brush and how wet the paper is.
You don’t control watercolors. At least I don’t. I have such fun watching the paint after I’ve applied it. Paint, watch. Paint, watch. It’s meditative and relaxing, really.
Huh. Who knew doing something you can’t control is relaxing? I should’ve painted with watercolors when my kids teenagers.
 Look at the bottom of the background on the right. It looks like drips, doesn’t it? Actually it might be but I left them that way or painted them to represent tree trunks.
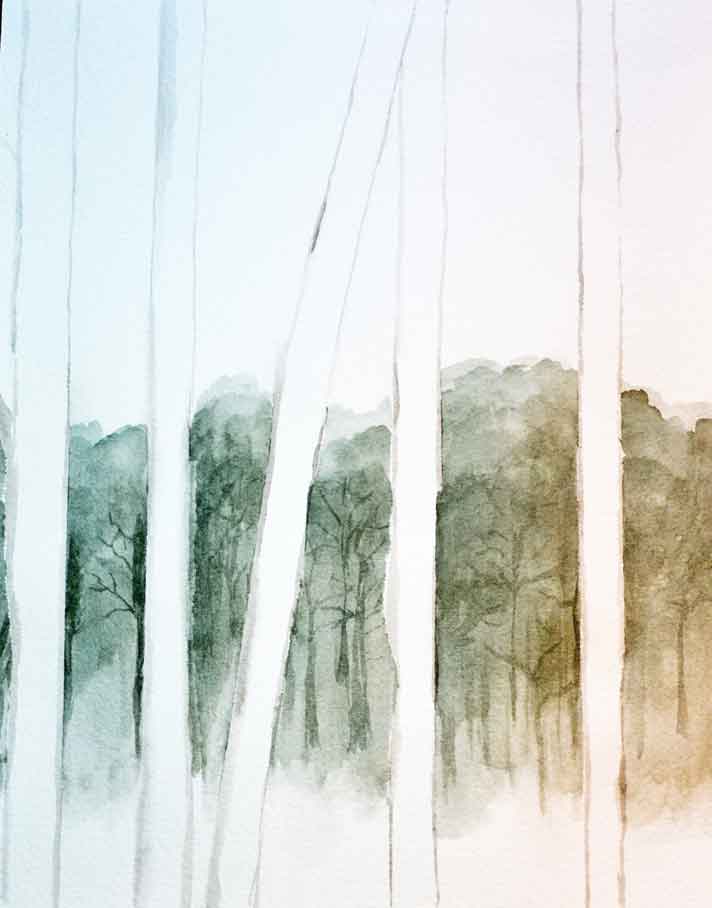
 Step 3 – With the same color mixture of grey/brown define a few background trees by loosely adding branches.
Keep in mind they’re background so no big deal. If you want some help freehanding branches, check out How to Paint a Spooky Tree.
 Step 4 – remove the painter’s tape.
 Step 5 – Loosely outline the trunks with the same light grey/brown as the background.
It doesn’t matter if your outlines are thin or thick, even or random. As a matter of fact, you could skip this step altogether because you’ll add more outline layers in darker colors. I happen to like lots of layers because it adds depth to paintings.
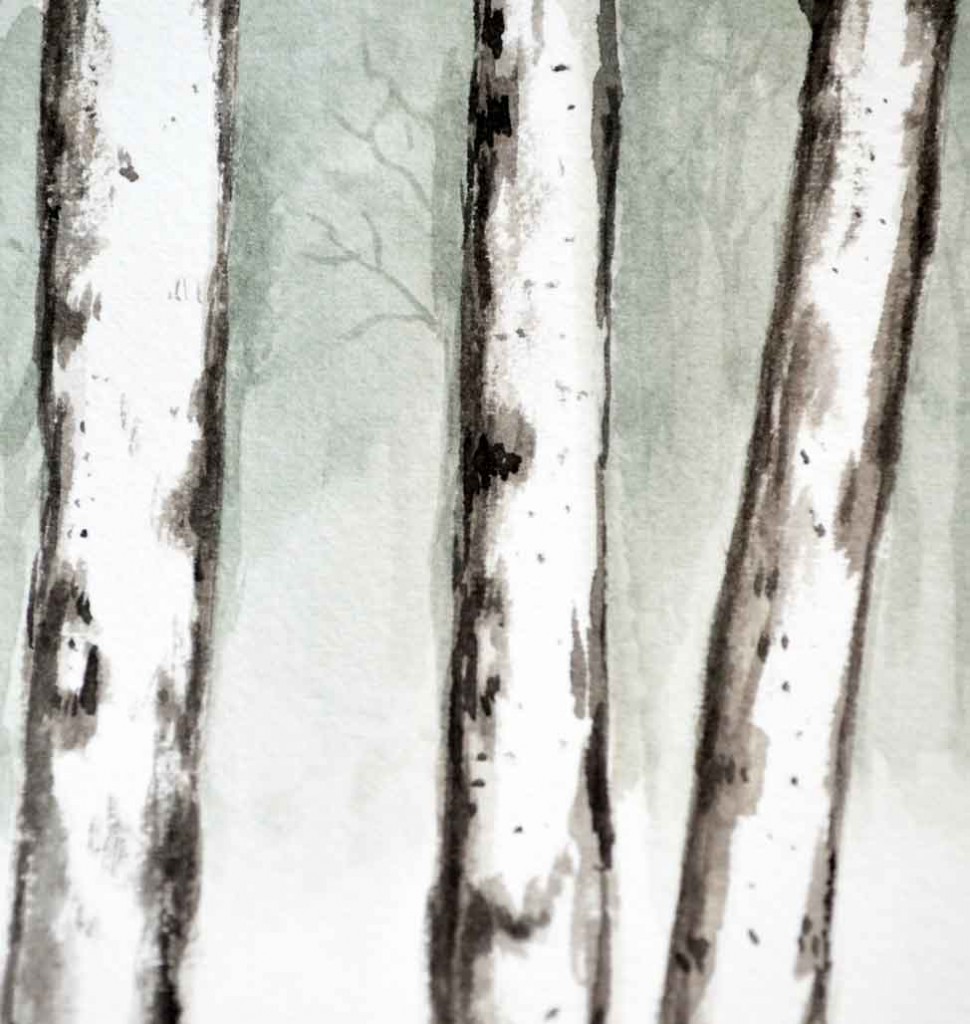
 Step 6 – Darken your paint with more black and brown, less water, and outline the trunks.
You still want a very watery combination of paint though. Notice in the photo above how one trunk is more on the grey side and the other has more brown tones. You could forgo the brown altogether but I like how it softens the tan/grey/black a bit.
 Step 7 – Paint the darker color on the trunks from the outside in.
Use my painting as a guide or google ‘birch trees’ to get a better idea what they really look like. Just don’t get too intent on getting your painting to match the photo. Oh, how I used to spend hours and hours doing that and the time I invested was never even noticed.
Paint, watch. Paint, watch. Move on.
 I was nearly finished when I checked a photograph and saw the little dots were more to the side than the middle. Oh well. There will be many more birch tree paintings.
As a matter of fact, I think I’ll do a video class (or two) on them. One for acrylics and one for watercolors.
 Last step – with watery black/brown, paint tiny branches here and there.
Again, use the photo as a guide, if you wish. But I bet at this point your painting is already beautiful and the branches are just the cherry on top. Seriously! This is a great beginner or intermediate or advanced painting.
You might wanna make one branch long enough for a bird or two to perch upon.
Let me know how you like this tutorial and if you’d like more watercolor paintings. As I mentioned, I’ll be doing video classes primarily in acrylics but I’ll throw in easy watercolors here and there too.
Happy Painting!
Colleen

They look great Colleen. Thanks for adding watercolour to your list.
Hey Marianne! Well, I’m not an expert watercolorist – far from it. But I can share as I learn . . . even mistakes. Watercolors are so fun even the mistakes wind up kinda pretty.
xo
Colleen
Beautiful and a great tutorial, too! Thanks, Colleen!
Happy New Year!
Ooh Colleen, Love your water colored birch trees! Thank you for the tutorial. I had to Pin this one. You make it look so easy
Happy New Year, Laura! Yes, I’ll be doing more watercolor tutorials as I learn . . . along with mistakes, ha ha.
xo
Colleen