
Birch accessories are a wonderful decor item any time of year but particularly for winter. If you don’t happen to have any birch around your place, I’m here to show you How to Paint Faux Birch.
I was inspired when I saw Gina’s white winter mantle at the Shabby Creek Cottage. Oh, it’s gorgeous – big white star, white potted plants and more – but that wasn’t what stopped me. It was her ‘birch’ candles. She wrapped a sheet of birch scrapbook paper around some candles and got instant cuteness.
Birch! I love birch. I love scrapbook paper. I don’t happen to have birch scrapbook paper though and I’m not driving 30 minutes to get some. And then I thought, I was pretty sure, I thought that just maybe that I could paint some ‘faux’ birch.
On watercolor paper. That would wrap around, I dunno, somethin’.
I took pictures to show you how I painted faux birch, just in case you’re like me and are in love with birch but are too lazy busy to go the craft store for a couple sheets of scrapbook paper.

Full supply list follows this post.
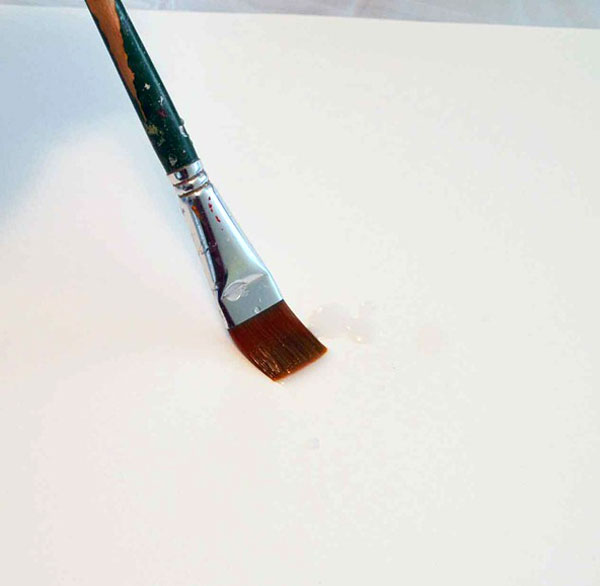
Watercolor paper has a smooth side (the back) and a textured side (the front). Moisten the back side with water so it’ll form around your cylinder.
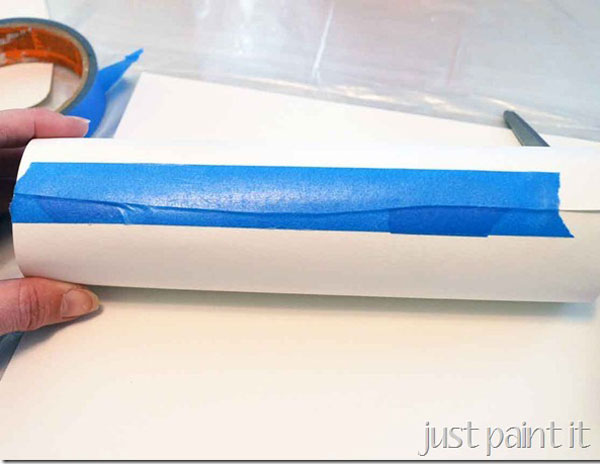
Affix it with tape and let it dry.

After the watercolor paper dried I unwrapped one so I could paint it flat but I left the other one shaped around the candle. I don’t think it makes much difference which way you do it though but I’ll show you both.
Okay, now, stay with me here. If you’ve never done a faux finish or seen me do one, these pics might be a bit . . . shocking. Just hang in there ‘til the end.
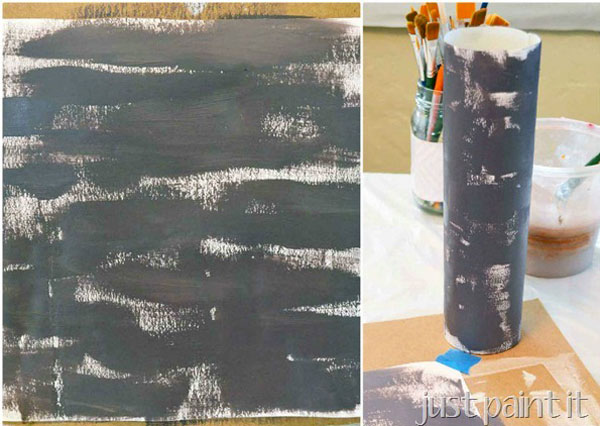
First, paint the medium grey (Parisian) in horizontal strokes. Don’t worry about completely covering the paper. In fact, it’s really better if you leave some spaces unpainted.
Don’t try to be all neat and tidy with this either. The more uneven and random, the better – as always with faux finishes.
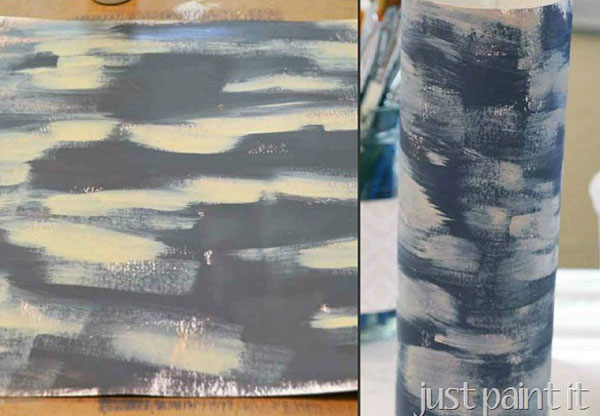
Next paint the light tan (Bamboo). Just here and there. This just adds a layer of dimension.
Stay with me until the end of this. It’s about to get pretty messy-looking.

Now you want to paint the ivory (Summer Linen). Rather than using the full square of the brush, I turned it so I used it more as a chisel edge so more of the grey and tan would show thru. I applied two coats so some of the grey shows thru but isn’t so dominant.
Just play with it. If you add too much ivory, go back and add some more grey and start over. But before you over-analyze it, do the last step below.

The last coat is the bright white (Wedding Cake) applied in the same chisel edge fashion. If the paint builds up into ridges, that’s fine. It’ll add some texture which is kinda cool.

Here’s a close up after all the colors have dried.
I almost went back and added some grey. But I didn’t. I resisted my OCD-ish tendencies and just wrapped the thing around the vase.
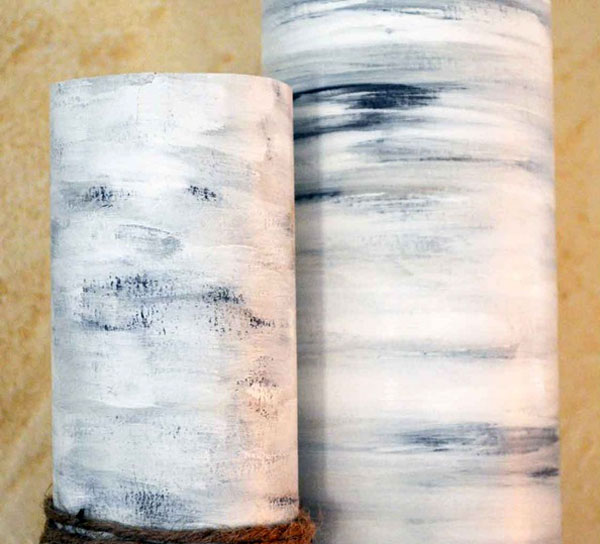
See how the one on the left looks rougher and the one on the right looks smooth? Yeah, well, remember how I said that there are two sides to watercolor paper? Uh-huh. Miss Cheapo here took a scrap piece of paper that she’d already painted on the ‘good’ side and painted the birch on the back.
Of course, if you like the one on the right better than the one on the left, then that was my plan the entire time, okay?

What d’ya think? Do they look like birch to you? They were so much fun to paint – almost like finger painting. Faux finishes are always fun. Let me know if you try painting some faux birch!

Watercolor paper
Painter’s Tape
Cylinder, candle or vase to wrap paper around.
Paints-
Parisian Grey by FolkArt (medium grey)
Bamboo by Ceramcoat (light tan)
Summer Linen by Martha Stewart Crafts (ivory or off-white)
Wedding Cake by Martha Stewart Crafts (bright white)
I’ve seen seen more than a few faux birch bark projects over the past year or so and your’s is the best by far! I’ve been looking b/c I really wanted to come up with a believable wrap for a jar or a candle. I’ve considered painting some colors, then using Mod Podge and tissue paper—kinda scrunched up horizontally to give some texture and then painting again. After seeing your way I now know those extra steps aren’t really necessary, b/c your method and birch wrap looks awesome! Now I have a happy project for tomorrow. Thanks so much for the tutorial and the time saving steps!
Mary
* And no, I’m never 100% satisfied and I always see where I shoulda…..
Forgive me for the delay in responding to your sweet comments, Mary. I’m so far behind in everything after moving in w/my grandson and his family.
I’m so happy that you’re finding benefit in some of my posts! You’ve made my week.
xo
Colleen
Hi Collen! I love to use birch accents in January so I am so happy to find your post on how to make things look like birch with just paint. Thanks for sharing this technique with us!
I am so excited to find your technique for faux birch. I am going to try it on an old iron bed in hope that it will look like it is made from a tree.
How fun! Good luck, let me know how it turns out!
Thanks for sharing. Very realistic birch painting. Impressive!
Now I have the courage to Paint Faux Birch.
I just love your tips. Thank you.
You’re so welcome! Have fun!
Amazing tutorial. Thank you.