A distressed furniture finish is made by painting a piece and then deliberately wearing back the paint so base layers show through at edges and corners. The easiest ways to do it are sanding, a wax or petroleum jelly resist, or a dark glaze, and all of them are beginner friendly.
Plan Where Wear Would Happen Naturally
The most convincing distressing copies real life. Think about where hands, feet and corners hit a piece over decades: edges of drawers, around knobs, the tops of legs, and the rim of a tabletop. Concentrate wear there and keep flat panels mostly untouched. Random scuffs across the middle look fake. See the general idea of distressing if you want some background on the style.
Choose Your Technique
| Technique | Result | Skill level |
|---|---|---|
| Sanding | Soft, even wear showing wood or old color | Easy |
| Wax or petroleum jelly resist | Patchy chips that look aged | Easy to moderate |
| Two-color layering | Contrast color pops through edges | Easy |
| Dark glaze or wax | Grime in crevices for an antique look | Moderate |
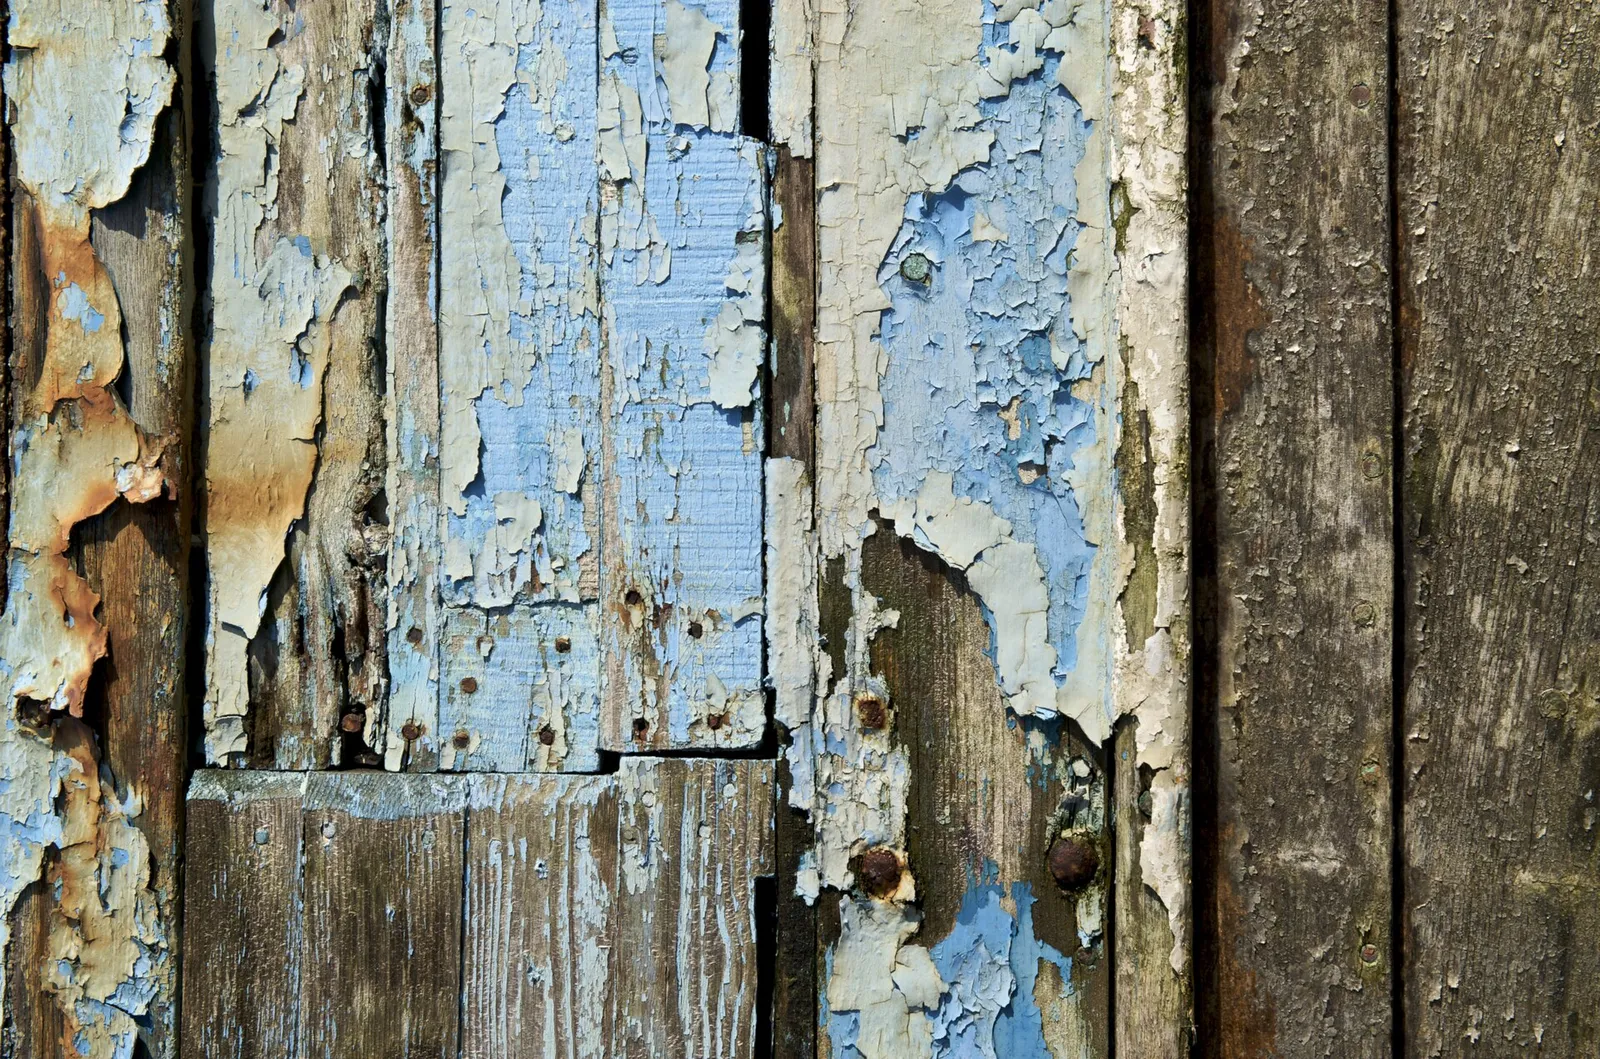
Distressed Furniture Finish Step by Step
- Clean, repair and prime the piece as you would for any painting project. Our guide on how to paint wood furniture covers prep in detail.
- Paint the base color first. Choose a contrasting shade or leave bare wood if you want wood to peek through.
- Let the base dry. If using a resist, rub a thin layer of wax or petroleum jelly where you want paint to chip off.
- Apply the top color in thin coats and let it dry.
- Rub the waxed areas with a rag or scraper to reveal the base. Or, for the sanding method, use 120 to 180 grit paper on edges and corners.
- Wipe away dust. Step back and check the pattern before continuing.
- Seal the piece with clear wax or water-based polyurethane to keep the finish from wearing further.
Adding Age With Glaze or Dark Wax
For an antique feel, brush a thin dark glaze or wax into carvings and corners, then wipe it back with a clean cloth. It settles into recesses like years of grime. Work in small sections so it does not set before you can wipe. Start lightly; you can always add more.
Which Paints Work Best?
Chalk-style and milk paints sand and chip easily, so they suit this look. Our article on chalk paint vs milk paint compares them. Standard latex and acrylic enamels also work, but they are tougher and need more sanding effort. Use whichever paint you already like and adjust your technique.
Seal It for Longevity
A distressed look still needs protection from moisture and handling. Wax gives a soft feel on decorative items, while polyurethane is better on tabletops. See how to seal painted furniture for the trade-offs.
Practical Tips for a Natural Look
Test your technique on the back of a drawer or an inconspicuous leg before committing. Use a sanding block rather than your fingers for even pressure, and sand in short strokes along edges. A stiff putty knife can chip paint over a wax resist for a more weathered feel. Stop earlier than you think you should; it is far easier to add wear than to hide too much of it.
Color pairing matters as well. A cream topcoat over soft gray or blue gives a gentle farmhouse look, while white over dark brown gives strong contrast. Choose colors that fit the room, then let the wear tell the story.
Fixing Mistakes
If you sand too much, touch up the area with a small brush and a bit of the top color, then re-distress lightly. If a resist did not work and paint will not lift, sand that spot gently instead. Wax that looks blotchy can be buffed again after it hazes. Most distressing errors are fixable because the finish is built in layers, so relax and work in small areas at a time.
Quick Recap
A good distressed furniture finish looks like it earned its wear. Plan the wear zones, build the layers and seal the result, and your distressed furniture finish will look natural rather than staged. Try any distressed furniture finish on scrap wood first so you can judge how much wear looks right.
Safety Note
Wear a dust mask and goggles when sanding, and keep the room ventilated when using waxes, glazes and topcoats. If the piece is older than 1978, test for lead before sanding, and use EPA-recommended lead-safe practices if the test is positive. Never dry sand suspected lead paint.
Frequently Asked Questions
Can I distress furniture without sanding?
Yes. A wax or petroleum jelly resist lets you wipe away paint in chosen spots with a rag, without any power sanding.
What paint is best for a distressed look?
Chalk or milk paint are easiest to wear back, but any paint can be distressed if you sand a little longer. Choose by color and durability.
How do I keep distressing from looking fake?
Copy natural wear: edges, corners and areas around handles. Avoid evenly spaced marks and heavy scuffing on flat surfaces.
Do I need to seal a distressed finish?
Yes, in most cases. A clear wax or polyurethane protects the paint and the exposed wood from moisture and staining.
Can I distress a piece after sealing?
It is harder, because sealer makes paint resist sanding. It is better to distress before applying the final topcoat.