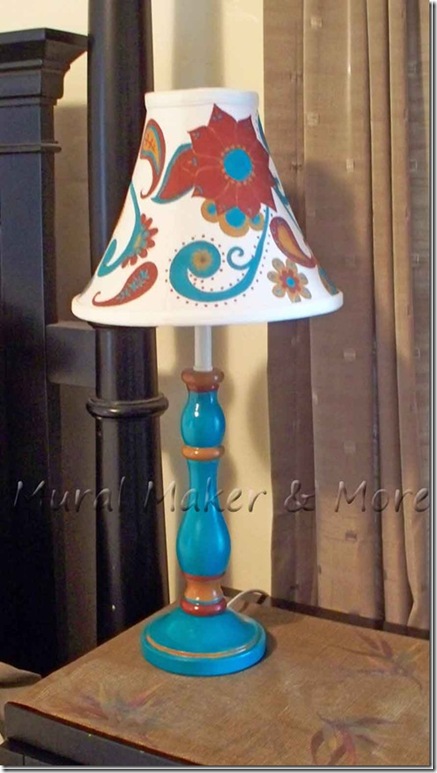
How are ya? I originally wrote this post for The CSI Project but one of my all-time fav parties is Miss Mustard Seed’s Furniture Feature Friday and since I rarely paint furniture, I’m snagging this lamp and linking it up.
A lamp is furniture, isn’t it? Let’s just say this little bugger took as long to paint as any furniture piece I’ve painted, so I’m calling it ‘furniture’. Just for today. Okay?
For this project there are 2 things you need to know – 1) I love painting, any kind of painting, and I’m passionate about sharing with others, and 2) I’m wordy. Talky. Verbose. Can’t say Hello! in two words. Feel free to skip all my anecdotes and stories though.
Steps and tips are in pull quotes.
Do you remember painting as a child? Have you ever watched your kids – or in my case, grandkids -get totally lost in the moment when they paint? I often wonder what happens as we grow up, from experiencing complete joy when painting to being critical and judgmental of the result.
I’ll admit, I walk a fine line when I paint between complete joy and criticism, but I’m hoping some of these tips will inspire you to ‘enjoy the journey’ the next time you paint.
 p
p
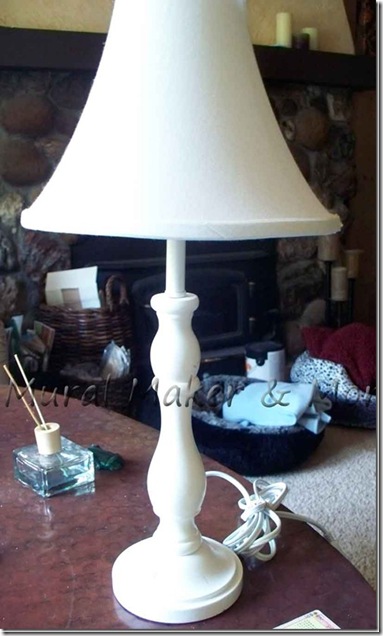
Here’s the ‘before’ in all its stark white glory.
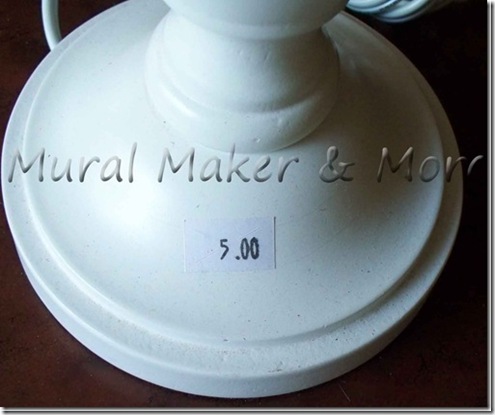
At $5 I thought it was a steal but when I found out everything was 50% off that day, I felt like I’d won the thrift store lotto. You know the feeling, don’t you? It doesn’t matter that you don’t need it, or know how you’re gonna paint it, or where it’s gonna go – it’s a great deal and that’s what counts!
I decided to keep the lamp for myself. Most of my décor – and I use that term loosely – is neutral, in the warm, honey tones. During Fall and Winter I bring in warm reds, and when Spring hits I add pops of turquoise. So I decided on a combination of cinnamon, red and turquoise.
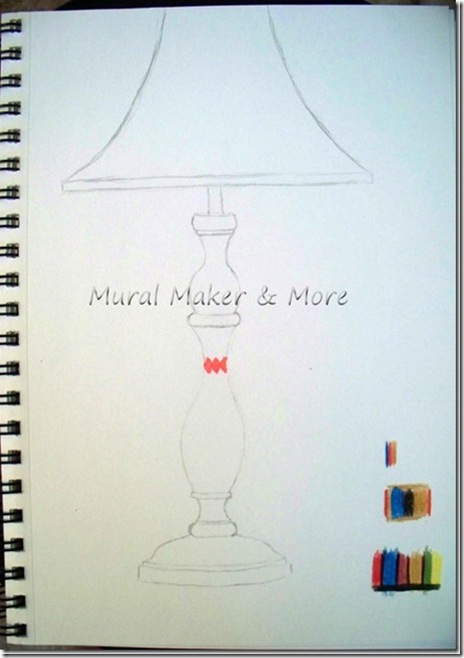
I started with a sketch and some color swatches. At this point I thought I was going to do a MacKenzie Childs-inspired lamp with dots and diamonds and tons of color. At the last minute I switched over to a Pier One kinda thing.
Here’s a list of supplies I used:
- 150 grit sandpaper
- Zinsser spray primer
- Paint brushes – #6 flat, #1 liner and extra brush for ‘erasing’
- Two water basins – one to rinse paint off, one clean water
- Foam plate for a paint palette
- Paper towel
- Cinnamon paint
- Aqua paint
- Burgundy Red paint, all by Plaid Folk Art
- Folk Art Floating Medium
- Spray Sealer
- Red, Tan & Turquoise Fine point Sharpies (optional)
Okay! Let’s get started!
Sand the lamp base, wipe with damp cloth and spray with Zinsser primer.
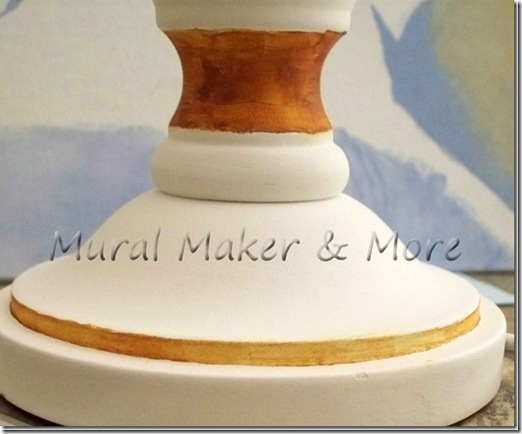
Now, I’ll warn you, using 3 colors on ridges and rounds can be a bit, um, challenging if you have the slightest bit of OCD tendency. Not that I’d know anything about that. I’m just sayin’ . . .
Paint lightest color first when using multiple shades.
I started with the lightest color, Cinnamon, so that any little blips would be covered by the darker colors, red and turquoise. See how the upper section is kinda blotchy and the lower rim isn’t? On the lower I used FolkArt Floating Medium which makes acrylic paint flow smoothly.
Mix paint with Floating Medium or glaze to avoid blotchy appearance.
Floating Medium also increases the paint’s “open” time. It doesn’t dry as fast. It’s like using Floetrol when you paint furniture. Saves you loads of frustration.
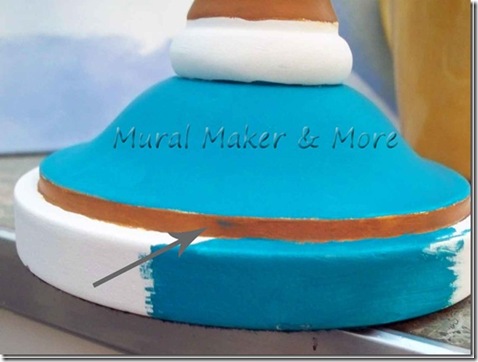
Because the paint doesn’t dry as fast when mixed with Floating Medium you can correct boo-boo’s easier.
To ‘erase’ over-painting, take a clean, damp paintbrush and wipe the paint off. Rinse brush and repeat as necessary.
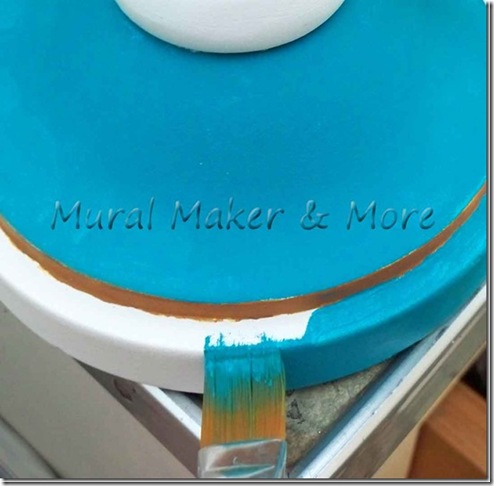
To get the edges coated, I dabbed a small section first . . .
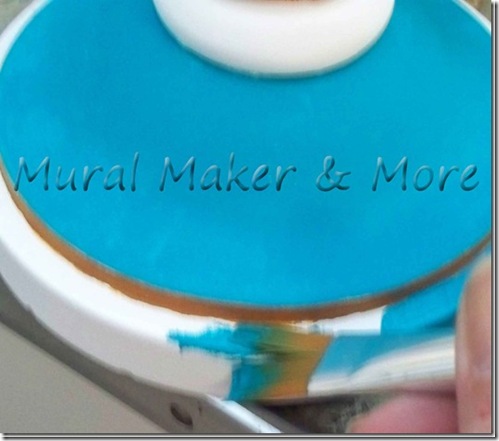
. . . then stroked the paint horizontally. Of course, you can’t tell because I tried to take the pic with my left hand. Sorry. Just dab on the edge, then smooth it out, ok?
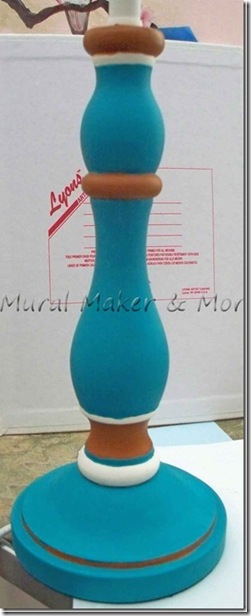
It took 3-4 coats of paint to get complete coverage. You’ll find different shades have different opacity. Red is usually one of the strongest so I left that ‘til last.
Allow paint to dry fully and spray with 2-3 coats of sealer.
Now, on to the lampshade. Painting a lampshade is an awesome way to add some colorful punch. {plus, it covers up any old stains – ick.}
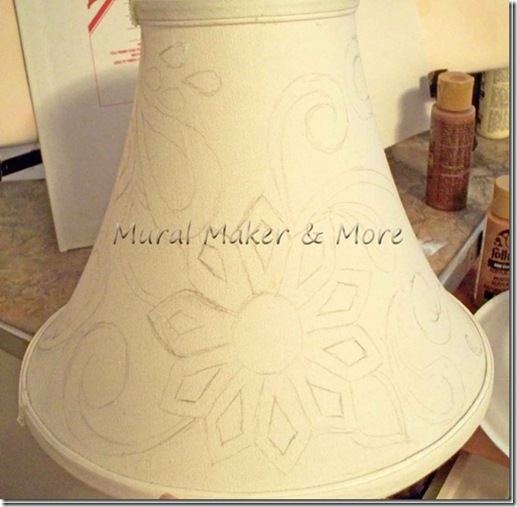
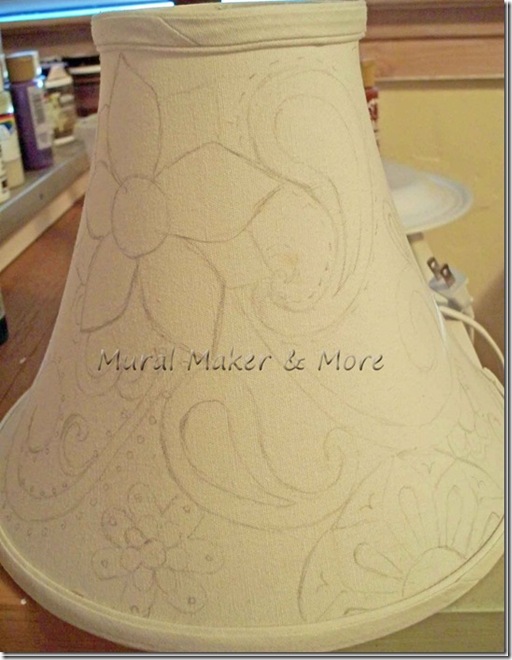
I penciled in some swirls, flowers and doo-dads. Did you ever doodle as a kid? You know, during a blah-blah-blah lecture, did you ever just let your pen flow all over your paper? Do you remember how fun that was – drawing for no reason other than to watch the ink fill the page?
I just started doodling while I was waiting for So You Think You Can Dance to come on. Mindless, judgment-less doodling. Just for fun.
Pencil in your chosen design on lampshade.
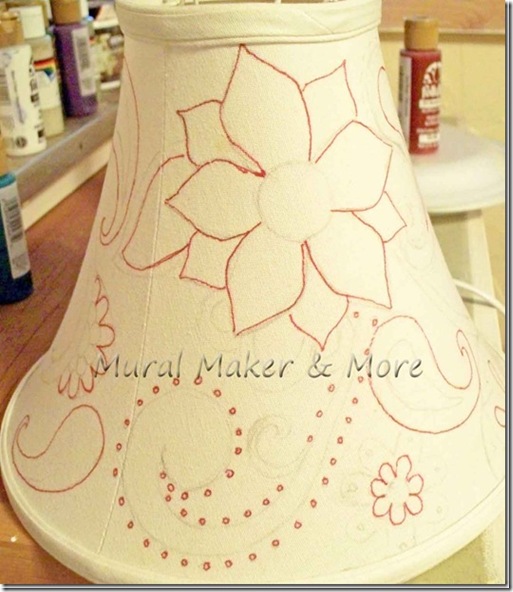
Then I started doodling with Sharpies. This is totally optional. I totally get that most of you don’t have a bunch of colored fine tip markers hanging around. Bet you have thick ones though, right?
I just outlined everything to balance the colors. For the shade I did the reverse of the base – I started with the ‘strongest’ color, Red. Red gives the eye the most impact so I wanted to place that color first. Then turquoise, and lastly, Cinnamon. You could do the same thing with little dabs of paint.
Determine your color placement on the shade starting with the strongest color.

Then just fill in all the doodles with paint, starting again with Red. Mixed with Floating Medium.
Does this seem time-consuming? Well, it is but I really needed a mindless paint project this week. Let me share a back story with you.
When I started painting I had one teenager, one preteen, and a 10 year old at home. All boys. All stepsons. That doesn’t matter because I raised them as if they were my own and for all intents and purposes they were/are. I tell you this only because many a day I was convinced that I was a terrible mother and {ick} a wicked stepmother. Until I started painting.

No, painting didn’t make me a great mother, but it did calm me down, allow me to breathe and to relax. Which actually helps you be a better mother, right? So if (if? WHEN!) the boys were on my last nerve and my normally low voice reached ‘shriek’ decibel levels, Hubs would say, “Don’t you have something to paint?” And I’d retreat to a tiny desk in the corner of our room and paint and paint and paint. And relax. I tell you this because it still works today, 15 years later, thank goodness.
And this week I really needed it when I got some news about my big brother. You know, it doesn’t matter how old you get, your big brother will always be just that. He’d been released from 7 days in the hospital after an appendectomy – which took them 5 days to diagnose – went in for a simple post-op check and was given the news that he has cancer.
Wham! Donkey-kick right in the gut. Fighting back tears so he wouldn’t see, I got him settled and came home and starting painting my doodles. Paint. Breathe. Relax. Paint. Breathe. Relax.
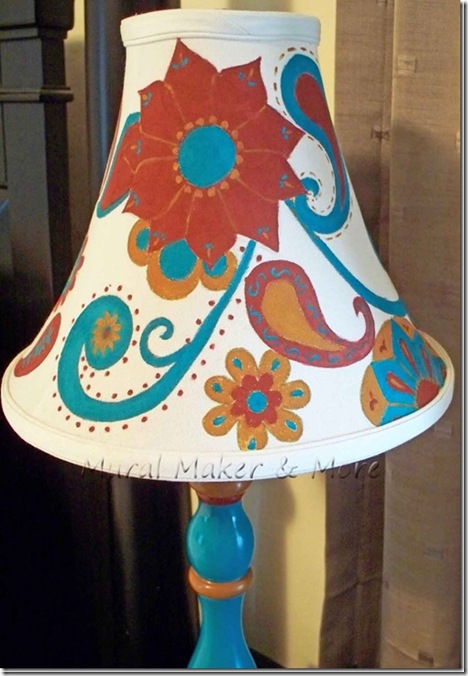
Let me tell you, it was better than a stiff drink or a valium.
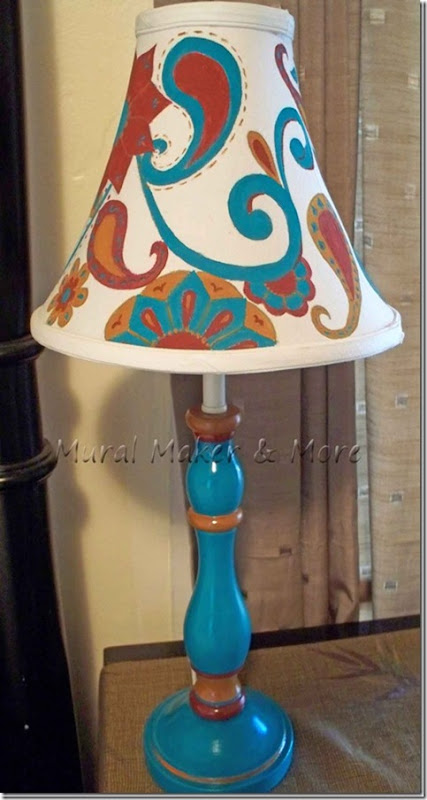
Okay. Maybe not, but I did wind up with a cutie-patootie lamp for $2.50. And no hangover.
If you’d like more ideas for transforming lamps, drop by The CSI Project this week. Such cute stuff!
And don’t forget Miss Mustard’s Seed’s party. Pure awesomeness dressed up as furniture. Or sometimes a lamp. Not that I think my lamp is awesome. Cute, yes. Awesome . . . nah. Just cute.
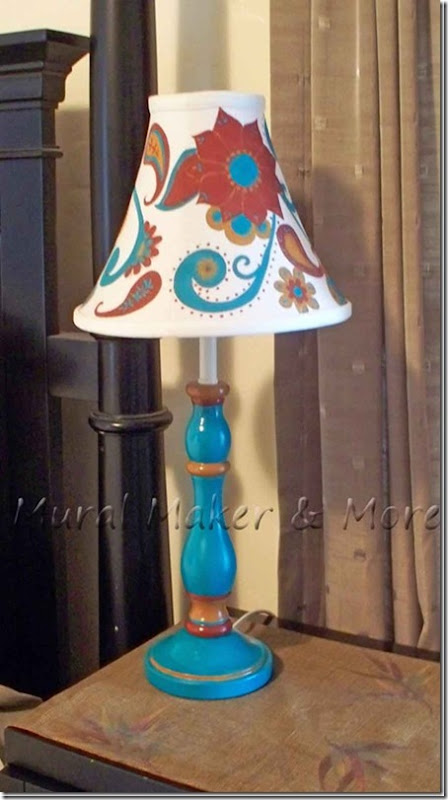
[…] painted this thrift store lamp and lampshade a few years ago and the lampshade was more a lesson in doodling than a specific paisley […]