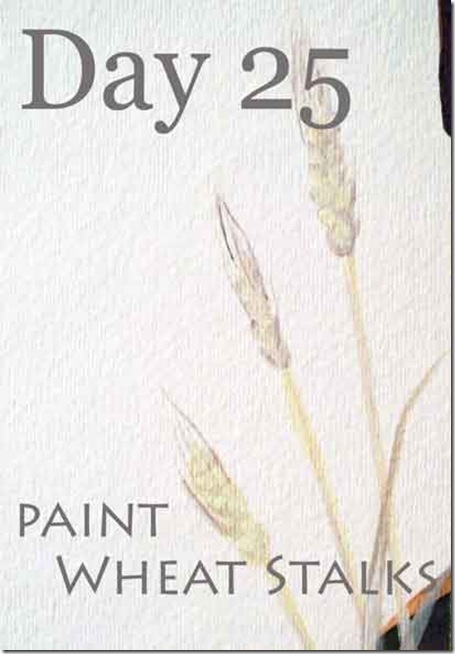
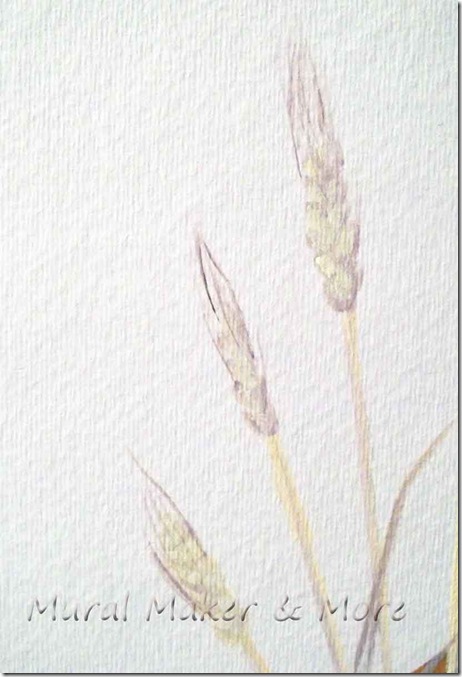
How are ya today? I thought I’d have the cornucopia painting done today but it just didn’t come together, so I’ll show you this easy-peasy way to paint wheat stalks.
I should be done with cornucopia tomorrow and then Christmas tutorials! I’m so glad I’m on the last week of this 31 day blogging challenge. It has been challenging, believe me! But it’s also been rewarding too, in many ways. I had originally planned to split the 31 days between Halloween & Christmas, but that didn’t work out. Don’t worry – I’ll continue Christmas painting tutorials almost up to Christmas!
Okay, let’s paint some wheat. Oh yeah, this would also work for painting lavender, if you’re not into wheat.
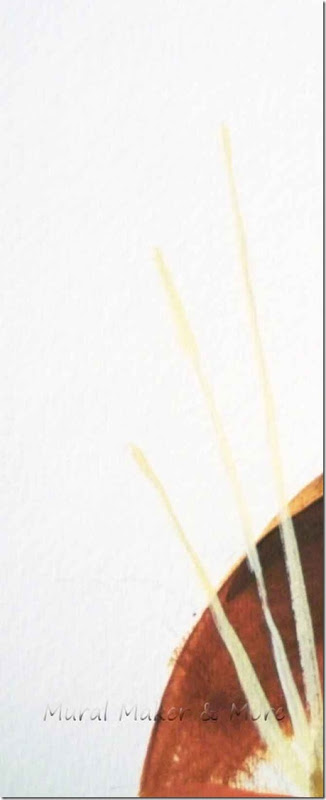
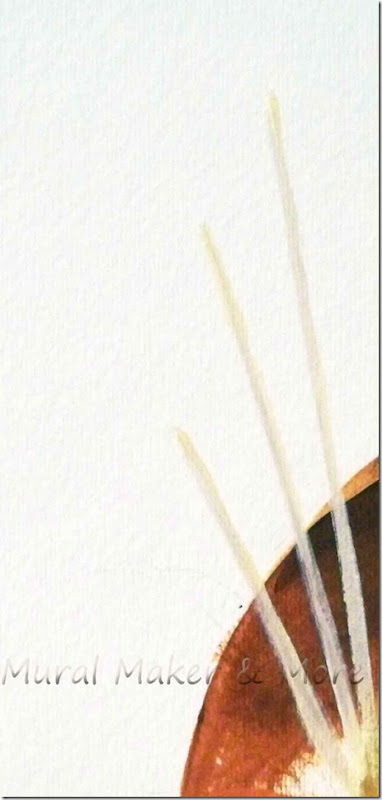
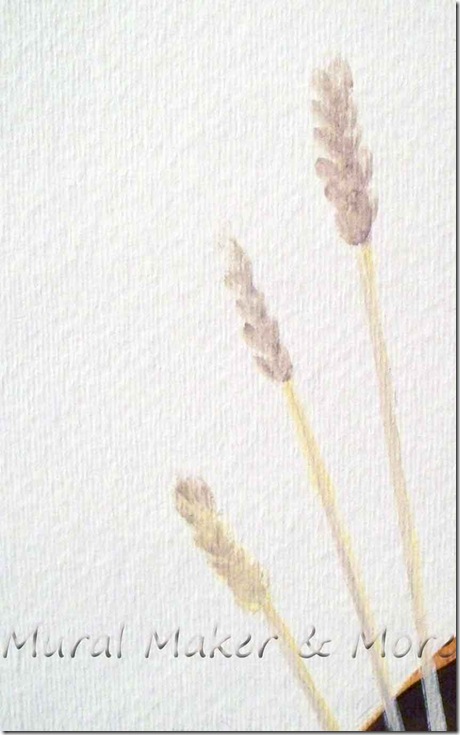
I started with a few stalks using the same colors as the cattails – Lemonade + White.
Then I mixed some Burnt Umber + White and added that to the stalks.
Note to Self: go to the craft store and pick up some wheat-colored paint!
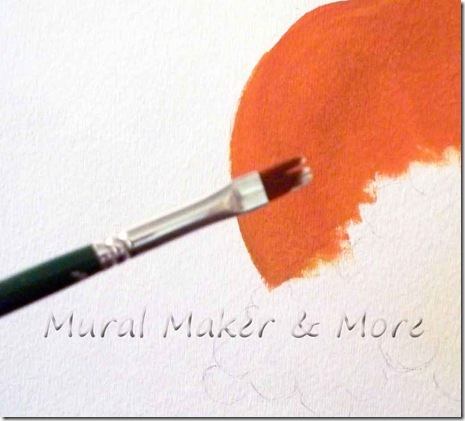
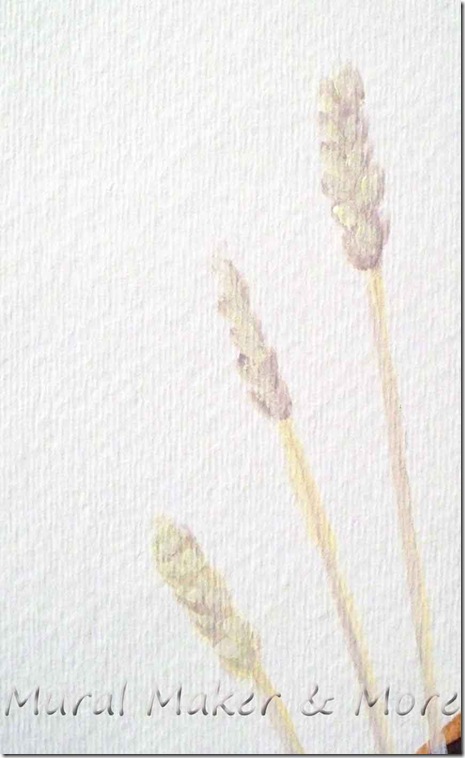
To paint the wheat kernels you could just use a small round or liner brush. I used a #6 flat just because I’m basically lazy and hate cleaning my brushes. (j/k – about the lazy part, not the cleaning part – I use a flat like a round brush all the time.)
I started with the Burnt Umber + White mixture first.
It winds up being kind of a greyish-brown color – perfect for underpainting. I dabbed diagonals one one side, then the other and moved up to the tip.
Then I did the same diagonal dabbing with Lemonade + White for some quickie highlighting.
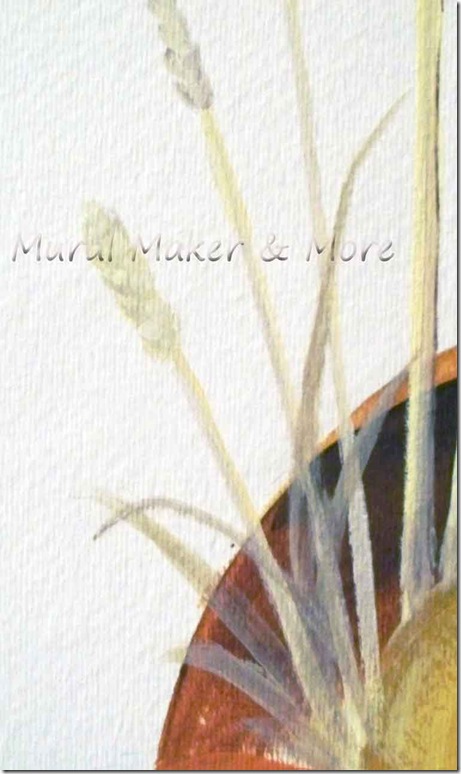
Since the wheat stalks are right next to the cattails in the cornucopia, I added some foliage just for some texture and curves.
When you have a group of leaves or foliage, you always need to do some highlighting so some appear in front and some in back. I just added a little white to a few pieces.
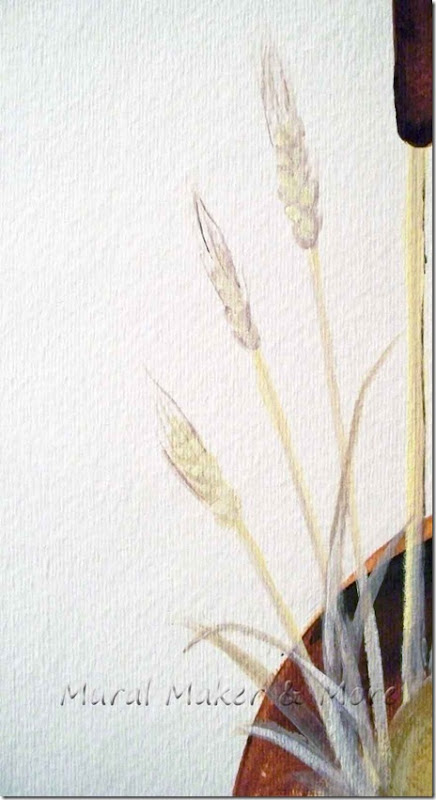
Finally, I added some little hair-thingies. It’s amazing how the small details make all the difference, isn’t it?
Just don’t add the hair-thingies if you’re painting lavender. ![]()
Leave a Reply