 As a DIYer and an artist, most days it’s hard enough to just pick the color palette for a project. But then, once you’ve picked your colors, you still have to pick the technique for applying the paint.
If you’ve ever done any faux finishing on walls, you know what I’m talking about. The same paint color can look totally different if you mix it with a glaze or water for a color wash.
The same is true on ceramic pieces too.
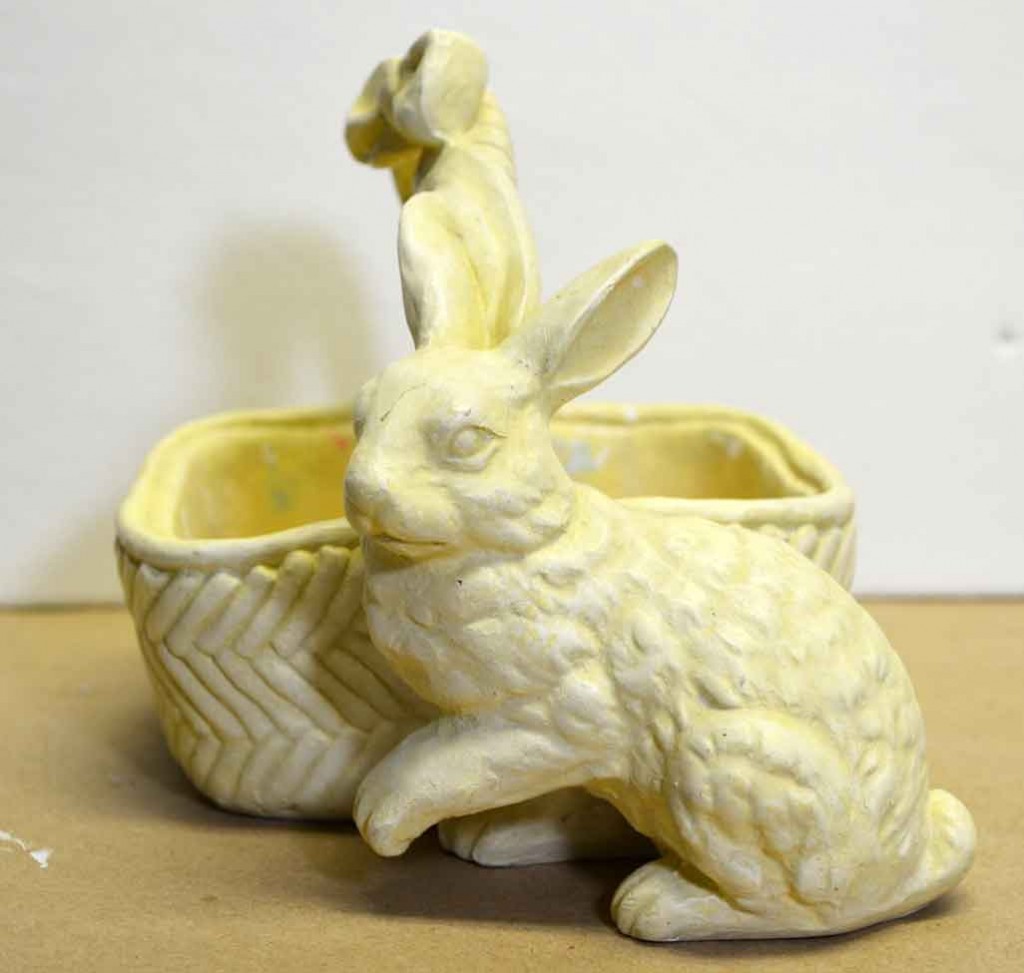 I’ve had this thrift store bunny for who-knows-how-long but I could never decide how I wanted to paint him – colorful for Easter or more subtle for all of Spring.
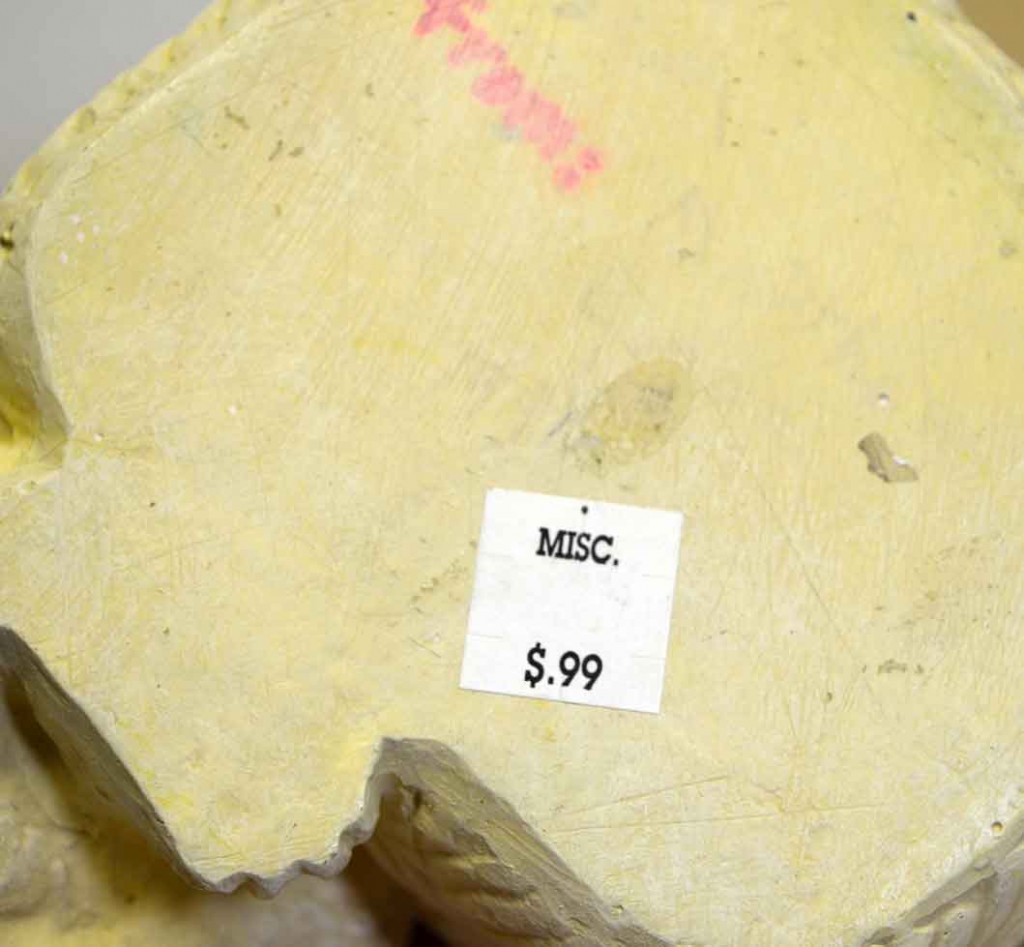 For this price, it really didn’t matter since it wasn’t an “investment” piece. Plus it didn’t have a shiny finish on it so I could totally skip the priming process.
That’s something to always keep in mind if you’re upcycling a piece – what finish does it have on it? Does it need to be sanded and primed or just primed? Or did you luck out and find a piece like this bunny that doesn’t appear to have any finish?
So let’s talk a little bit about antiquing, which is what I decided to do with the bunny. Now, there are a ton of products on the market – both craft and home improvement stores – for antiquing. I think most people would think antiquing means getting a “stain”.
If you know me by now, you know I do almost everything with regular ol’ craft acrylic paints. However, if I had a nice wood piece I would most likely buy a stain rather than acrylic.
For a 99 cent ceramic bunny, I’m not gonna buy an $8 stain though.
 These are the colors I used, however you can use any colors you choose, depending upon the piece and the look you want. I do like Burnt Umber for antiquing as it has a bit of warmth to it, but most any dark brown will work.
Full supply list at the bottom of this post.
I use the Floating Medium for mixing a glaze. As I said there are tons of different mediums for glazes but I use this medium a lot in my artwork and I only needed a teensie bit for this project.
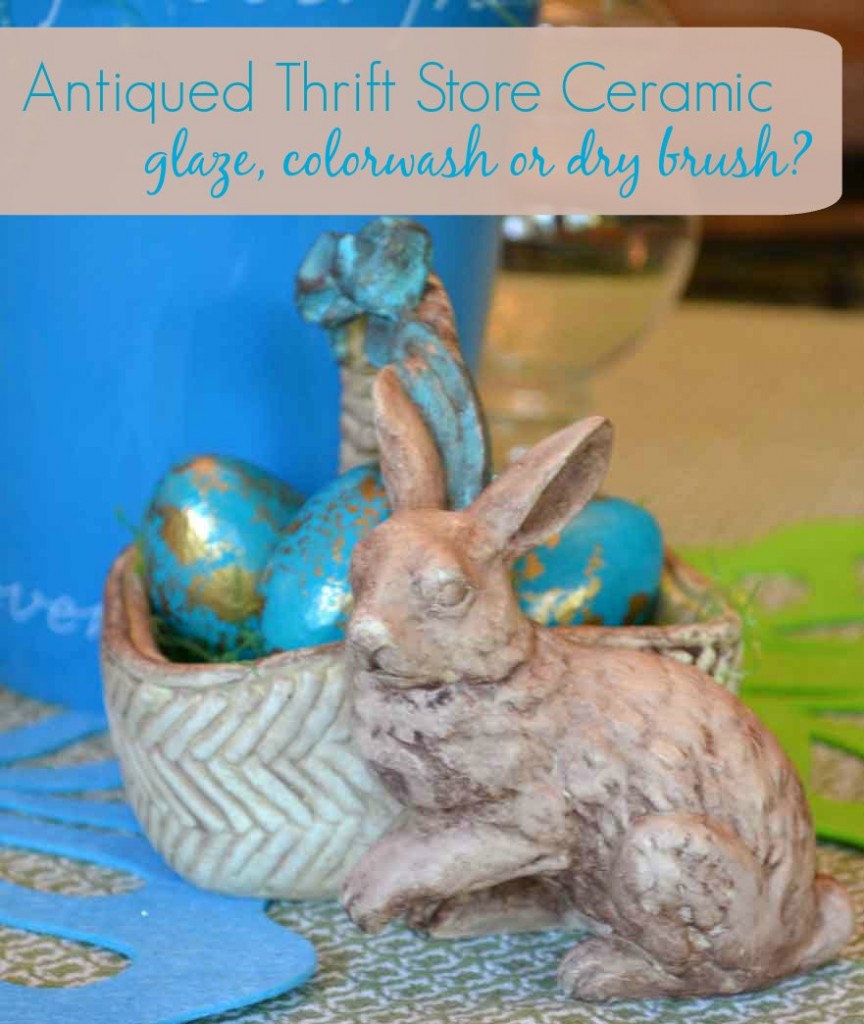
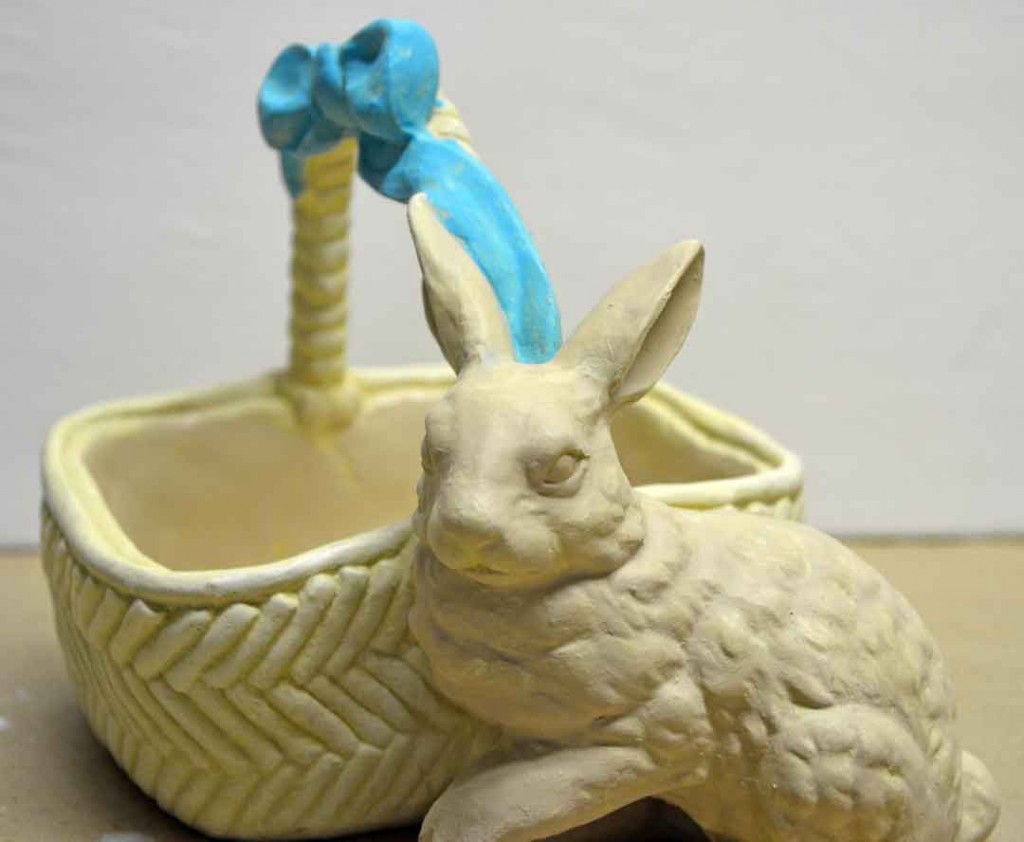 I decided to add a little bit of color – turquoise on the bow and a subtle tan to the bunny – just to add a little more visual interest to the whole thing.
Once that dried, I was ready to glaze the whole thing.
How to Glaze a Ceramic with Craft Paints
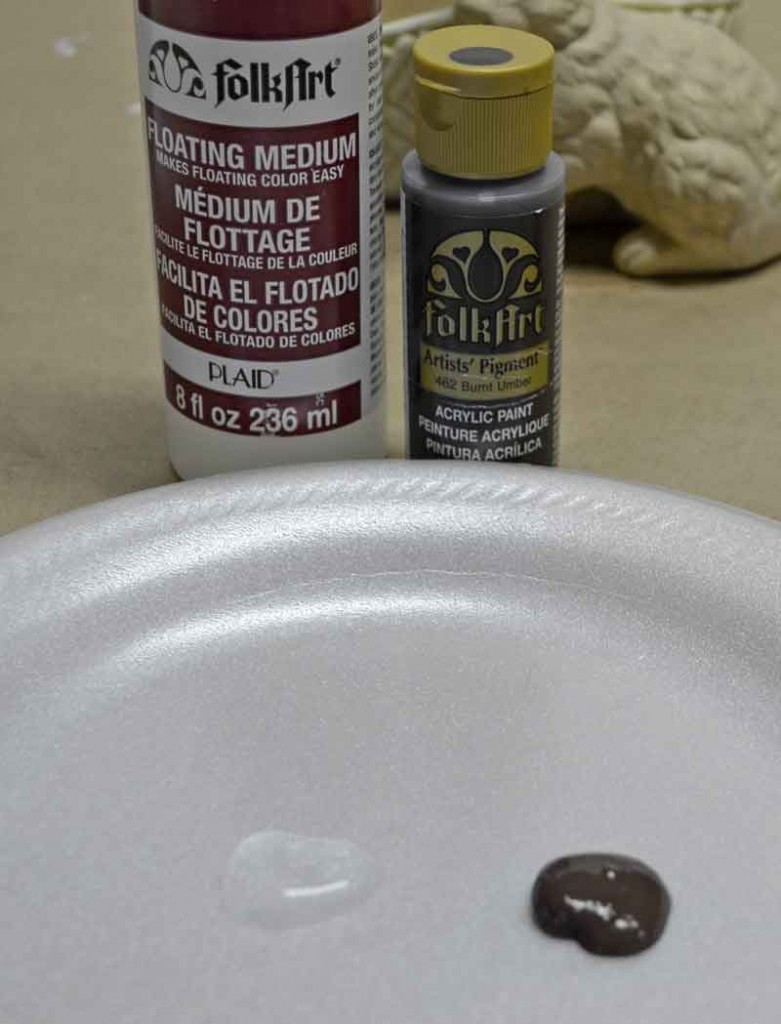 Pour a little amount of both paint and floating medium (or whatever glaze medium you’re using). You can either mix the two together on your palette or do what I prefer – load your brush with the medium, then pick up some paint and work the two together on the brush by stroking back and forth on the palette.
(It was at this point I realized I should have made a video. So expect one fairly soon, ok?)
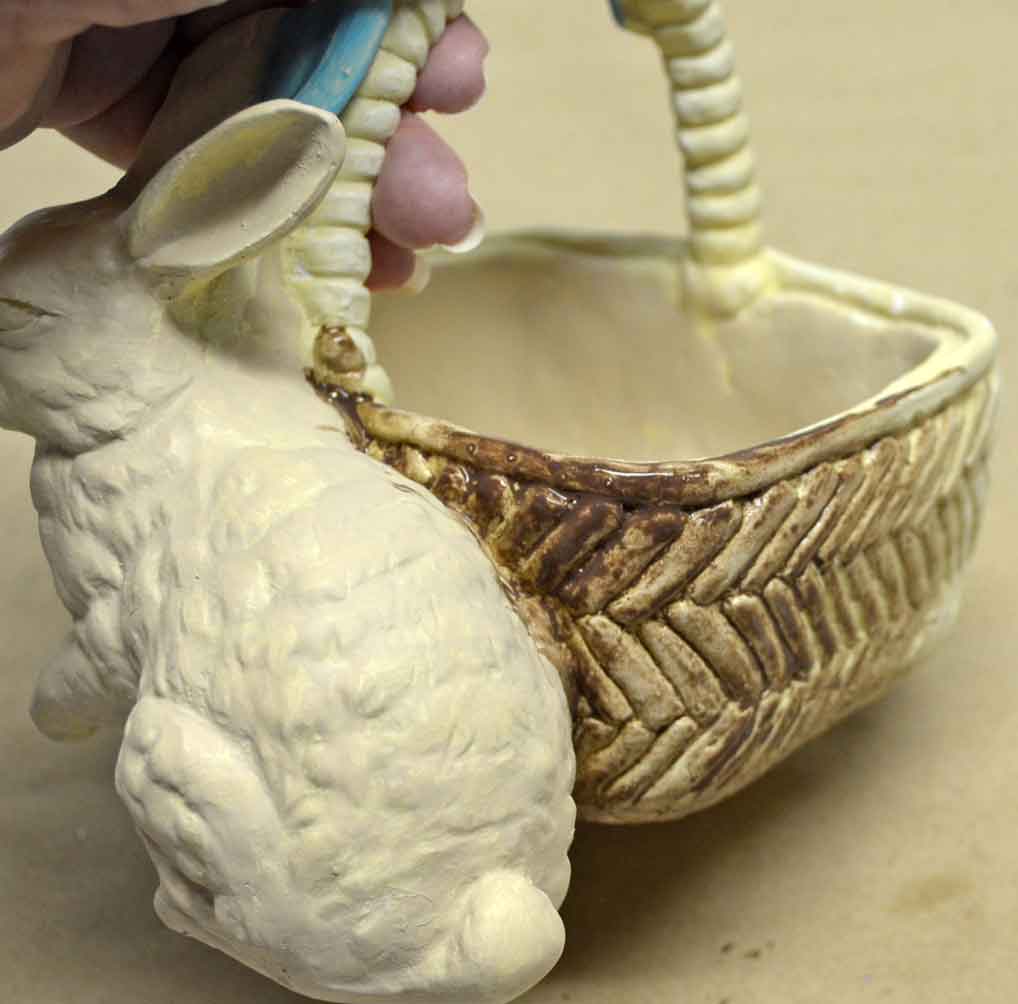 Then apply the paint/glaze mixture to the innermost parts of the piece. Use an old bristle brush because you’ll need to work the glaze into all the nooks and crannies.
 Then simply wipe the excess glaze off with a soft cloth. I use a paper cloth or rag, whatever I have handy.
Notice how the color stays in the recesses and not as much on the raised parts. If you want more color on the raised portions, just add some more glaze and rather than wiping, try blotting the glaze off so that more color is left behind.
 I also glazed the bunny. This is the “before” pic.
 Using a glaze gives you more time to work than a colorwash would but you still need to check all sides so you don’t wind up with a distinct area of paint that wasn’t wiped.
Once you’ve applied and wiped off glaze on the entire piece, let it dry thoroughly and seal as desired.
How to ColorWash a Ceramic
 The technique for doing a colorwash is basically the same as the glaze except you mix the paint with water rather a medium.
You still work the paint into the recesses and wipe the excess off, however you’ll have less working time since water dries faster than glaze so work in smaller parts. When the entire piece is dry, seal as desired.
Also notice how the depth of color is reduced with a wash and is more subtle. You could add some full strength paint and quickly wipe it off, just do this on a test portion that won’t be seen too much.
Years ago when I started faux finishing, I used the very same colors and did a glaze on one wall and a color wash on an adjacent wall and they looked completely different with the wash being much lighter and subtle.
How to Dry Brush Ceramics
 I usually reserve dry brushing for metallics since glazing and washes dilute the metallics too much. But on this piece the turquoise was lifting with the glaze . . . yes, I should’ve either primed the whole thing or waited for the basecoat colors to cure . . . so I wanted to dry brush parts and not have to wipe them.
Dry brushing is so easy but it takes patience. It’s like applying just a blush or tint of color. You simply load the paint on to a scruffy brush and then wipe nearly all of the paint off on a rag or paper towel.
If you can see obvious paint strokes, you have too much paint on the brush. It helps to again do a test patch.
Also, if you’ve done much stenciling with a bristle stencil brush then you’re familiar with dry brushing. Since it’s applied in very light layers you don’t have bleed-thru’s.
 The handle and bow were drybrushed. Notice the difference between this and the glaze and wash?
With a dry brush you mainly hit the raised areas, not the recesses. Sure, you could scrub the paint into the recesses but, honestly, I’d rather do a glaze or wash. Much faster.
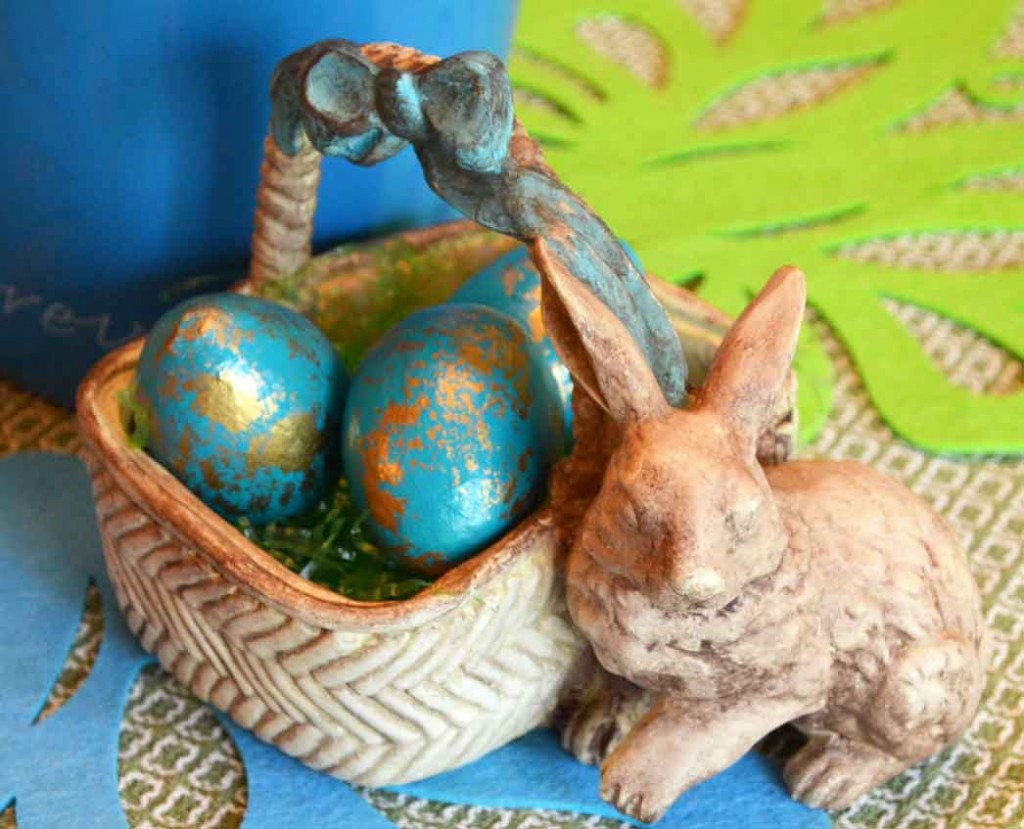 So this piece is a combination of glaze, colorwash and dry brush. Typically I’d choose between the wash and glaze and pick one. However you certainly can come back with a dry brush – after the glaze or wash have dried – and add hints or color here and there.
Dry brushing is really great to add color where you want it, unlike glazing and washing where you don’t have much control. Which is why I use it a lot with metallics.
 Now I just need to either paint some Robin’s eggs, which would take me thru spring into summer, or buy some Easter candy.
Hmm, decisions decisions.
How do you antique ceramics? What are your favorite mediums? I love learning new methods and products so please share!
Colleen
![]()
Just Paint It is a participant in the Amazon Services LLC Associates Program, an affiliate advertising program designed to provide a means for sites to earn advertising fees by advertising and linking to Amazon.com.
This a pretty piece but you made it prettier ! hope makes since,lol look’s better way you did it over,,great job thank’s for showng it to us,,…
Interesting Colleen. I always learn something when I read your blogs! I hope you have a happy Easter.
xx
Carm
That little bunny looks great now, Colleen! Well worth $0.99 and your magic!
Dear Colleen,
I saw your blog on the methods used to antique your bunny and I have a question please. I have used acrylics on a scarecrow in a pumpkin patch piece of bisque. I want to antique him using brown. I hope I’ve read this correctly, Mix the brown with some water on the brush, apply it where I want, and wipe off. Then I seal it. Sounds easy enough. Have I got this? What kind of sealer do I buy? A spray can or a paint on?
Thanks for your help!
This was very helpful as I have been trying to replicate this finish on a ceramic pic done in the 70’s. Thank you
I learned how to antique a long time ago, and was taught to seal the painted piece before antiquing! This definitely helps with colors not coming off when doing the wiping!
Awesome tip, Bridgit! I’ve done it both ways actually. But I’ll remember from now on to seal before antiquing!