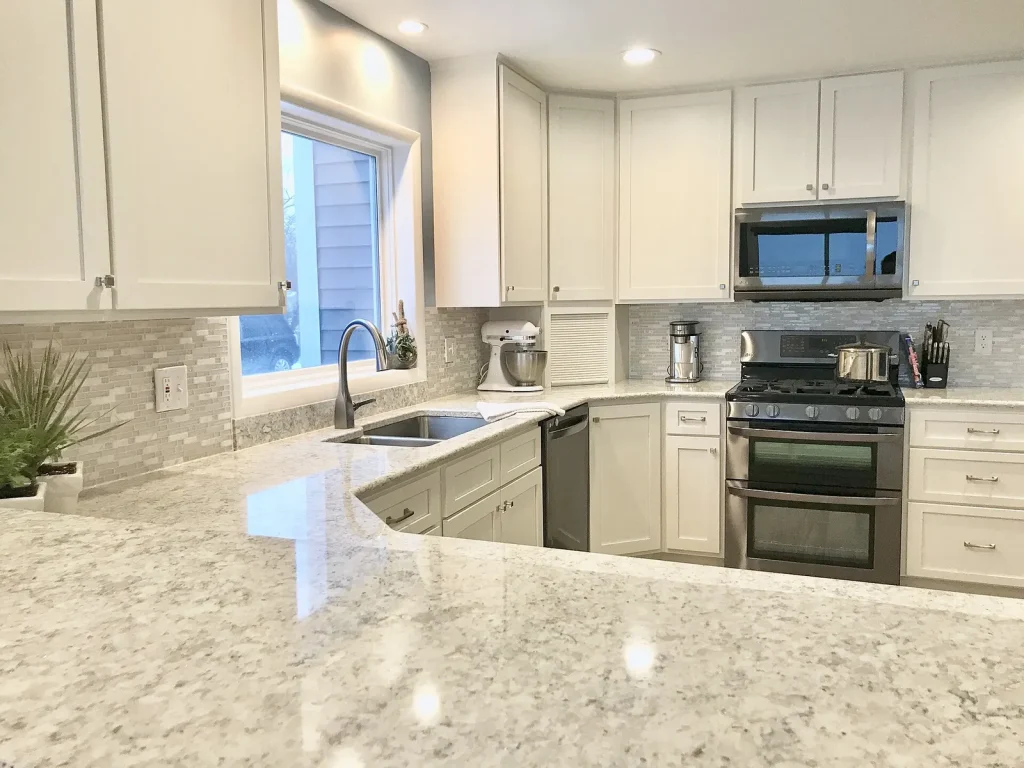
Knowing how to paint kitchen cabinets starts with a plain truth: the finish is only as good as the prep. Degrease, scuff, prime with a bonding primer, then use a hard-wearing cabinet enamel in thin coats. Plan on a week or so of work spread across a few days, mostly spent waiting for coats to dry.
Is Painting Cabinets Worth It?
For solid wood or sturdy laminate cabinets in good shape, painting is one of the best-value updates in a kitchen. It will not fix broken boxes or sagging doors. Thermofoil and cheap laminate can be painted with the right primer, but they are more likely to chip. If you are choosing a color, browse our kitchen cabinet color ideas first.
Supplies and Tools
| Item | Notes |
|---|---|
| Degreaser | Kitchen cabinets carry cooking grease even when they look clean |
| Screwdriver, labels, bags | For removing and tracking doors and hardware |
| 120 and 220 grit sandpaper or sponges | Smooths and scuffs surfaces |
| Wood filler | Fills old hardware holes and dents |
| Bonding primer | Needed for glossy or varnished surfaces |
| Cabinet enamel | Formulated to cure hard |
| Small foam roller and quality brush | Smoother, fewer marks |
| Painter’s tape and drop cloths | Protects counters, walls and floors |
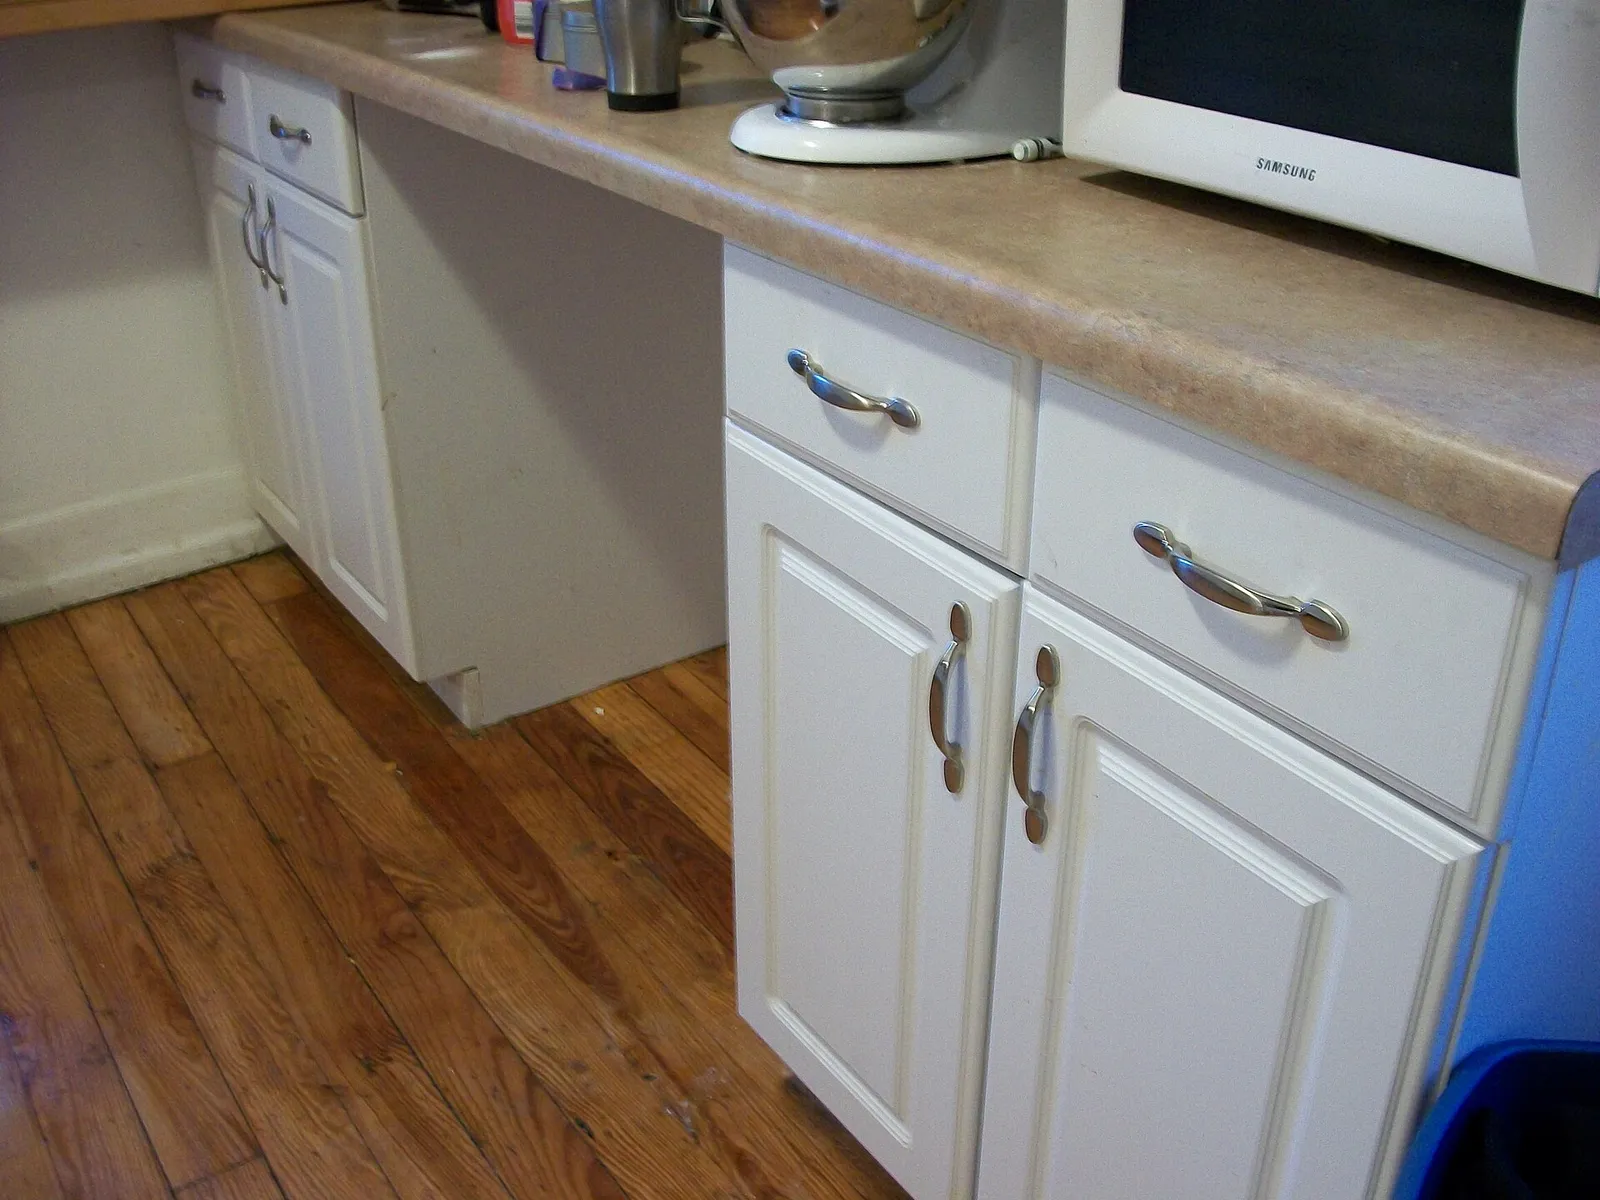
Prep Is the Real Work
Label every door and drawer so they go back in the same spot, then remove them with the hinges and hardware. Clean all surfaces with degreaser, then rinse and let them dry. Fill old holes, sand rough areas, and scuff the rest. Wipe away dust and tape off walls and countertops. Spend your effort here; the painting itself is the easy part.
How to Paint Kitchen Cabinets Step by Step
- Set doors and drawer fronts on sawhorses or a table in a ventilated area.
- Apply a thin coat of bonding primer to the backs first, then fronts later. Let dry as the can directs.
- Lightly sand with 220 grit and wipe clean.
- Paint the first coat of cabinet enamel with the brush in recesses and the roller on flat panels.
- Let dry fully, then lightly scuff and apply the second coat. Some colors need a third.
- Paint the cabinet frames on the wall using the same sequence, working top to bottom.
- Let everything cure before rehanging. Handle doors gently for the first couple of weeks.
- Reinstall hinges and hardware. This is a good time to update your knobs; see how to spray paint metal hardware if you want a budget refresh.
Brush, Roller or Sprayer?
A good brush and small roller give excellent results if you work in thin coats and avoid overworking the paint. A sprayer makes a smoother finish but demands masking and ventilation. Our comparison of paint sprayer vs roller can help you decide.
Common Mistakes
The big ones are skipping degreasing, using wall paint instead of cabinet paint, painting thick coats, and rehanging doors before the paint cures. Humidity and cold also slow drying, so check the temperature range on the can. For general background, see the page on cabinetry.
Planning Your Timeline
A realistic schedule helps you avoid a kitchen without doors for weeks. Day one is for removing doors, cleaning and sanding. Day two covers primer on both sides. Day three and four are for color coats. After that, let everything cure, and treat the cabinets gently. Setting up a temporary spot with sawhorses in a garage or spare room keeps the kitchen usable while doors dry.
Cooler or damp weather slows drying, so allow extra time and keep air moving. If you have to stack doors, wait until they are fully cured, or use small spacers so surfaces do not touch and stick together.
Finally, consider your hinges and pulls. New hardware can make freshly painted cabinets look custom, and matching hole spacing saves you from drilling new holes. Measure the center-to-center distance of existing pulls before you shop.
Quick Recap
The core of how to paint kitchen cabinets is simple: clean, scuff, prime and use thin coats of tough enamel. Once you know how to paint kitchen cabinets, the rest is patience and careful reassembly. Many readers ask how to paint kitchen cabinets without removing doors; removing them gives a far better result.
Safety Note
Ventilate the kitchen and workspace, and wear a respirator when sanding or spraying. If your home was built before 1978, test old cabinets for lead paint before sanding, and use EPA-recommended lead-safe practices if it is present. Keep kids and pets out of the area while paint cures.
Frequently Asked Questions
Do I need to sand kitchen cabinets before painting?
A light scuff sanding is a good idea, and necessary on glossy finishes. Pair it with a bonding primer for best adhesion.
What paint is best for kitchen cabinets?
Use a durable cabinet or trim enamel, usually in satin or semi-gloss. These resist moisture and are easier to wipe clean than flat paint.
How long does painting cabinets take?
Most DIYers spread it over several days to a week, mainly because each coat needs drying time. Full cure takes longer.
Should I paint the inside of the cabinets?
It is optional. Many people paint only the exteriors and door edges, which are visible, and leave interiors as is.
How do I avoid brush marks?
Use thin coats, a good brush and a small foam roller, and do not keep going back over paint that has started to dry.