Crafters and DIYers love stencils. I totally get that and I understand why. They’re easy to use. They give good results. Stencils give you a ton of decorative options.
I tried to love them. Lord knows, I tried. One of my first stenciling attempts was when I was working at a craft store. Part of my job was to try out different products, write project sheets and create an easy project that would sell tons of product {hopefully}. For one particular project I wanted a cute backdrop so I grabbed a trellis stencil, thinking it was probably the easiest of them all.
Um, it turned out not so much. After nearly 30 minutes of reading directions, trying different approaches, and getting help from my coworkers, I just gave up and grabbed some painter’s tape.
Thus ended my foray with stencils.
Trust me, you don’t need one to paint a patch of trellis either. Just grab some painter’s tape.
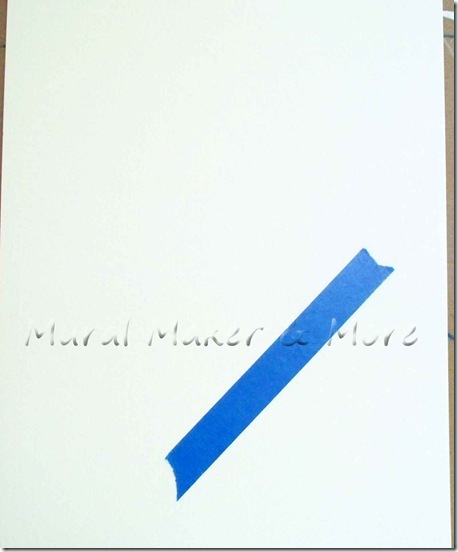
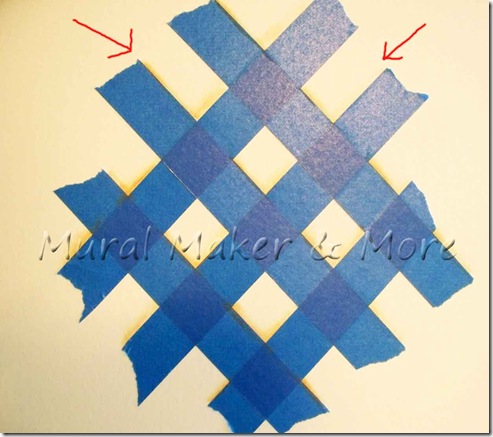
Lay one piece of tape on an angle.
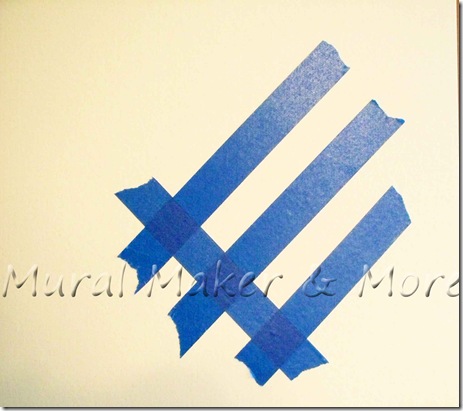
Add two more on the same angle then lay another piece across those three.
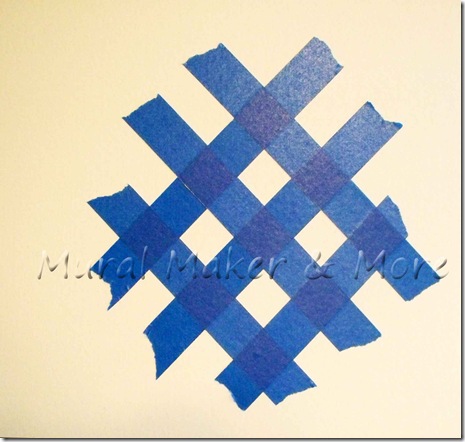
Yes, I ‘eyeballed’ this. I’m sure there’s a way to use a ruler or protractor or other such device but by the time I found one (and figured out how to use it) it’s just as quick to create a grid with tape freehand.
That being said, if you’re a geometry whiz and know how to do this properly, I’m all ears.
I tried to get the spaces between the pieces of tape about the same width as the tape itself.
Now . . . how to turn this little criss-cross into a 3-D-looking piece of trellis. With ONE color of paint.
(Yes, I have a thing about how many paint colors I use because if I’m just trying something out, I hate having to buy $20 worth of products that I may or may not ever use again. And most paint patterns require an average of 15-20 paints. I’m just sayin’ . . . )
Moving on.
Without getting into an entire art lesson on light sources and shadows – which I actually can’t do because I haven’t taken an art class – we’re going to add cast shadows to the criss-cross pattern.
All that means is you have to decide where the light source is coming from. That determines where the shadows will be cast, right? So without getting fancy or complicated I just made the light source coming down above my head – like the sun would on a piece of trellis.
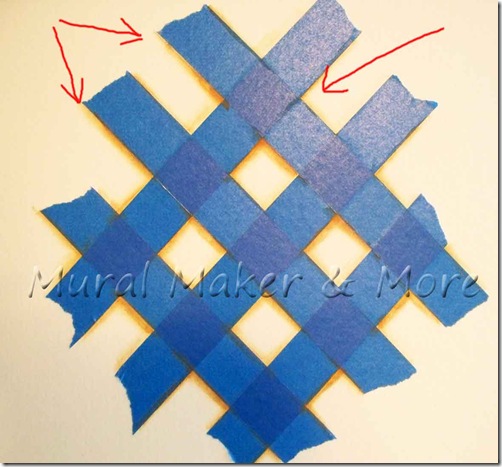
So the first lines to paint are on the TOP side of each tape strip.
Oh – this will work with any kind of brush, but, in case you’re interested, I used a flat brush and sideloaded it (dipped on corner in paint).
And one more thing – I painted this tutorial on watercolor paper and added FolkArt Floating Medium to make the paint flow easily.
When I painted trellis on a wall, I used Floetrol. Although Floating Medium would work too. But you’ll get a better, lighter effect if you use something to make the paint flow.
Next, paint your cast shadow (a heavier line) on the bottom side of each tape.
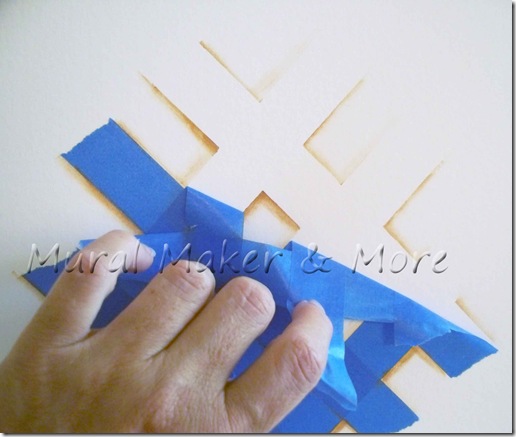
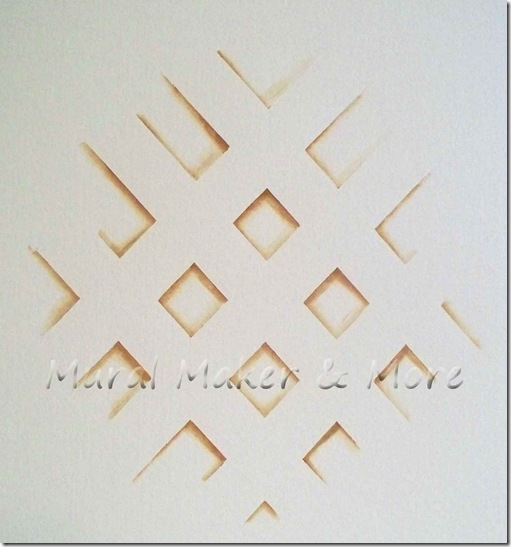
Then peel off the tape . . .
. . . and it still looks like a criss-cross, doesn’t it?
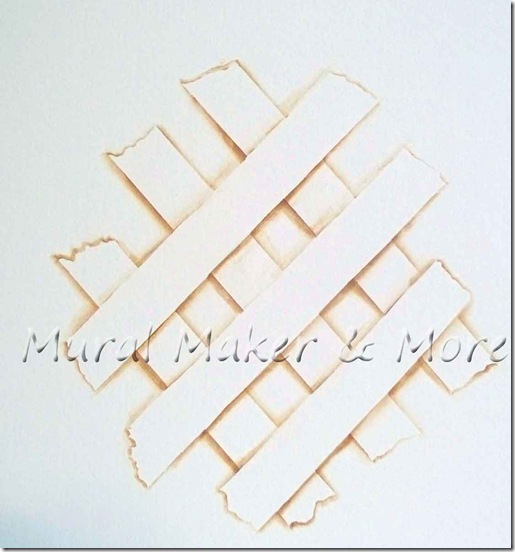
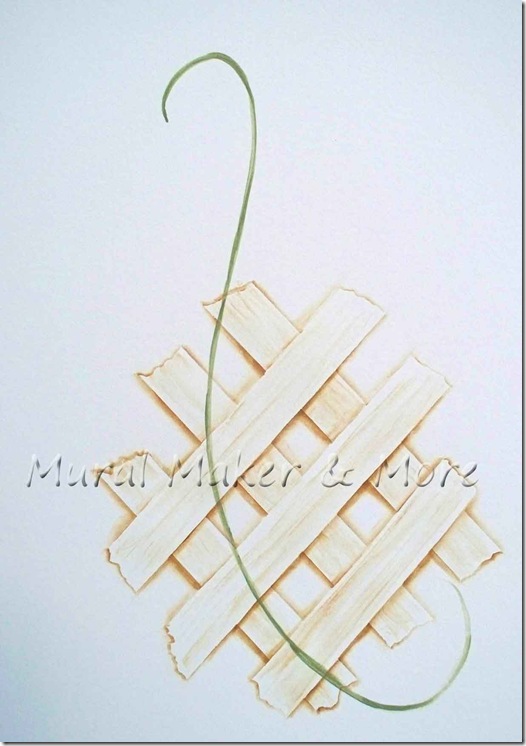
So you need to decide which strips will be on top and which will be underneath.
Then paint a connecting line defining the strip that is on top.
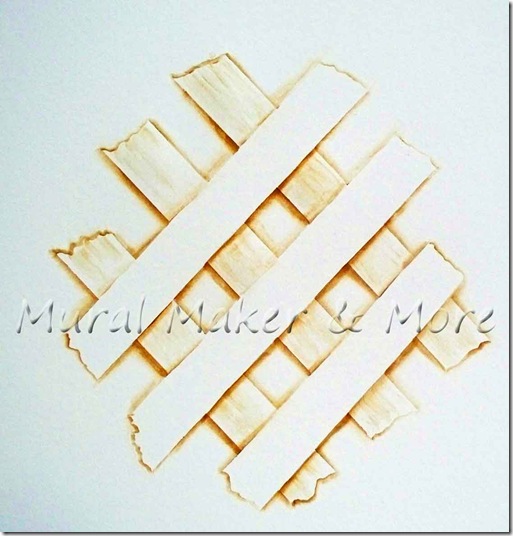
I also painted the ends of each strip. I’ll explain why later. If you’re painting this on your wall, just leave the ends blank and you’ll wind up with the look of this trellis.
Since this was painted on watercolor paper, I wanted a little texture on each strip so I painted the strip with plain glaze first then added vertical strips of paint.
Then do the same to the ‘top’ strips.
Okay, so it doesn’t look exactly like wood, but it adds a bit of visual interest and didn’t take a ton of time.
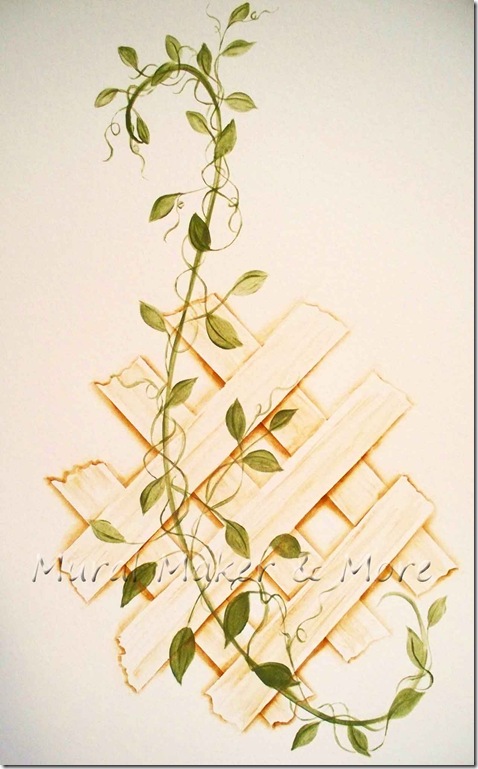
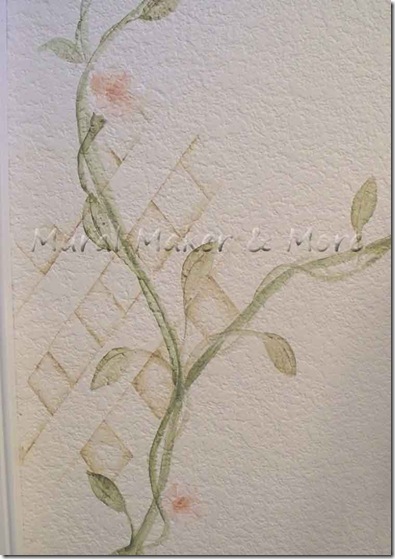
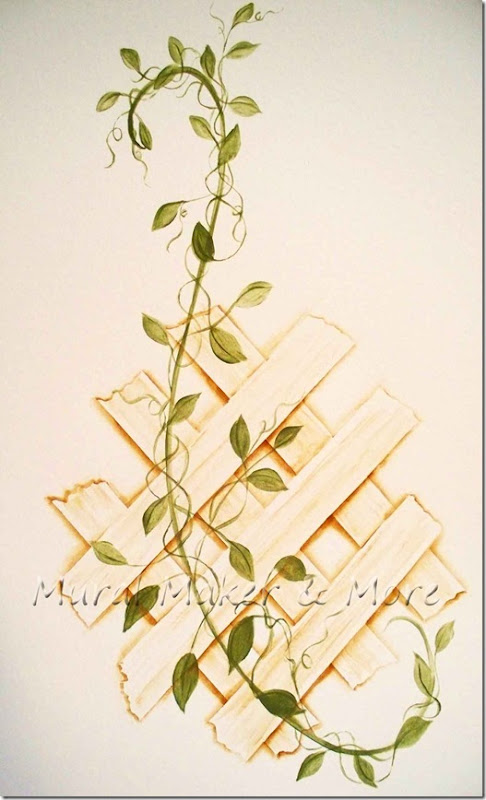
That’s the tutorial for painting trellis. Easy-peasy. But you don’t want just a piece of trellis, do you? Nah – let’s add a simple vine too.
Start with an ‘S’ scroll, just like I did in this leaf and vine tutorial.
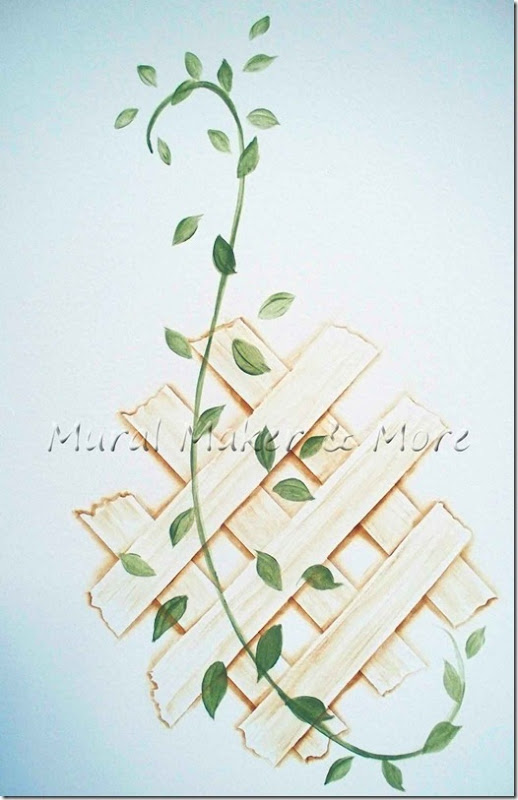
Paint your leaves.
I used a medium green, but check this out – look at the difference in the shades of green of the leaves. For some I used straight paint, for some I added a lot of Floating Medium.
That’s another reason I use Floating Medium – it allows you to create different levels of shading with just one color.
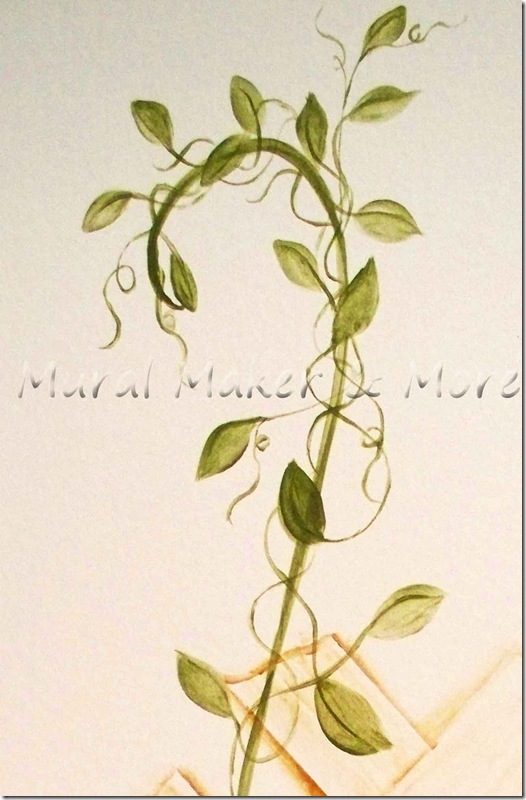
Connect the veins of the leaves with tendrils and that’s it.
Super simple painting project!
But, just in case you don’t want to paint this on your walls, pretty soon this trellis and vine will be available as a decal. A repositionable, removable decal! Yep, I’m creating an entire line of decals that look handpainted on walls or furniture.
I’m adding to the decal collection every day, so if you’d like more info, shoot me an email.






Leave a Reply