You might be thinking, “Apples? What’s the big deal? Aren’t they just red round circles with a brown stem?”
And you’d be right. Mostly.
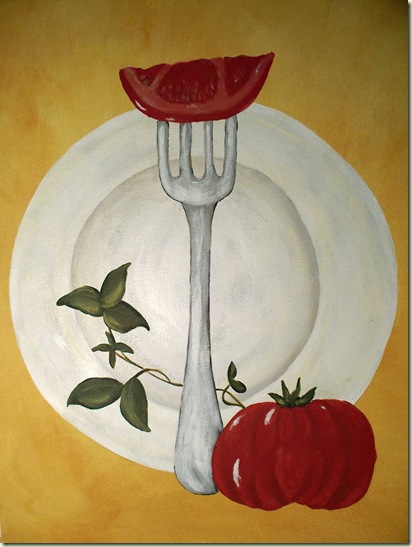
Except red round circles can also look like tomatoes. With a green stem.
And we can’t have our apples mistaken for tomatoes. Not ‘round these parts. You see, while my hometown of Placerville, CA is about 15 minutes south from where gold was discovered (Coloma), it’s also 15 minutes west from Apple Hill.
It’s a toss up which place is better known. Except in the Fall, like, starting this weekend. From now ‘til November, Apple Hill becomes a mecca for all things ‘apple’.
Gala, Gravenstein, Delicious, Fuji. Pies, tarts, jellies, jams. And caramel.
Be still my heart. Caramel apples.
Oh, um, moving on . . . for some people apples are synonymous with ‘back to school’. To me, apples mean Apple Hill. Either way, apples are the heralds of Fall.
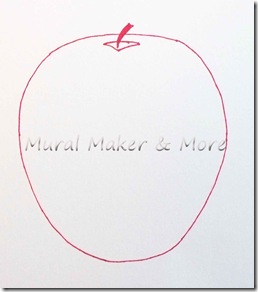
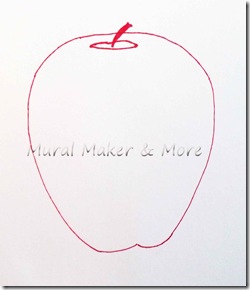
Just in case you don’t want your apples to be simple red round circles, here’s a couple of printables for you to download.
Just click on either drawing and it’ll take you to the PDF.
Now, while apples aren’t perfectly round, they are curved, right? Painting curves is a whole lot easier if you go in one direction.
For us right-handers, paint from right to left.
For you lefties, move from left to right. I think. I don’t actually know because I’m not left-handed. You might be able to go either way. If any of you are lefty painters out there, could you let me know?
Here’s the thing – if you’re a rightie and try to paint left to right, you’re painting ‘blind’ – you can’t see where you’re going. Seriously! Curves, stripes, baseboards . . . whatever. It’s just easier to paint right to left.
Alright. Maybe it’s just me, I admit. But, you know, I just might be on to something here.
Moving on . . .
I did two different ways to paint red apples. Both methods use the same colors by Plaid:
- Napthol Crimson Red
- Barnyard Red
- Turner’s Yellow
- Burnt Umber
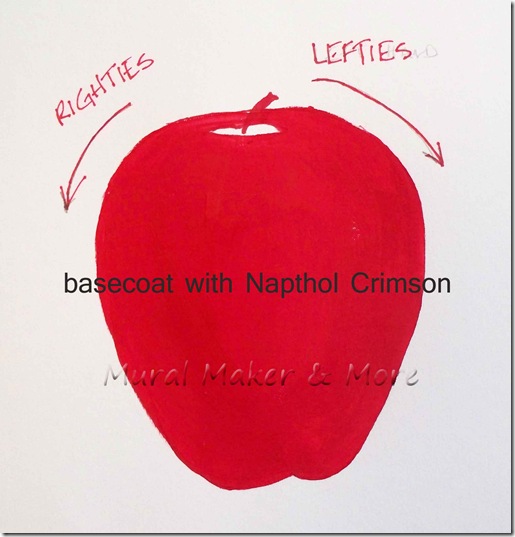
For this apple, basecoat with Napthol Crimson. I left the little divot by the stem white just for demonstration. You don’t have to leave it white. You’ll add some shading a little later.
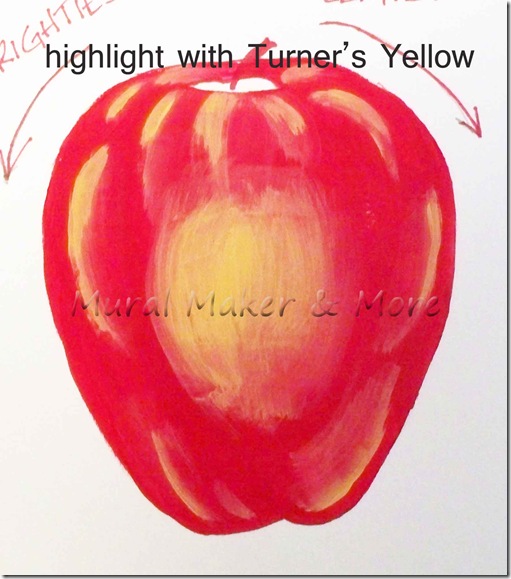
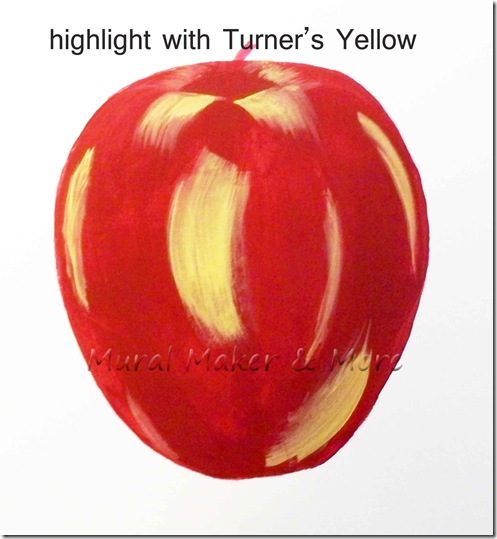
Highlight the curves with Turner’s Yellow.
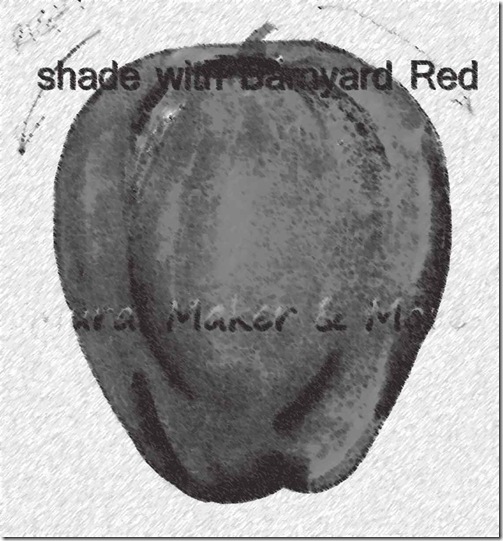
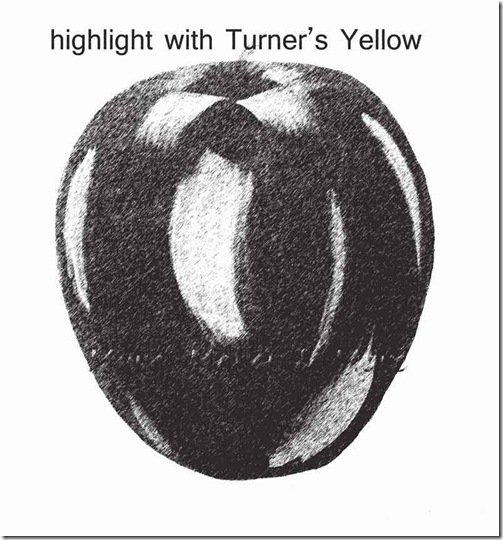
I’m messing around with Photoshop to see if the highlighted areas are easier to see in black and white. Let me know if this is helpful or not, ok?
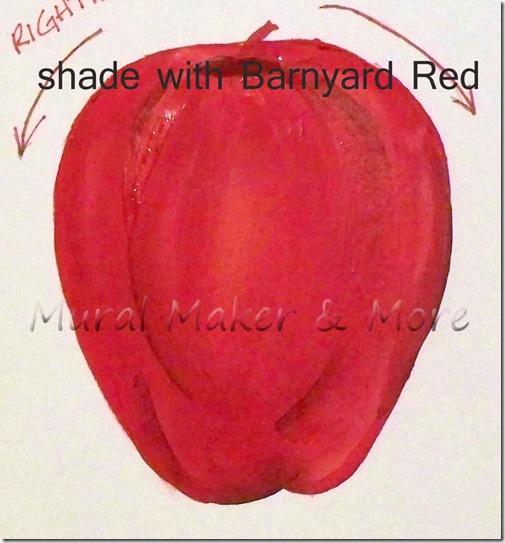
Shade next to highlighted areas with Barnyard Red. Also fill in the indentation where the stem will go.
Again, playing around with PS. Let me just say, you don’t need as much shading as highlighting on this apple.
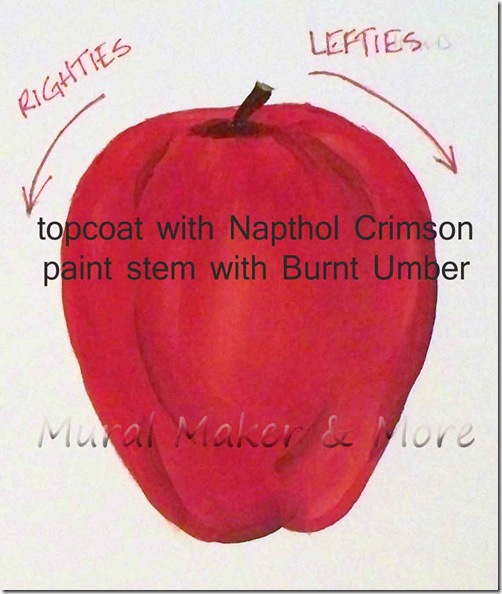
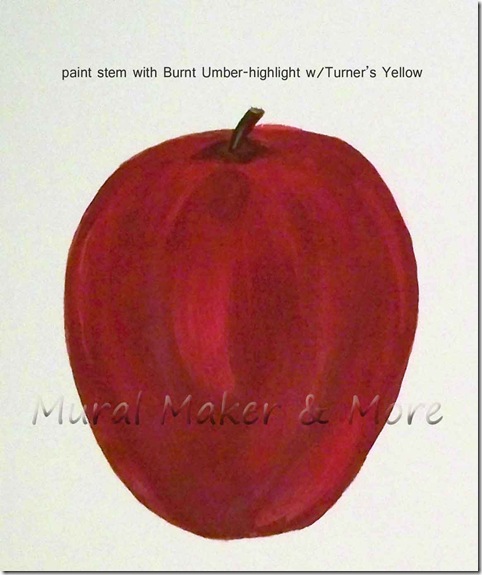
Cover it all up with Napthol Crimson. Paint a little stem with Burnt Umber and you’re done! Simple, huh?
Okay, here’s a different method – just as easy – using ‘underpainting’.
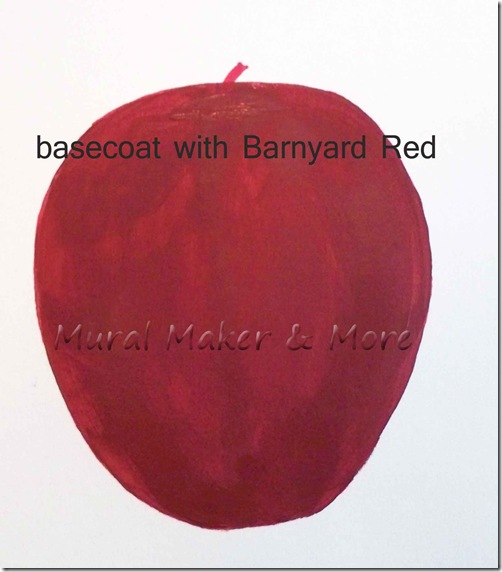
Start with Barnyard Red. I find if I underpaint with a deep value (dark color) I don’t have to do much shading later. Sometimes.
I messed up the lighting on this pic. It actually is just Turner’s Yellow on Barnyard Red. Really.
This is a truer representation of how the apple looks, even with a layer of bright Napthol Crimson.
The Barnyard Red sort of ‘absorbs’ the brightness. But it also adds some richness to the apple without worrying about where to shade it.
I use both ‘layering’ methods. Really!
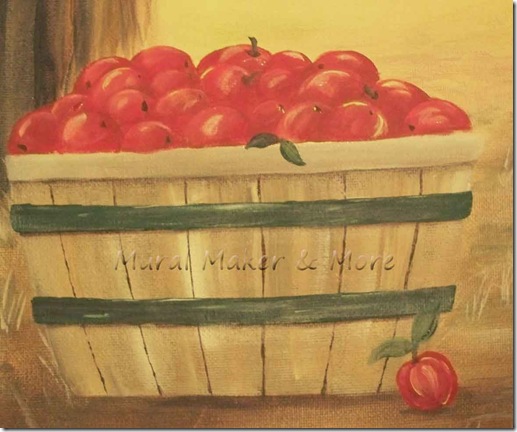
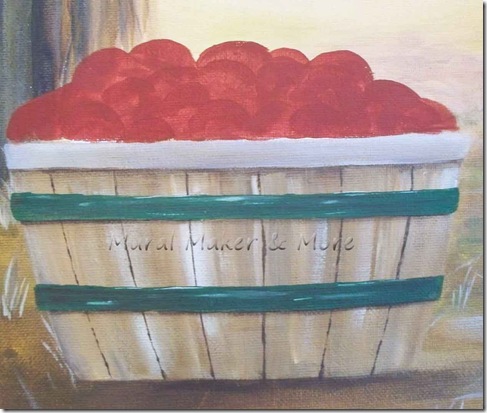
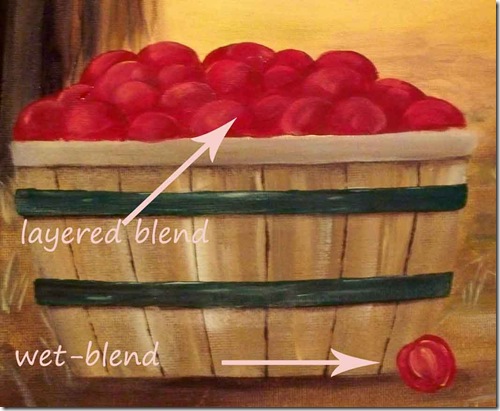
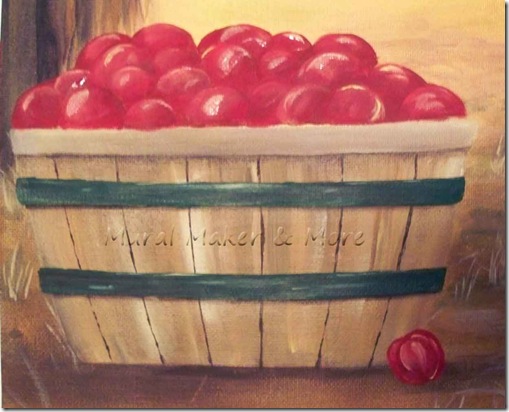
Here’s a painting of a bushel of apples I’m working on. The apples are basecoated with Barnyard Red.
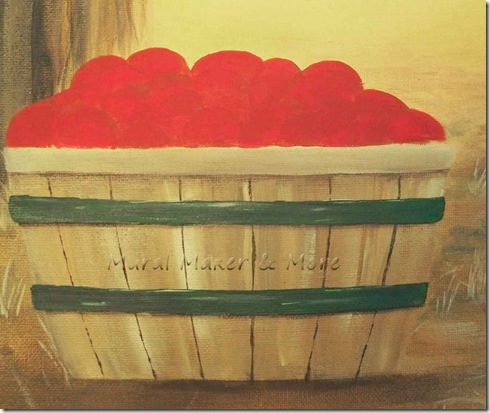
Then topcoated with Napthol Crimson.
Note: when my photos turn yellow all of a sudden, it means I painted it at night and don’t know enough in PS to fix the exposure. Just so you know.
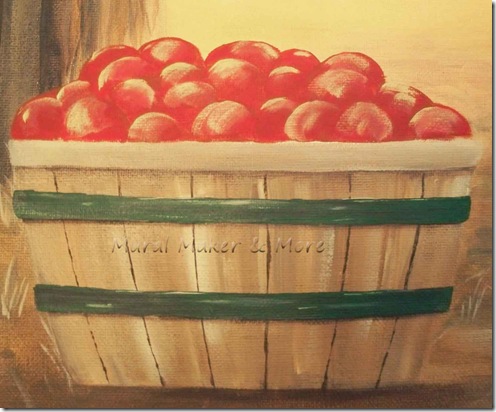
Highlighted with Turner’s Yellow.
Topcoated with Napthol Crimson again.
I wanted you to see the difference between the layered method and wet-blending – when I mix the colors on the canvas. The highlights definitely stand out more, don’t they?
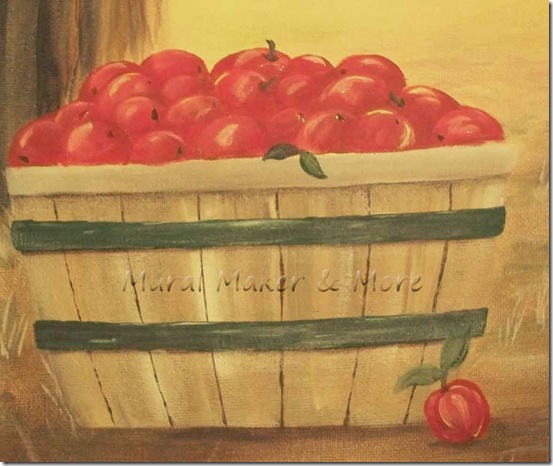
So I went back and added another highlight layer.
Here’s the thing – feel free to wet-blend if you want. It’s fun to smoosh paint around. But if you’re a newbie, you might get a bit frustrated while you get used to the paint:water ratio that you’re most comfortable with. The layering method usually takes the frustration out of it.
Ok. One last step . . .
Stems and . . . um . . . the bottom part. What’s it called? Do you know? I googled it and found nothin’.
Anyhoo, paint the stem with Burnt Umber and dot the bottom of the apple too.
Just like the tutorial.
Just in case you thought I had a bunch of painting secrets that I’m holding back. Ha!
Well, I might add a few more colors if I was painting an apple still life. Have you looked at an apple close up? Try it. They have tons of colors and shades.
So what’s your favorite apple? Or better yet, what’s your favorite way to eat them?
Caramel apples, anyone?



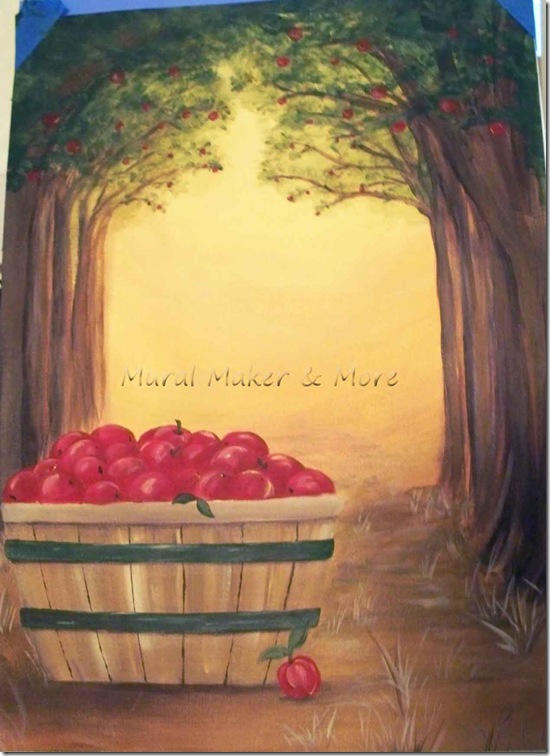


I really love your “Apple Trees & Bushel of Apples” painting. If I saw that in a store, I would buy that. Thanks for the tips on how to paint an apple.