Learning how to choose a paintbrush comes down to three decisions: the bristle type that suits your paint, the shape that suits the surface, and the size that suits the job. Get those right and you will leave fewer brush marks, cut cleaner lines and spend less time fixing mistakes. Here is how to sort through the wall of brushes at the store without guessing.
Start With the Bristles: Natural or Synthetic
The bristle material is the first thing to settle, and it depends on the paint in your can.
- Synthetic (nylon, polyester or a blend): the right pick for water-based paint such as latex and acrylic. These filaments do not soak up water, so they keep their shape and stay springy.
- Natural (animal hair): traditionally used with oil-based paints and varnishes. Natural bristles tend to swell in water-based paint and go limp, which makes for sloppy edges.
- Blends: many general-purpose brushes mix the two and work with either paint family. Read the packaging to confirm.
Knowing how to choose a paintbrush by paint type saves frustration, because most homes are painted with water-based products now, so a good synthetic brush covers the majority of wall, ceiling and trim work. If you are unsure, check the paint can for the cleanup instructions: soap and water means water-based.
Match the Brush Shape to the Surface
Brush shape affects how the paint lays down, especially along an edge.
Angled sash brushes
The bristles are cut on a slant, which lets you steer the tip along a ceiling line, window frame or door casing. For walls, this is the brush most people reach for first. If you have ever struggled to keep a straight line, our guide on how to cut in paint for clean edges shows how the slant does the work.
Flat or straight-cut brushes
These have a square end and carry more paint. They suit flat areas such as doors, cabinet faces, fences and large trim boards, where you want to cover ground quickly and level out the finish.
Trim and thin brushes
Narrow brushes about one inch wide help with window muntins, small moldings and detail work. They hold less paint, so they are for spots where control matters more than speed.
Pick the Right Size
Size is the next part of how to choose a paintbrush. A bigger brush holds more paint and covers more, but it is harder to control. A smaller brush gives precision and gets tiring on large surfaces. These pairings are a reliable starting point.
| Job | Common brush size | Shape |
|---|---|---|
| Cutting in walls and ceilings | 2 to 2.5 inches | Angled |
| Baseboards and door trim | 1.5 to 2 inches | Angled or flat |
| Window frames and small molding | 1 to 1.5 inches | Angled |
| Doors and cabinet faces | 2 to 3 inches | Flat |
| Decks and fences | 3 to 4 inches | Flat |
If your hand is small or you will be painting for hours, err toward the narrower end of each range. A brush that feels comfortable in your grip gives better lines than a larger one you wrestle with.
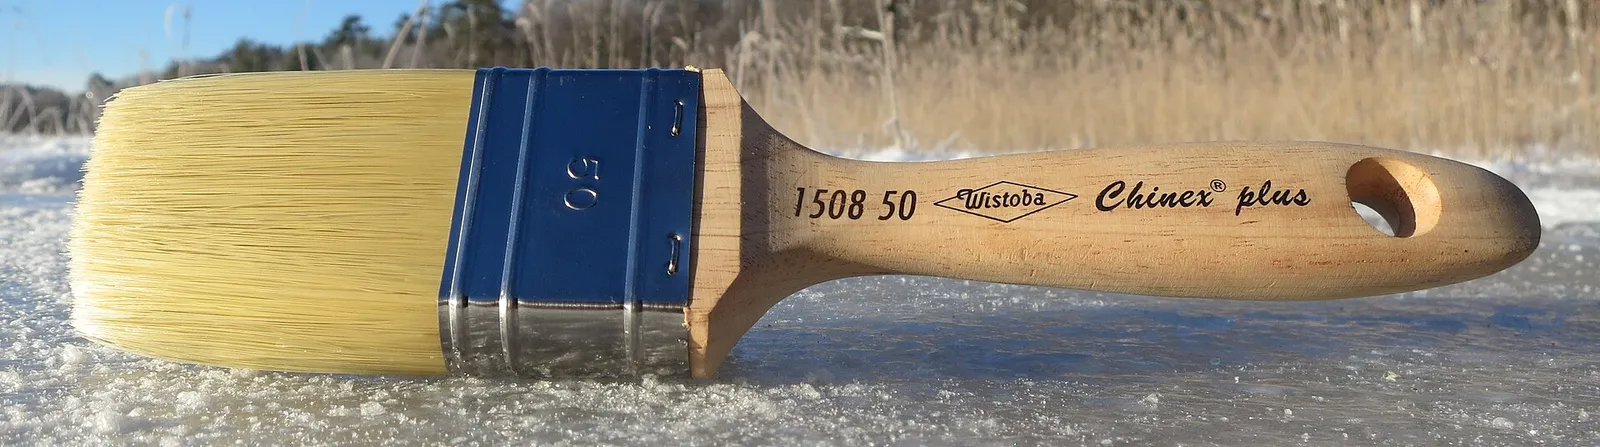
How to Choose a Paintbrush in the Store: A Quick Test
Price is not a perfect guide, but very cheap brushes often shed bristles and leave streaks. You can judge a lot in your hands before you buy.
- Flex the bristles. Press them against your palm. They should spring back evenly and feel full, not stiff or sparse.
- Tug gently. Pull lightly at the bristles. A few loose ones are normal, but handfuls coming out is a bad sign.
- Look at the tips. Good brushes have split or flagged tips, which means the ends are slightly feathered. That helps them hold paint and smooth it out.
- Check the ferrule. The metal band should be firmly attached, ideally rustproof, with no wobble when you twist the handle.
- Hold it. Pick a handle that fits your grip. A short, rounded handle gives good control for cutting in, while a longer one suits larger strokes.
When you think about how to choose a paintbrush on a budget, spending a little more on one quality angled brush usually beats a pack of bargain brushes. With proper care it can last for many projects. That is where learning to clean your brushes properly pays off.
Use the Brush Well Once You Own It
Choosing is only half the story. A few habits protect the brush and improve your results.
- Dip only the first third of the bristles into the paint, then tap each side lightly on the can rim rather than dragging across it.
- Load, lay the paint on, and then smooth it with light, long strokes in one direction.
- Do not press hard. Heavy pressure bends the bristles and pushes paint up into the ferrule where it is hard to clean out.
- Wet a new brush, or fan it against your palm, before first use to shake out loose hairs.
For woodwork, a quality angled brush and patient strokes make a visible difference. Our walkthrough on painting trim and baseboards pairs well with this advice. For general background on brush construction, see the overview of paintbrushes on Wikipedia.
Safety Note
Open windows or run a fan for fresh air whenever you paint, and follow the ventilation directions on the label. If your home was built before 1978, the existing paint may contain lead. Test it with an EPA-recognized kit before you sand or scrape, and use lead-safe work practices if the result is positive.
Frequently Asked Questions
What is the best brush for cutting in?
An angled sash brush, usually 2 to 2.5 inches wide, is the most popular choice. The slanted tip lets you follow a ceiling or trim line with a steady hand.
Can I use a synthetic brush with oil-based paint?
Many can, but check the label. Some synthetic filaments are made for both paint types, while others are designed only for water-based products. The brush packaging will say which it suits.
Do I need a different brush for every paint type?
Not necessarily. A good synthetic or blended brush that is rated for your paint can handle walls, trim and doors. Keep separate brushes for oil-based and water-based paint so residue does not mix.
How do I know when to replace a brush?
Replace it when the bristles stay splayed, hardened paint cakes the base, or the tips no longer form a clean edge. A damaged brush leaves streaks no matter how careful you are.
Is a more expensive brush worth it when learning how to choose a paintbrush?
Often, yes for trim and cutting in, where control shows. For a rough job such as priming a garage wall, an inexpensive brush is fine.