Here is how to paint trim and baseboards for a smooth, durable finish: clean and sand the wood, fill gaps with caulk, prime bare spots, then brush on two thin coats of semi-gloss paint. Trim is small, but it frames the whole room, so a neat job makes the walls look better too. This guide covers the prep, the brush work and the common slips.
Choose the Right Paint and Tools
Trim takes knocks from vacuums, shoes and doors, so it needs a harder, wipeable finish. Semi-gloss is the usual pick, and satin is a softer alternative; our paint sheen guide compares them. Many people choose a paint labeled for trim and doors, which levels well and dries hard.
| Item | Notes |
|---|---|
| Semi-gloss trim paint | Wipeable and durable |
| Angled brush, 1.5 to 2 inch | Good control on narrow surfaces |
| Painter’s tape | Protects walls and floors; see our painter’s tape guide |
| Caulk and caulk gun | Closes gaps along the wall and top edge |
| Sanding sponge, primer | For smoothing and bonding |
| Putty knife, wood filler | For dents and nail holes |
Prep Before You Paint Trim
Every good answer on how to paint trim starts with the prep.
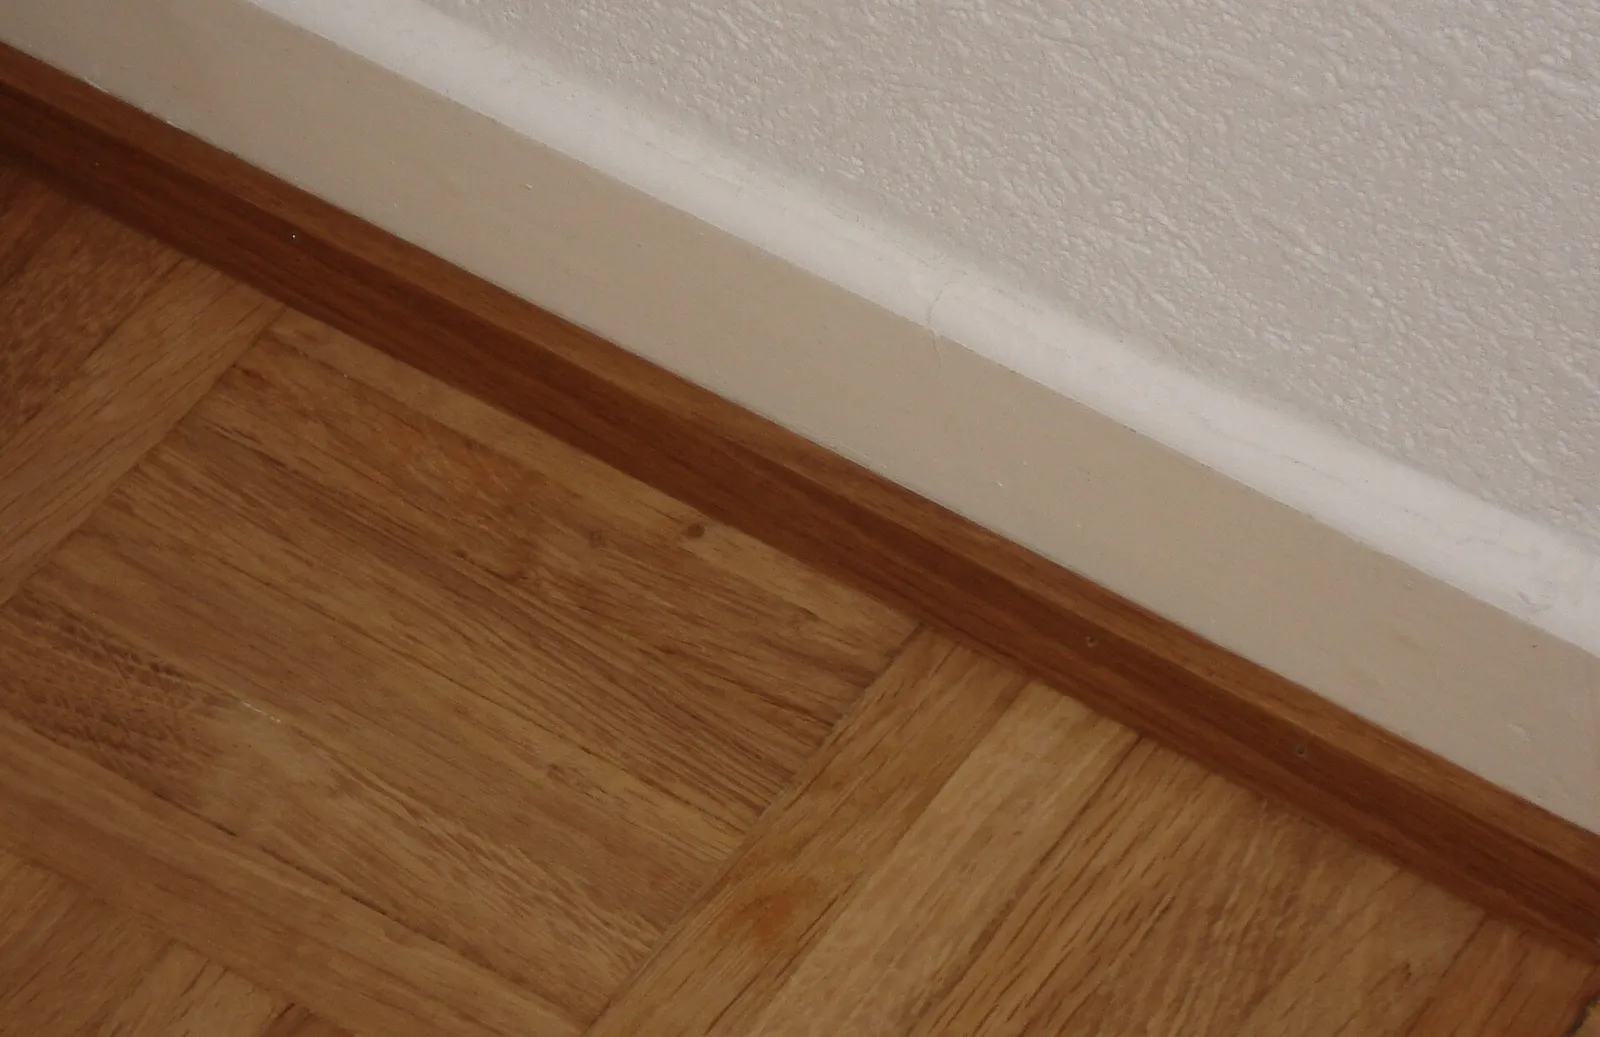
Vacuum along the baseboards, then wipe them with a damp cloth and mild soap, because they collect dust and scuffs. Fill nail holes and dents with wood filler, let it dry, and sand smooth. Lightly scuff existing glossy paint so the new coat can grip, then wipe away the dust. Run a thin bead of paintable caulk along the top edge and any gaps between trim and wall, smoothing it with a damp finger. Caulk hides small gaps that otherwise show as shadow lines.
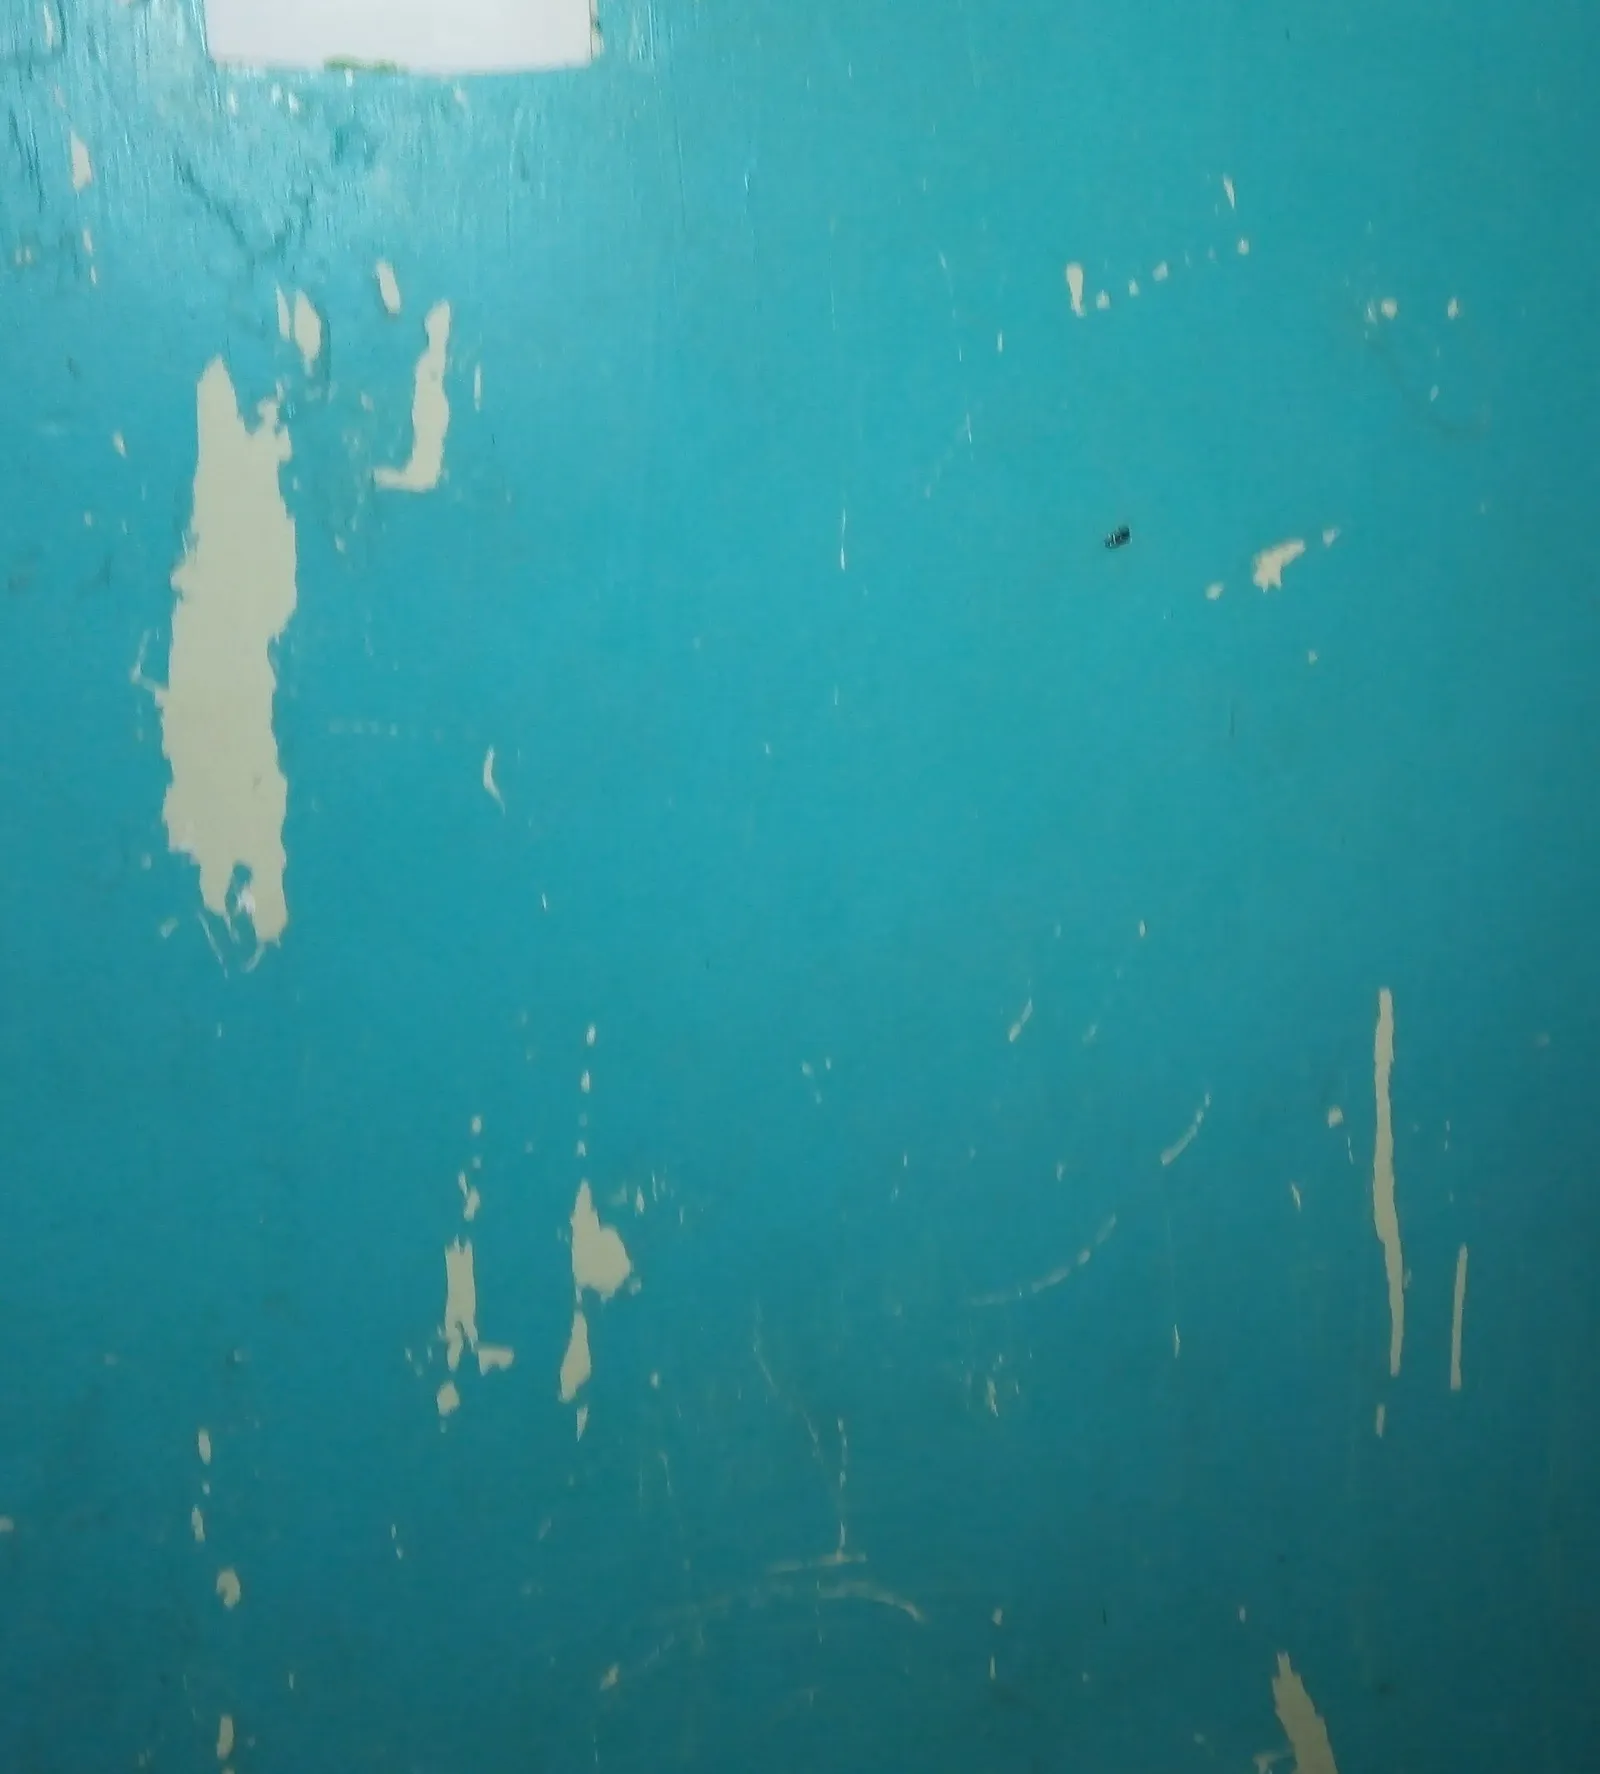
If the old trim paint is flaking, tackle it first by following our steps to fix peeling paint. Homes with chipping old paint call for extra care; see the safety note below.
How to Paint Trim and Baseboards Step by Step
- Protect the floor. Tape along the floor or slide a wide putty knife or cardboard strip along the bottom to shield it. Cover the area with a drop cloth.
- Tape the wall edge if desired. Press the tape firmly along the wall side of the trim.
- Prime bare spots. Spot-prime filled areas and bare wood, and let the primer dry.
- Load the brush lightly. Dip about one third of the bristles and tap off the extra.
- Paint the top edge first. Then do the face, and last the bottom, working in 2 to 3 foot sections.
- Brush with the grain. Use long, light strokes and avoid overworking the paint, which leaves marks as it sets.
- Apply a second coat. Wait for the recoat time on the can, then repeat.
- Remove tape carefully. Pull it at a low angle once the paint is dry to the touch, scoring the edge first if it has bridged.
Order of Work and Pro Tips
Walls First or Trim First?
Many painters do ceilings, then walls, then trim. That way any wall paint on the trim edge is covered by the final trim coat. If you paint trim first, mask it well before painting walls. Our guide on how to paint a room lays out the full sequence.
Avoid Drips and Brush Marks
Check each section after painting for drips pooling along the edges. Level them out with a lightly loaded brush before they set. Good lighting makes a big difference. If you want a smoother finish, some painters add a paint conditioner, following the product instructions.
This is also how to paint trim that already has a few coats on it: sand, prime where needed, and keep the paint layers thin so details stay crisp.
Painting Door Frames and Window Casings
The same approach applies. Start with the intricate parts, then do flat areas, and keep a wet edge to prevent visible joints.
Cleanup and Care
Wash brushes thoroughly with warm soapy water for latex trim paint. Let the paint cure before moving furniture back against it, since trim paint can feel dry yet remain soft for days. Knowing how to paint trim neatly is mostly about patience and prep; get those two right and the finish looks professional. For more on the architecture, see skirting board on Wikipedia.
When people ask how to paint trim without brush strokes, the answer is quality brushes, thin coats and no rushing. That advice holds whether you tackle a single room or the whole house.
Safety Note
Open windows and run a fan so fresh air moves through the room while you work and while the paint dries. If your home was built before 1978, the existing paint may contain lead. Use a lead test kit before sanding or scraping, and follow EPA-recommended lead-safe work practices if the result is positive. Never dry-sand suspect paint.
Frequently Asked Questions
What paint finish is best for baseboards?
Semi-gloss is the most popular choice because it wipes clean easily. Satin is a softer option that hides a few more flaws.
Do I need to sand baseboards before painting?
Lightly, yes. Scuff-sanding dulls the old finish so new paint grips, and sanding smooths any filler you applied.
Should I paint baseboards before or after the walls?
Most painters finish the walls first and do trim last, since it gives the cleanest lines. Either order works if you mask carefully.
How do I paint baseboards without getting paint on the carpet?
Slide a wide putty knife or a strip of cardboard along the bottom edge as you brush, and move it as you go. Painter’s tape along the floor also helps.
How many coats of paint does trim need?
Usually two thin coats over primer or sanded paint. Thin coats dry harder and show fewer brush marks than one thick coat.