Knowing how to cut in paint means painting a neat 2 to 3 inch band along ceilings, corners and trim with a brush, so your roller can handle the rest without touching those edges. With a good angled brush, a steady hand and a little technique, you can get crisp lines without tape. Here is exactly how to do it.
What Cutting In Actually Means
A roller cannot reach into corners or stop cleanly at a ceiling line. Cutting in is the brush work that fills those gaps. The trick is to cut in just before you roll, so the brushed band is still wet when the roller blends into it. If the band dries first, you may see a visible frame around the wall, often called picture framing.
Beginners often assume professionals have some secret. They do not; they simply practice how to cut in paint until the motion feels natural. Once you understand how to cut in paint with the right pressure and a loaded brush, the rest is repetition.
Gear You Need to Cut In Paint Cleanly
| Tool | Why it helps |
|---|---|
| 2 to 2.5 inch angled sash brush | The slanted bristles let you place a straight line |
| Small paint cup or pail | Lighter than a gallon can, so your hand stays steady |
| Damp rag | Wipes slips immediately, before they dry |
| Step stool | Keeps your arm at a relaxed height |
Brush choice matters a lot. If you are shopping, read our advice on how to choose a paintbrush for walls and trim.
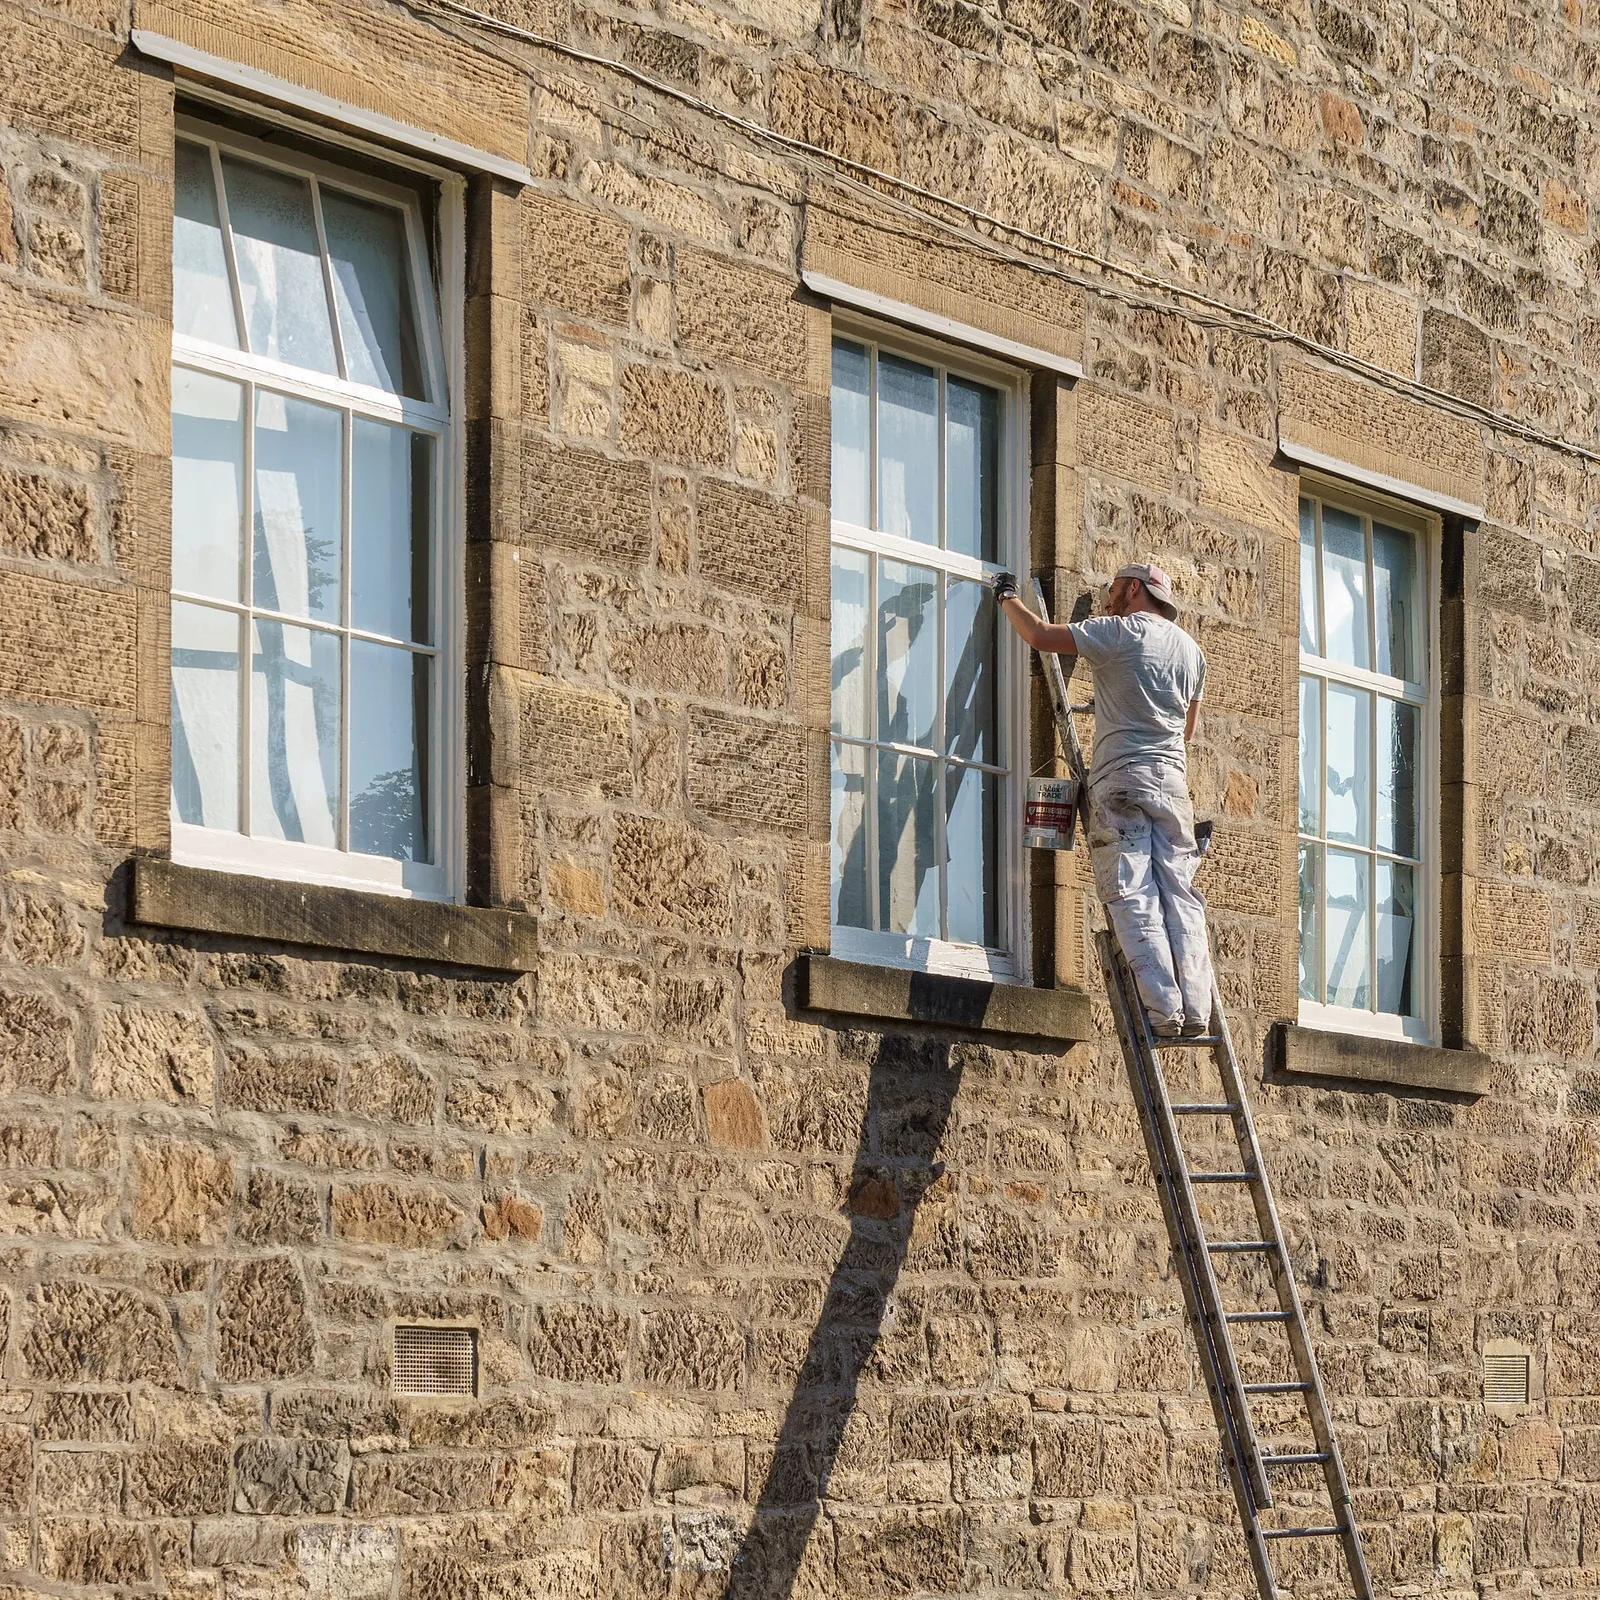
How to Cut In Paint: Step by Step
- Pour a small amount. Fill a cup about a third full. Pouring from the can reduces drips and the weight you carry up the ladder.
- Load the brush. Dip the bristles about one third of the way in, then tap each side gently on the cup. Do not wipe across the rim.
- Start a little away from the edge. Press the bristles against the wall about a quarter inch from the line so they bow slightly.
- Push toward the edge. Slide the brush in until the bristles meet the ceiling or trim, then pull along the line in one smooth stroke.
- Work in short runs. Do 2 to 3 feet at a time and reload before the brush runs dry.
- Feather the inside edge. Brush lightly back over the inner side of the band so it blends into the wall instead of leaving a ridge.
- Roll right away. Roll the open wall while the cut-in is still wet.
Technique Tips for Straight Lines Without Tape
Use Your Whole Arm
Moving only your wrist makes lines wobble. Plant your feet, brace your elbow against your body if you can, and travel with your whole arm.
Rest Your Hand
If a wall meets a smooth surface, such as a ceiling, you can lightly rest the ferrule or fingers of your free hand against it as a guide. Keep clean hands on bare trim and use a rag to check them.
Mind the Paint Load
Too much paint on the brush floods under the bristles and bleeds past the line. Too little leaves a thin, scratchy edge. Aim for a brush that is loaded but not dripping.
Lighting also matters. Open curtains or shine a lamp along the wall so you can see the edge as you work. That small habit is part of how to cut in paint accurately in dim corners and behind doors.
Fixing Mistakes and Knowing When Tape Helps
If paint lands where it should not, wipe it with a damp rag straight away. Dried slips on trim can be scraped gently once cured, then touched up with a small artist’s brush. If you want extra insurance, a strip of painter’s tape on a rough or textured edge is perfectly fine, as long as you press it down firmly and remove it at a shallow angle. Learning how to cut in paint takes a few practice runs, so start in a closet or behind a door.
When your edges are done, move on to the main wall with our guide to painting a room. For a quick background on the tool, see the Wikipedia entry on the paintbrush.
Safety Note
Open windows and run a fan so fresh air moves through the room while you work and while the paint dries. If your home was built before 1978, the existing paint may contain lead. Use a lead test kit before sanding or scraping, and follow EPA-recommended lead-safe work practices if the result is positive. Never dry-sand suspect paint.
Frequently Asked Questions
Is it better to cut in before or after rolling?
Cut in first, then roll the adjoining wall section while the brushed band is wet. Reversing the order tends to leave brush marks that stand out.
How wide should the cut-in band be?
Around 2 to 3 inches is typical. That is wide enough that the roller does not bump into the edge, yet narrow enough to stay wet while you roll.
Can I cut in with a small roller instead of a brush?
Yes, a mini roller or an edging pad works for some people, although a quality angled brush offers the most control in tight corners.
Why do I see a line around my cut-in edges after drying?
That is usually picture framing: the brushed band dried before the roller blended into it, or the brush texture differs from the rolled texture. Keep the band wet and feather it.
Do I need to cut in a second coat?
Yes. Repeat the process on each coat, otherwise the edges will look thinner than the rest of the wall.