To prep walls before painting, clean them, repair every hole and crack, sand the repairs smooth, and prime whatever needs it. That sequence takes a few hours, but it decides whether your paint looks flat and even or lumpy and patchy. Here is how to do each part right.
Why You Should Prep Walls Before Painting
Paint is thin. It does not hide dents, grease or loose flakes; it highlights them, especially under side light from a window. Paint also sticks to a clean, dull surface far better than to a dusty or glossy one. When you prep walls before painting, you are really buying a smoother finish and longer-lasting adhesion for the same amount of paint.
Most people rush this stage because it feels like delay before the fun part. In practice, an hour spent here saves a second coat, a touch-up weekend, and plenty of frustration. Set aside half a day to prep walls before painting, and let patches cure fully before you move on.
Tools and Materials Checklist
| Task | What you need |
|---|---|
| Cleaning | Sponge, bucket, mild dish soap, clean rags |
| Small repairs | Lightweight spackle, 2 inch and 6 inch putty knives |
| Larger holes | Mesh patch or drywall patch kit, joint compound |
| Sanding | Sanding sponge or pole sander, 120 to 220 grit paper |
| Dust control | Vacuum with brush attachment, tack cloth or damp rag |
| Priming | Primer suited to the wall, roller, brush |
Step-by-Step Wall Prep
- Clear and cover. Move furniture away, lay drop cloths, and remove outlet covers.
- Wash the walls. Wipe with warm soapy water, paying extra attention to kitchens and around switches. Rinse with a clean damp sponge and let the wall dry.
- Scrape loose paint. Run a putty knife over any bubbling or flaking spots and remove what lifts easily.
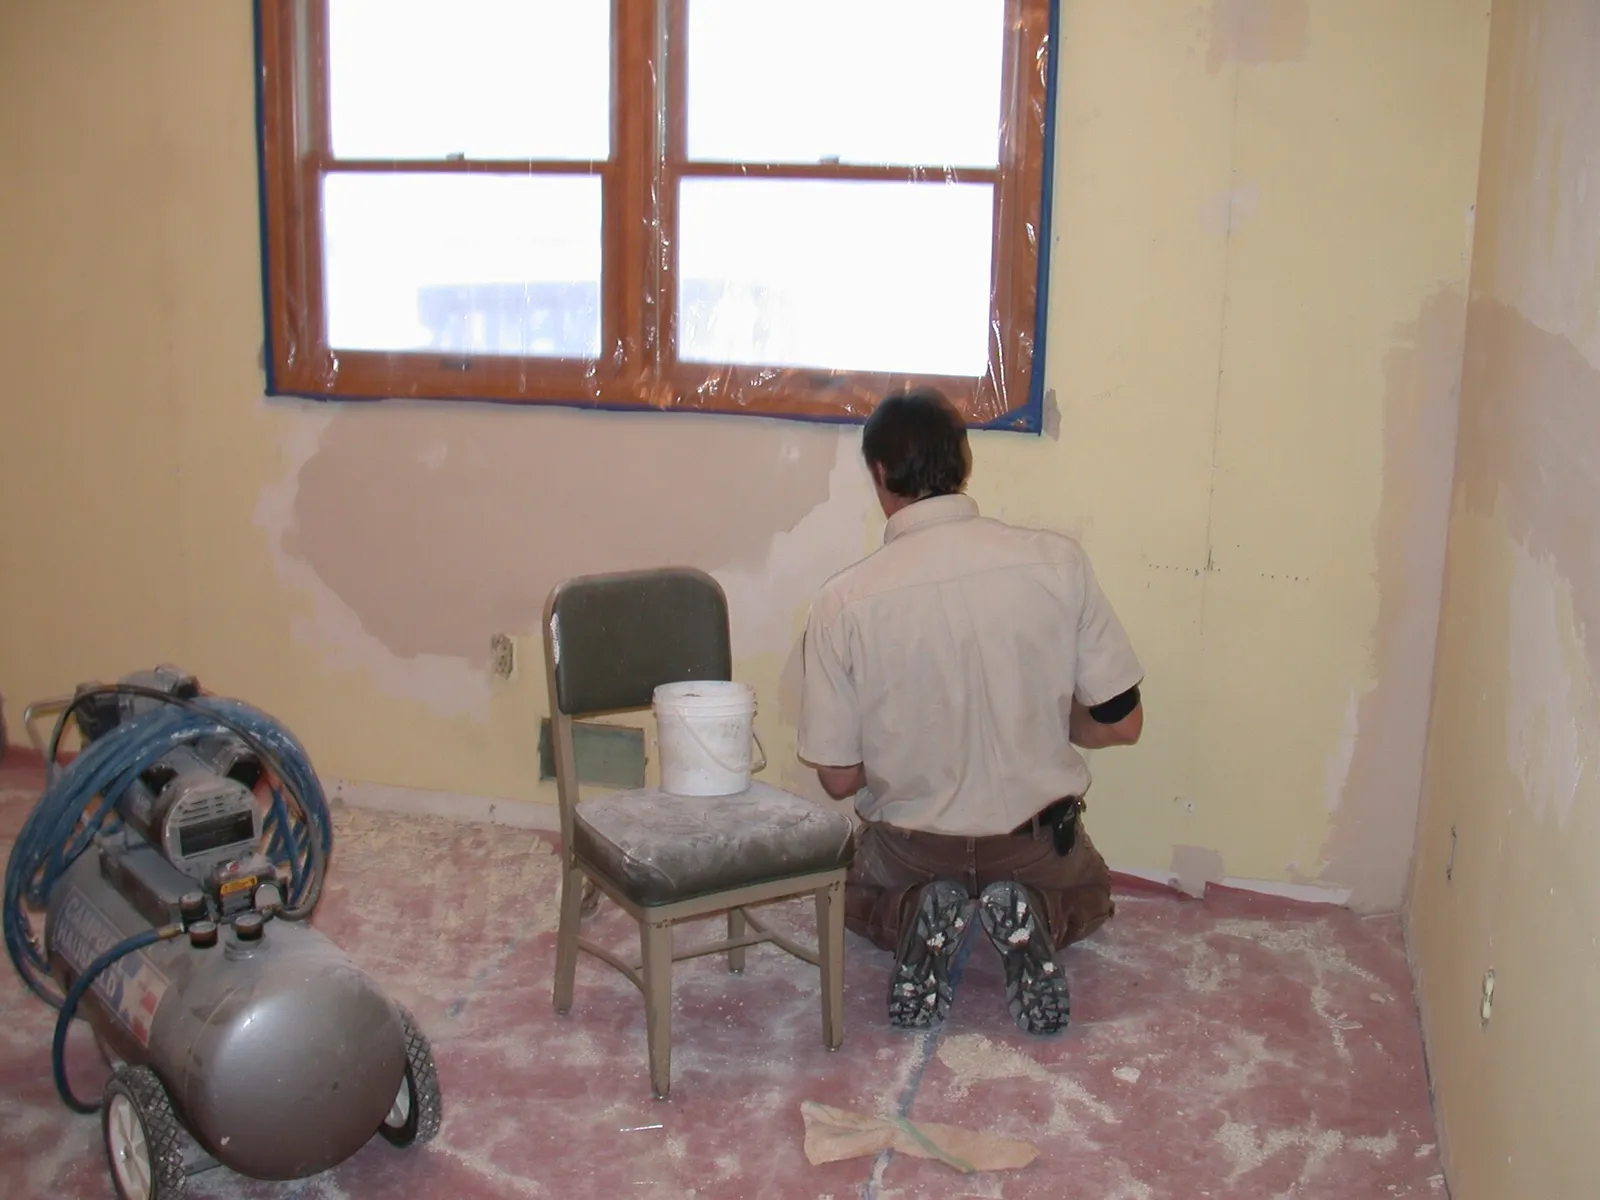
- Fill holes and cracks. Press spackle in with the knife, leaving it slightly proud of the surface because it shrinks as it dries.
- Sand smooth. Once cured, sand until the patch feels flush when you run your palm across it.
- Remove dust. Vacuum, then wipe with a damp rag. Dust left behind creates gritty paint.
- Prime. Spot-prime patches, or prime the entire wall when needed.
Fill and Sand Different Types of Damage
Nail Holes and Dings
Lightweight spackle and a small knife handle these in one pass. Check the label for drying time, as deep fills may need a second layer.
Cracks
Widen a hairline crack slightly with a utility knife so filler can grip, then fill and sand. If a crack keeps returning, there may be movement in the wall, and a flexible filler will hold up better than hard spackle.
Larger Holes
Use a self-adhesive mesh patch, cover it with joint compound, feather the edges wide, and sand after each coat. Feathering is what makes the repair vanish.
When and How to Prime
Primer seals porous patches so they do not soak up topcoat and look dull, which painters call flashing. Prime new drywall, repaired areas, stains, and surfaces going from a dark color to a light one. A primer also helps paint grip a glossy finish after light scuff-sanding. Not sure whether your wall really needs it? Read our guide on whether you need primer. See also primer (paint) for background.
Once the wall is ready, move on to the main job. Our step-by-step room painting guide picks up right where this one ends, and fixing peeling paint covers the harder cases where flaking keeps coming back.
A quick test helps here. After washing, press a strip of painter’s tape on the wall and pull it off. If paint or powder comes away with it, the surface needs more scraping and cleaning before you prime. That one minute check on the way to prep walls before painting can save a lot of trouble.
Common Mistakes When You Prep Walls Before Painting
- Painting over dust because the vacuum step was skipped.
- Sanding a patch before it has fully dried, which tears it up.
- Skipping spot-priming, which leaves dull patches under the finish coat.
- Working in poor light. Hold a flashlight at a low angle to the wall to reveal bumps you cannot see otherwise.
Safety Note
Open windows and run a fan so fresh air moves through the room while you work and while the paint dries. If your home was built before 1978, the existing paint may contain lead. Use a lead test kit before sanding or scraping, and follow EPA-recommended lead-safe work practices if the result is positive. Never dry-sand suspect paint.
Frequently Asked Questions
Do I have to sand walls before painting?
You should sand repairs, and lightly scuff glossy surfaces so paint grips. A clean, flat, matte wall in good shape does not need heavy sanding.
Can I paint over dirty walls?
It is not a good idea. Grease, dust and soap residue stop paint from bonding, which causes peeling and fish-eyes. Wash first and let the wall dry.
How long should spackle dry before sanding?
It depends on depth and product. Small fills can be ready within an hour, while thick ones take longer. Check the label rather than guessing.
Do I need to prime after patching?
Yes, spot-priming patches is recommended. Filler is more porous than the surrounding paint and can show through as dull spots.
What grit sandpaper is best for walls?
A 120 to 220 grit paper or sponge works well. Start with the coarser end for filler, then finish with finer grit for a smooth surface.