Learning how to paint a room comes down to one order of work: protect, prep, prime where needed, cut in the edges, roll the walls, then recoat. Do those in sequence and a first-timer can get a clean, even finish in a weekend. This guide walks through each stage so you know what to do, and why.
Gather Your Materials First
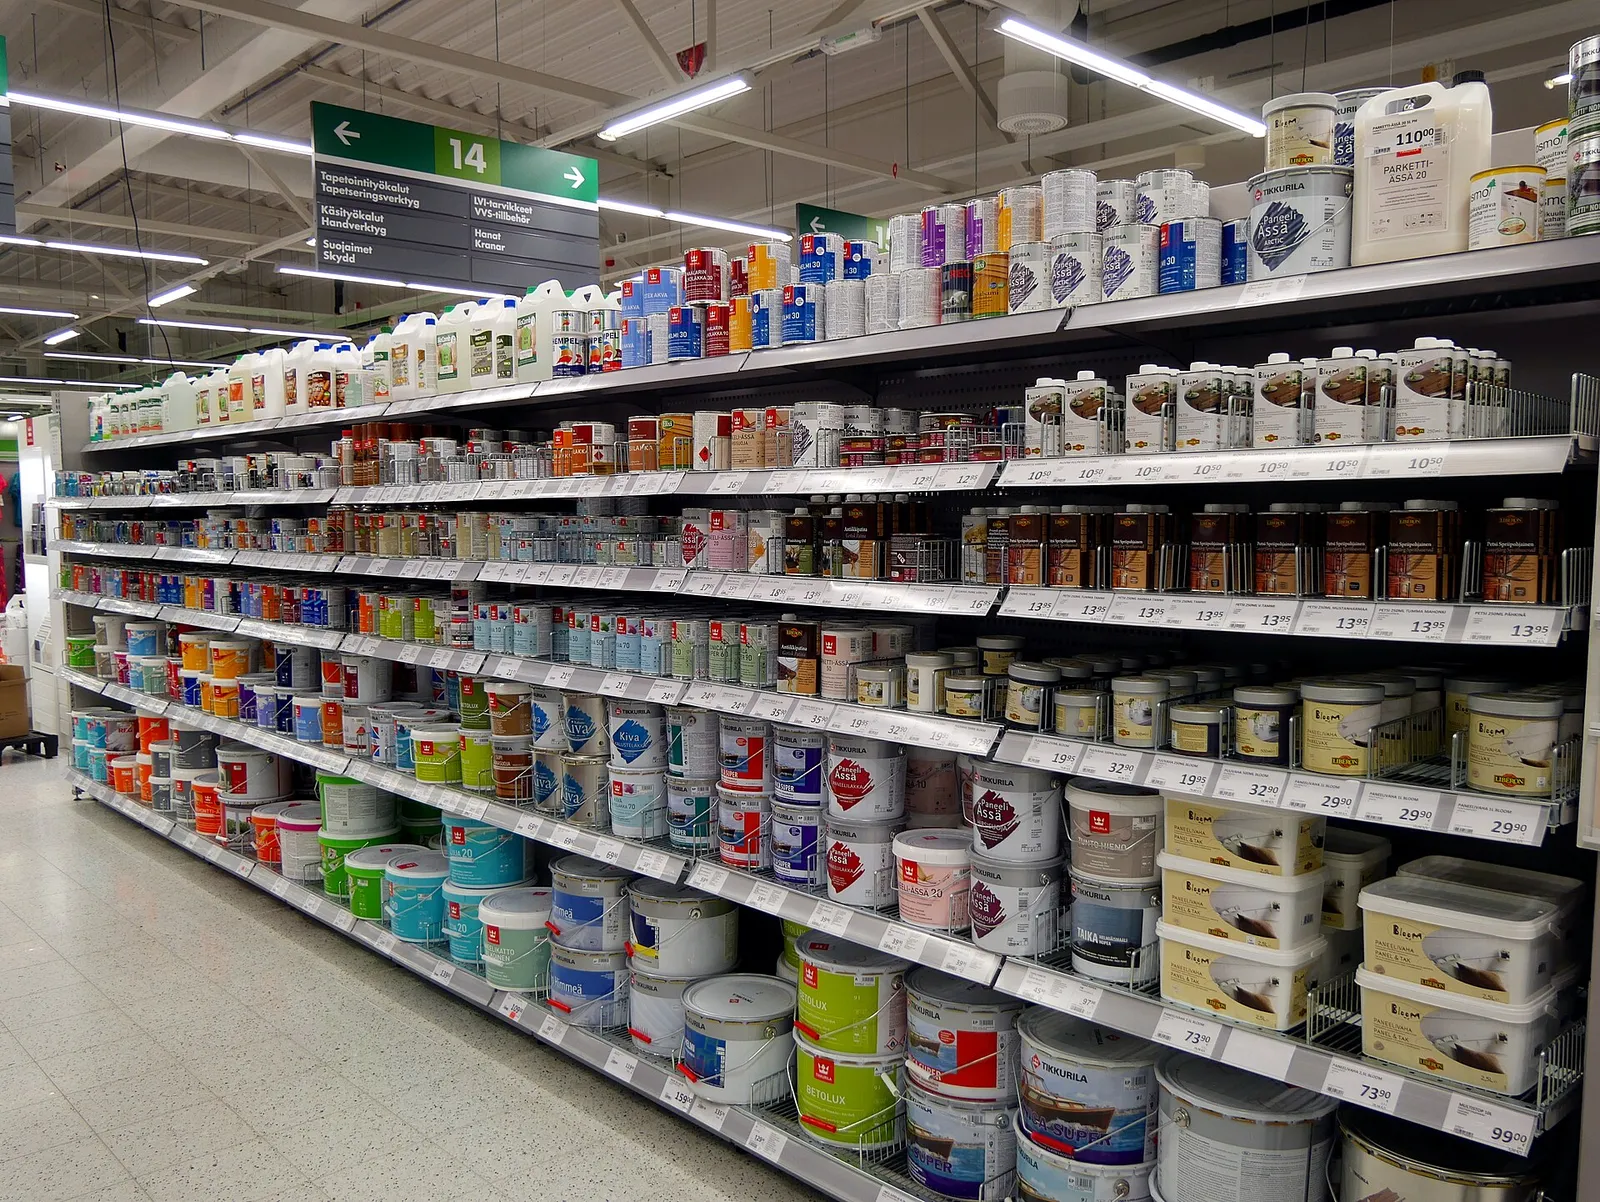
Before you think about how to paint a room well, think about what you need on hand.
Running to the store halfway through is the quickest way to leave a dry edge in the middle of a wall. Set everything out before you open a can.
| Item | What to look for |
|---|---|
| Interior paint | Enough for two coats; coverage on the label is typically around 350 to 400 sq ft per gallon |
| Primer | Only if you are covering stains, bare patches or a big color change |
| 2.5 inch angled brush | For edges, corners and trim |
| 9 inch roller and cover | Pick the nap for your wall texture |
| Tray, extension pole | The pole saves your shoulders and your back |
| Painter’s tape, drop cloths | Canvas or paper cloths stay put better than thin plastic |
| Spackle, putty knife, sanding sponge | For patching holes and dings |
Not sure how many gallons to buy? Use our simple room paint calculator before you shop.
Prep the Room Properly
Good prep is most of the job when you work out how to paint a room that looks professional. Clear the room as much as you can, and slide whatever is left to the center under a drop cloth. Take off outlet covers and switch plates, and put the screws in a small cup so they do not wander off.
Next, wash greasy or dusty spots with a mild soap and water, then let the wall dry fully. Fill nail holes and cracks with spackle, let it cure, sand it flush, and wipe away the dust. Skipping this makes every flaw show up under fresh paint. For a deeper look at fixing damage, read how to prep walls before painting.
How to Paint a Room, Step by Step
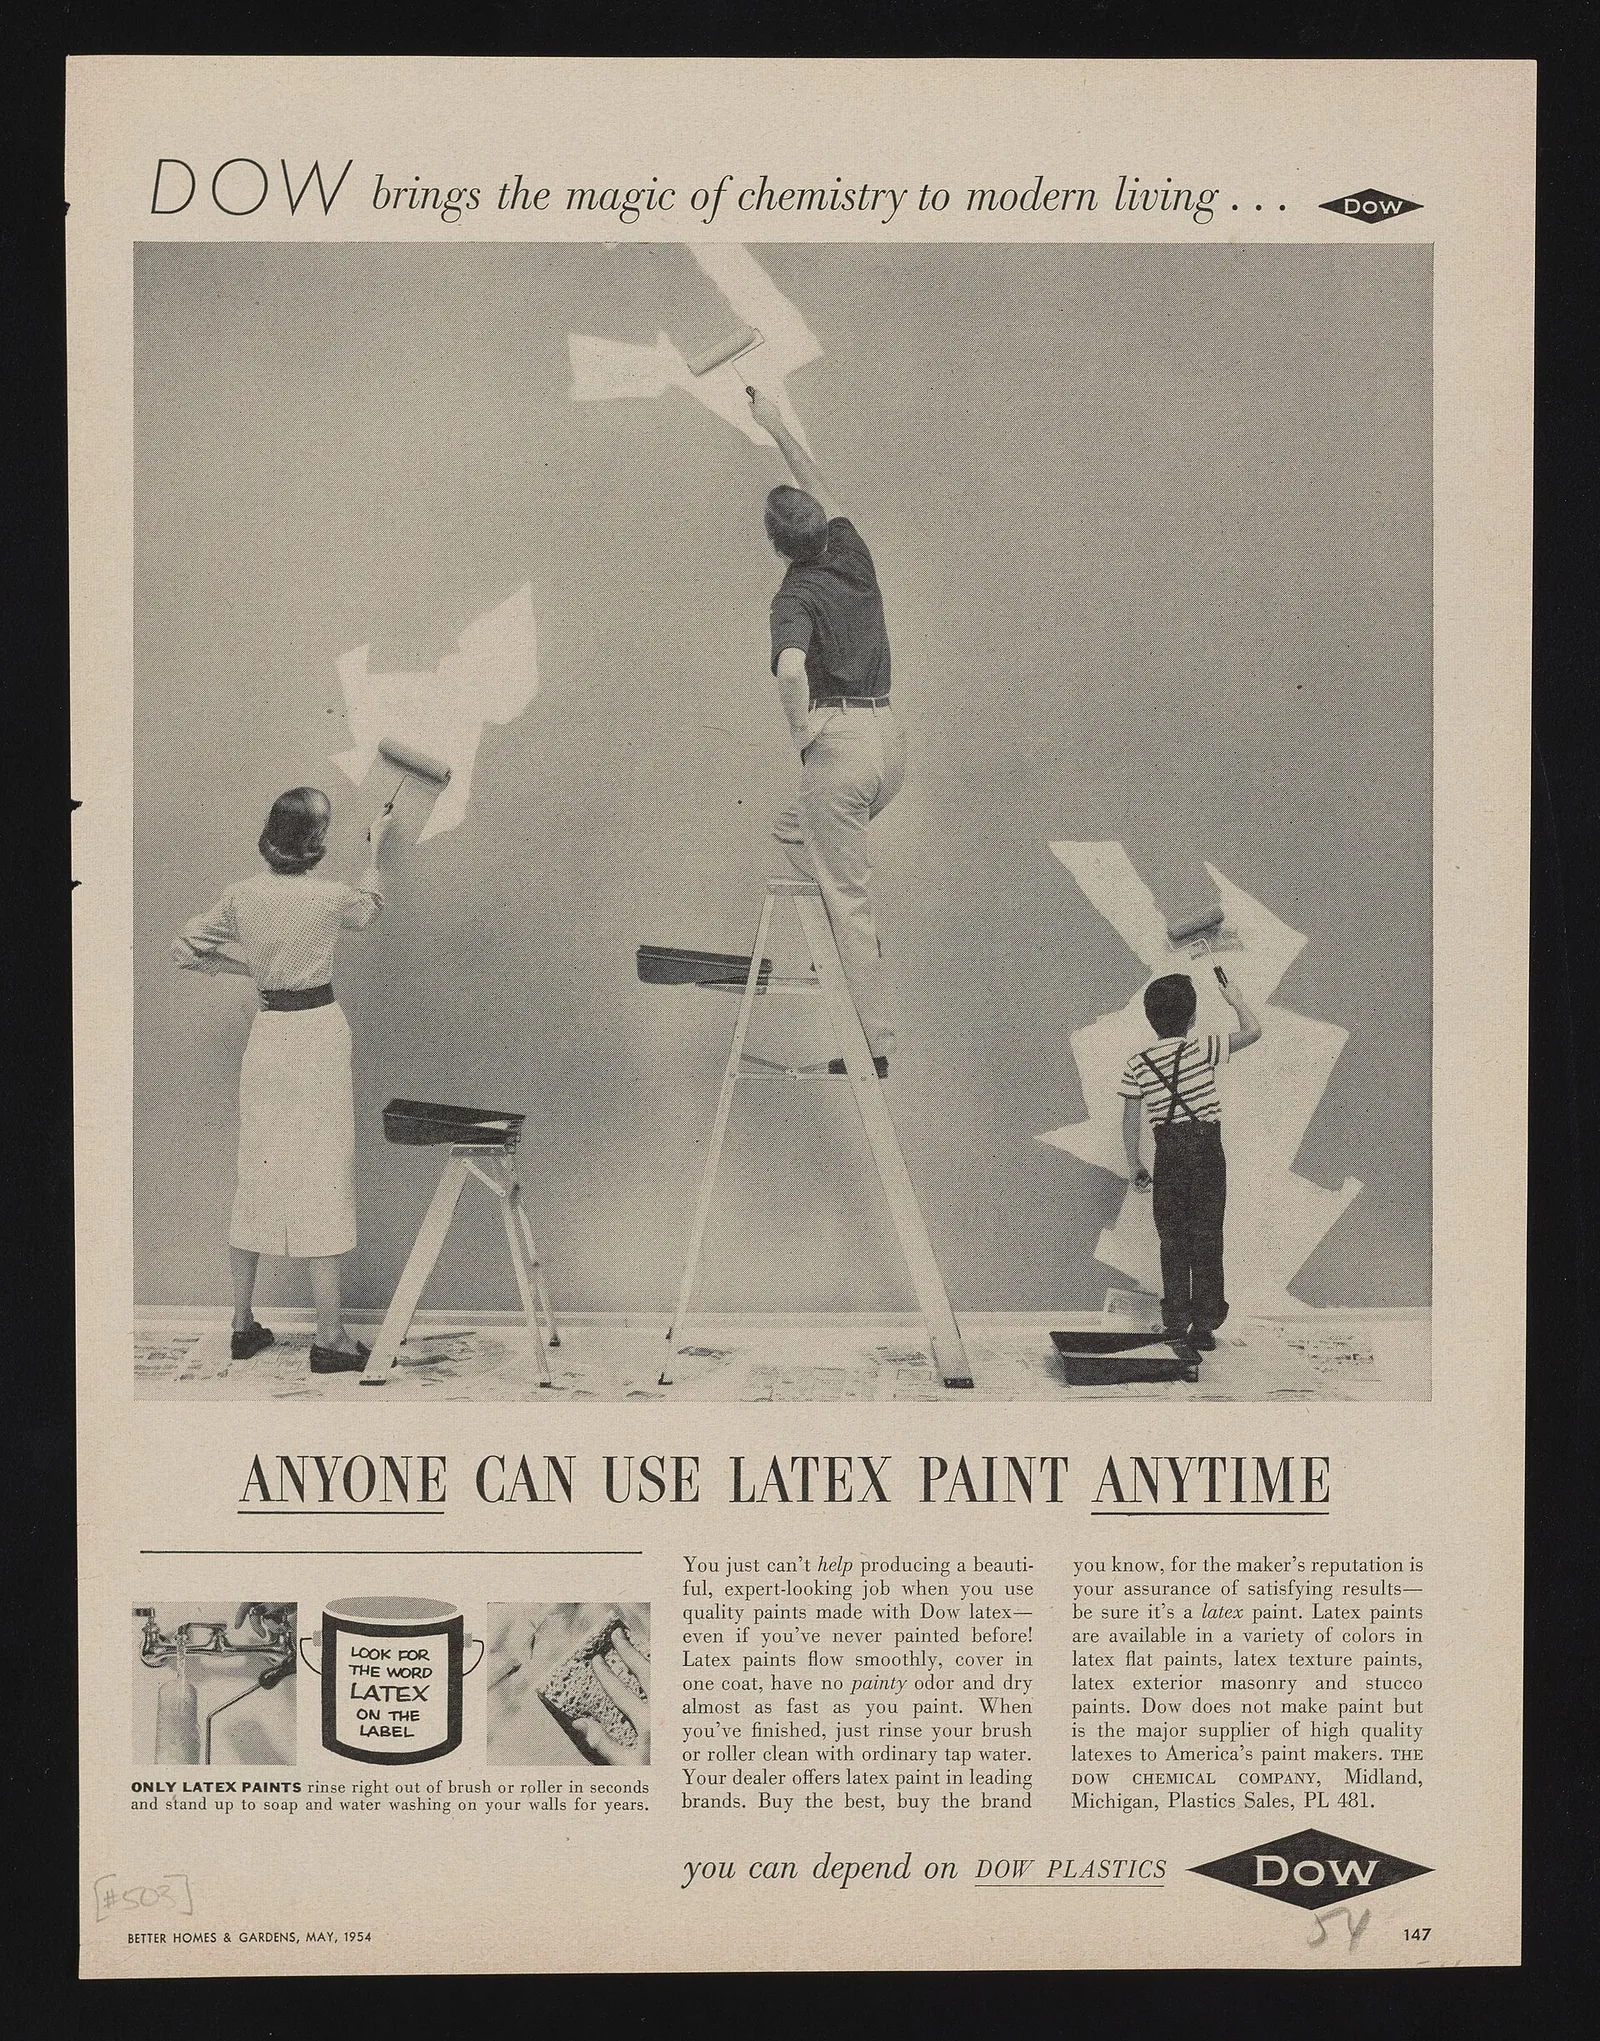
Here is how to paint a room in the order that works nearly every time.
- Tape and cover. Lay drop cloths along the baseboards, tape the trim if you want a safety net, and cover the floor.
- Prime if needed. Spot-prime patches, or prime the whole wall when going from dark to light.
- Stir the paint. Mix thoroughly, and combine multiple cans of the same color in one bucket so the shade stays consistent.
- Cut in first. Brush a 2 to 3 inch band along the ceiling line, corners and trim. Our guide on how to cut in paint covers the technique.
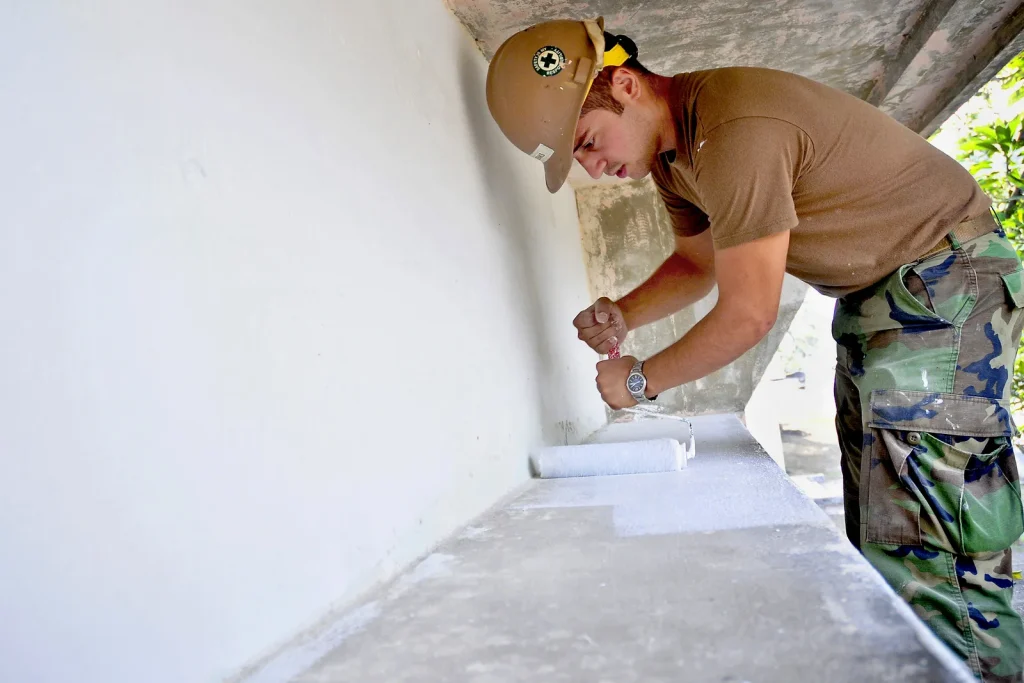
- Roll the walls. While the cut-in band is still wet, roll the open wall in a W or M pattern, then fill in with light, even strokes.
- Keep a wet edge. Work in sections of roughly three feet wide, from ceiling to floor, and overlap each pass slightly.
- Let it dry, then recoat. Check the can for recoat time; most latex paints need a few hours.
Walls Before Trim, or Trim First?
When deciding how to paint a room with trim, either order works. Many painters do ceilings first, then walls, then trim last, because brushing trim at the end gives the sharpest lines. If you choose trim first, let it dry fully before taping over it.
Roller and Brush Habits That Prevent Streaks
Load the roller about two-thirds up the cover, then roll off the extra on the tray ramp. A soaked roller drips, and a dry one drags and leaves texture. Use moderate pressure, because pressing hard pushes paint out the sides and leaves ridges.
Keep your brush loaded only on the lower third of the bristles. Tap it against the can’s side rather than wiping it across the rim, which clogs the lip with dried paint. Step back often and look at the wall from the side, since angled light shows missed spots that straight-on viewing hides.
If you are wondering how to paint a room without lap marks, the answer is a wet edge and steady speed. Rushing is the biggest reason beginners see streaks.
Second Coat, Cleanup and Finishing Touches
Two coats give the best color depth and durability. Once the final coat is dry to the touch, peel the tape at a shallow angle while the paint is slightly tacky or fully dry; if it tears, score the edge lightly with a utility knife first. Wash brushes and rollers right away with warm soapy water for latex paint. Seal leftover paint tightly and label the lid with the room and color.
Safety Note
Open windows and run a fan so fresh air moves through the room while you work and while the paint dries. If your home was built before 1978, the existing paint may contain lead. Use a lead test kit before sanding or scraping, and follow EPA-recommended lead-safe work practices if the result is positive. Never dry-sand suspect paint.
For more background on the tool itself, see this overview of the paint roller.
Frequently Asked Questions
How long does it take to paint a room?
A typical bedroom takes a weekend: prep and priming on one day, painting on the next. Larger rooms or heavy repairs take longer. Always follow the recoat time printed on the can.
Do I need to prime before painting?
Prime new drywall, patched areas, stains and major color changes. If you are repainting a clean wall in a similar color, many modern paints cover well without a separate primer. See our guide on whether you need primer for more detail.
Should I paint the ceiling first?
Yes, usually. Drips and spatter from the ceiling land on walls you will paint next. Our guide to painting a ceiling walks you through it.
How many coats of paint does a room need?
Two coats is the safe default. One coat may be enough when you repaint a similar color with a quality paint, but check the finished wall in daylight before deciding.
Can I leave the paint tray out between coats?
For a few hours, cover the tray and roller tightly in plastic wrap to keep them wet. Overnight, wash them or wrap them and refrigerate for latex paint.