This painter’s tape guide covers the one thing that decides whether your lines come out razor sharp or bled and ragged: using the right tape for the surface, pressed down properly and pulled off at the right moment. Think of this painter’s tape guide as a short shopping list and a technique checklist. Tape is cheap compared with the hours it can save, but only if you match it to the job.
Painter’s Tape vs Masking Tape
Standard masking tape uses a strong adhesive that can pull off paint or leave a gummy residue, especially if it sits for days. Painter’s tape uses a lower-tack adhesive and is made to release cleanly from walls and trim. Most painter’s tape is also treated or backed to resist moisture, which helps prevent paint from wicking underneath.
For interior projects, reach for tape labeled as painter’s tape rather than general-purpose masking tape.
Painter’s Tape Guide: Types and When to Use Them
Tape is often sorted by color, but the color is just a brand code. What matters is the adhesion level and the maximum removal time printed on the package. Read that label every time.
| Tape type | Best for | Notes |
|---|---|---|
| Standard multi-surface | Cured, painted walls, trim, glass | The everyday choice for most rooms |
| Delicate surface (low tack) | Fresh paint, wallpaper, faux finishes | Gentler hold, so press carefully |
| Extended-hold or exterior | Siding, brick, outdoor trim | Made to resist sun and weather longer |
| Textured-surface tape | Stucco, rough walls | Conforms into bumps better |
| Wide masking film with tape edge | Large areas such as windows or furniture | Covers more with fewer strips |
If your wall paint is new, check the can for cure time before you tape over it. Paint that is dry to the touch is not always fully cured, and tape can lift it.
How to Use Painter’s Tape for Sharp Lines
This part of the painter’s tape guide matters most, because technique beats price every time.
- Clean and dry the surface. Dust and grease stop tape from sticking. Wipe the edge and let it dry fully.
- Apply in straight lengths. Pull a section off the roll, position the end, then lay the tape along the line without stretching it.
- Press the edge down. Run a putty knife, a credit card or your fingernail along the edge to seal it tightly. This step matters most for crisp lines.
- Seal the edge if needed. Brush a thin coat of the base color (the color already on the wall) along the tape edge first. Any bleed will match the existing color, then the top coat sits cleanly over it.
- Paint in thin coats. Heavy coats pool at the tape and seep under it.
- Remove at the right time. Pull the tape while the paint is still slightly wet to the touch or after the can’s recommended window. Peel it back slowly at a low angle, away from the fresh paint.
Tips for Problem Surfaces and Awkward Corners
Textured walls
Tape struggles to seal against bumps. Use a textured-surface tape, press it firmly, and consider the caulk trick: a thin bead of paintable caulk along the edge, smoothed with a damp finger, fills gaps.
Trim and baseboards
Tape works well to protect floors and walls when painting trim. See how to paint trim and baseboards for the full approach.
When to skip tape
With practice and a good angled brush, many painters cut in freehand along ceilings. Our post on how to cut in paint without tape shows how. Tape is still the better choice for stripes, patterns and tricky borders.
How Long Can Painter’s Tape Stay On?
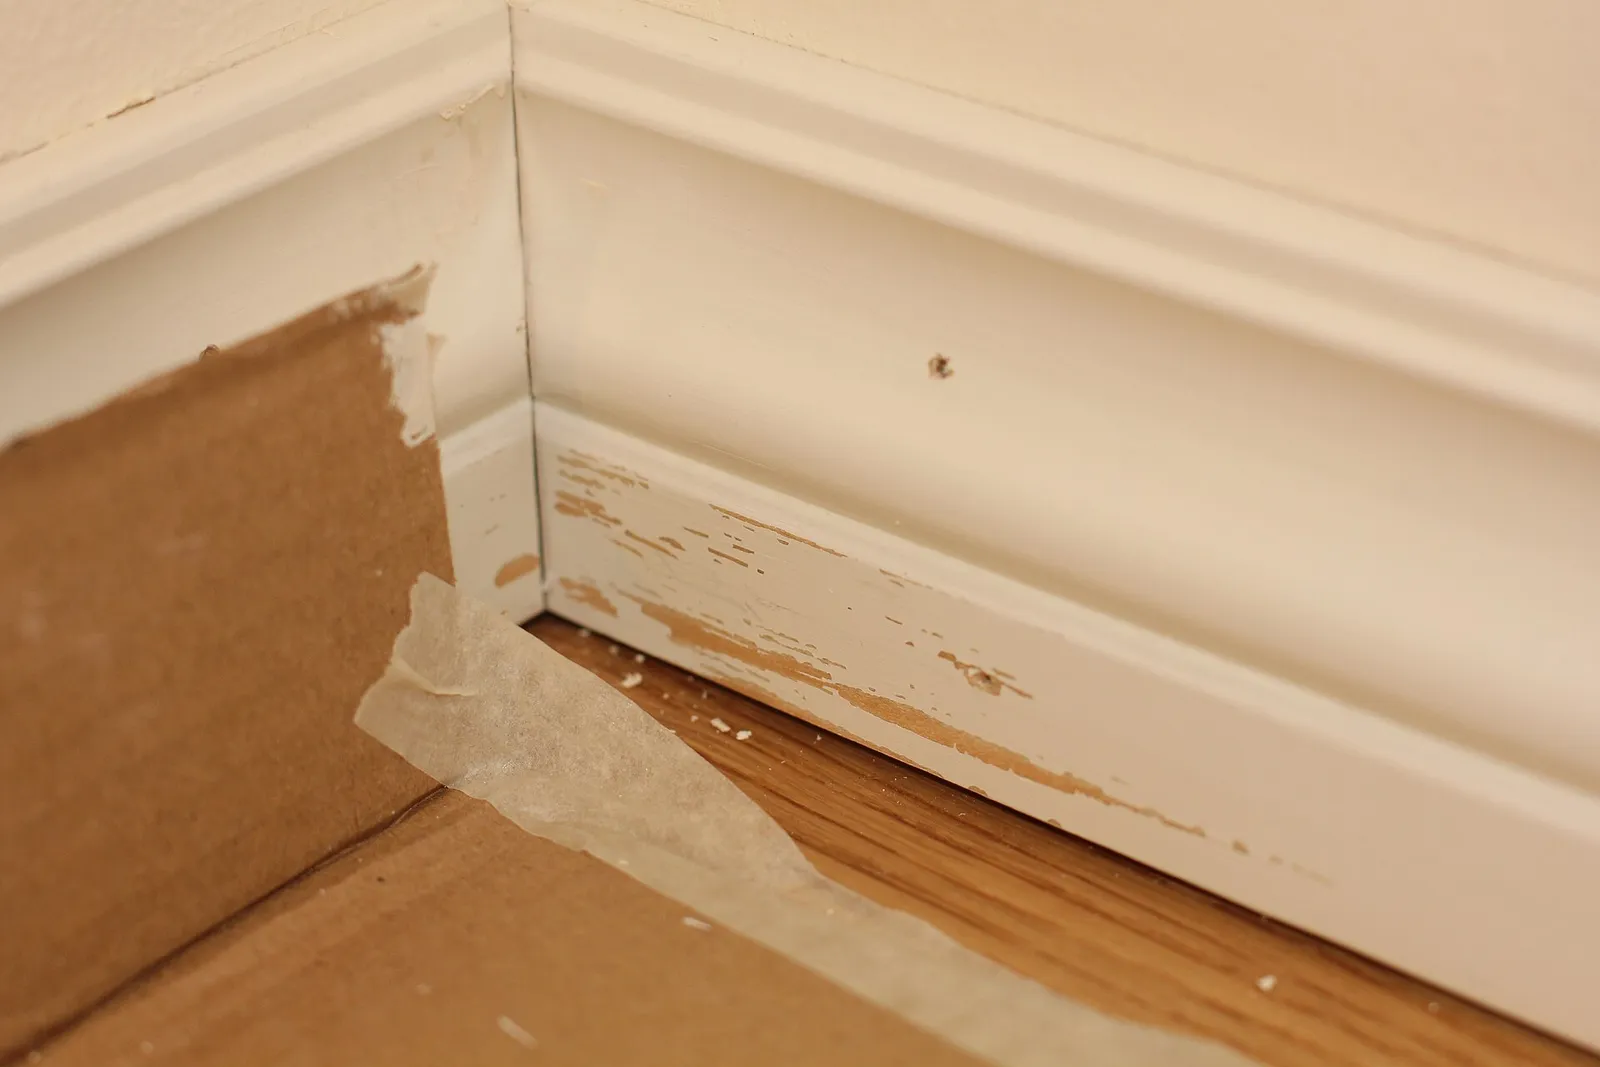
No painter’s tape guide is complete without a note on timing. Every brand lists a maximum clean-removal period on the package, which varies widely. Sunlight and heat shorten it. As a rule, remove tape soon after painting rather than leaving it for days. If the paint has formed a film across the tape edge, score the line lightly with a utility knife before peeling so you do not tear the dry paint.
Good surface prep also affects how tape behaves, so read our guide to prepping walls before painting. For background on the product itself, see the Wikipedia entry on masking tape.
Safety Note
Open windows or run a fan for fresh air whenever you paint, and follow the ventilation directions on the label. If your home was built before 1978, the existing paint may contain lead. Test it with an EPA-recognized kit before you sand or scrape, and use lead-safe work practices if the result is positive.
Frequently Asked Questions
Does the color matter in a painter’s tape guide?
Color is mainly a brand code. Compare adhesion level and removal time on the label instead of picking by color.
How soon can I tape after painting?
Check the paint can for dry and cure times. Paint may feel dry within hours but need longer before tape can safely touch it, especially on delicate finishes.
Why is paint bleeding under my tape?
The edge was not sealed tightly, the surface was dusty, or the coat was too heavy. Press the edge firmly, seal it with the base color first, and use thin coats.
Can painter’s tape pull paint off the wall?
It can if the wall paint is not fully cured, the tape is too aggressive, or it stays on too long. Choose a delicate-surface tape for fresh paint and score the edge before removing.
Should I peel tape when paint is wet or dry?
Either can work, but follow the tape’s label. Peeling while the final coat is slightly tacky often gives the cleanest line, while very thick coats may need scoring first.